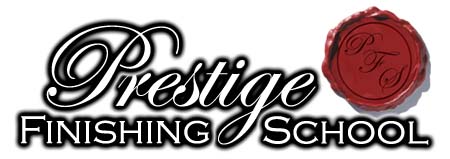
BMW 730i (Part 1)
For the second time in as many weeks, we were engaged to undertake 'Major Paint Correction' services on a newly purchased BMW. In a similar vein to our recent work on the 525i M-Sport, the owner of this sleek executive sedan was disappointed with the condition of the vehicle upon delivery from the dealer - and keen to achieve a showroom-perfect finish.
This particular 730i is a 2005 model, first registered in New Zealand less than 3 months ago. It has only travelled 35,000kms and is presented in almost brand-new condition. (Except for the swirls and minor scratches covering much of the vehicle.)
We were requested to make the paint as 'perfect as possible', and additionally to remove the vehicle's wheels for a comprehensive clean of the vehicle's alloys and arches.
Enrolment:
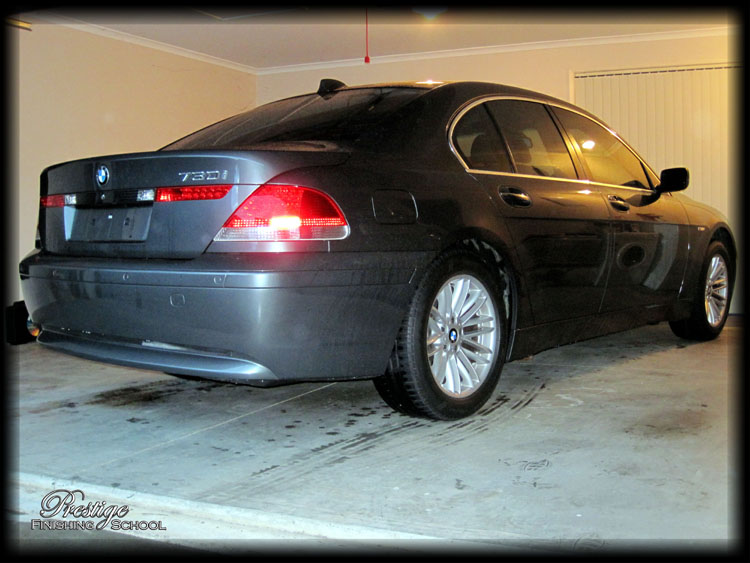
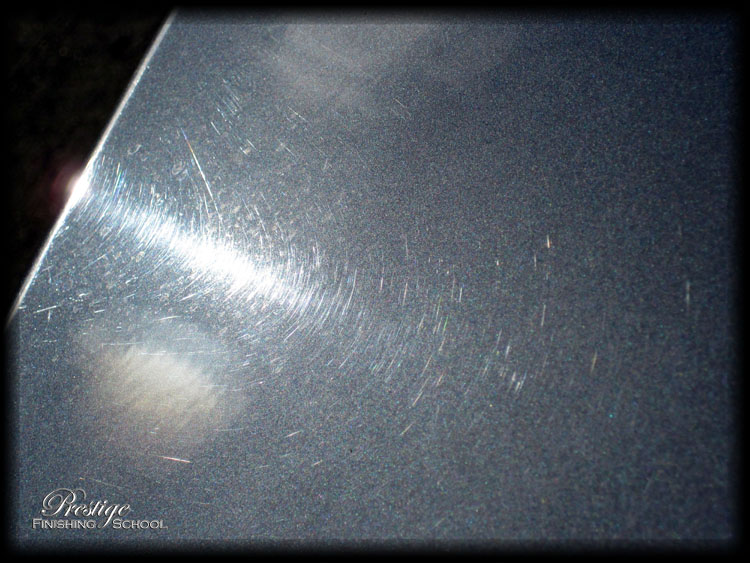
Despite appearing remarkably clean and defect free, direct lighting shows evidence of swirling and random, deeper scratches - both under 500W Halogens…
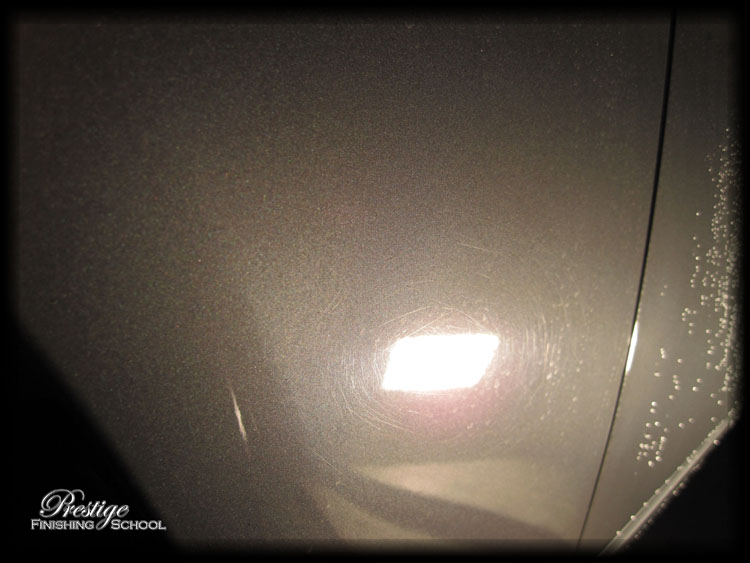
…and direct sunlight.
The wheel arches also have a small amount of grime which detracts from the vehicleĺs overall appearance.
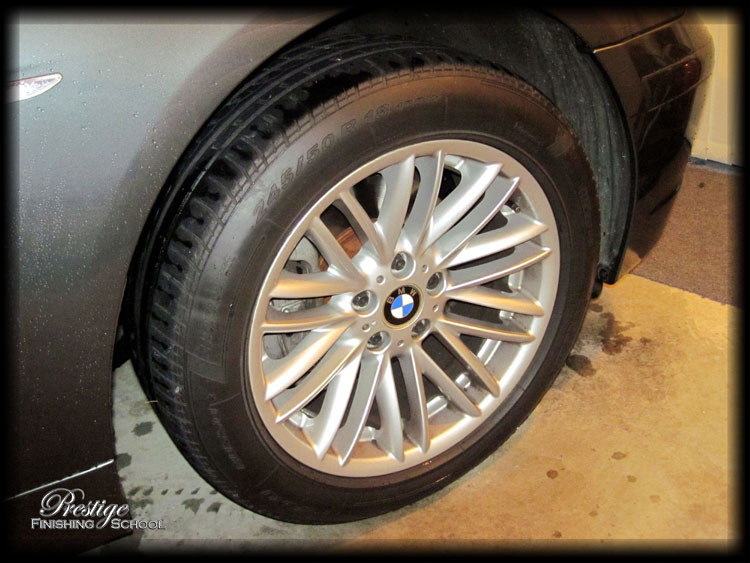
And the rims showed evidence of accumulated brake dust having bonded/etched into the wheel surface.
Remedial Tutelage:
Before approaching the vehicleĺs painted panels, itĺs important to attend to some prerequisite tasks. Generally, we tackle particularly dirty areas, such as the vehicleĺs engine bay, wheels, arches and sills/shuts ahead of a traditional 'wash' process to ensure that the vehicle is cleaned in the safest possible manner. This also ensures that we donĺt end up rinsing dirt onto areas that have already been cleaned.
Engine Bay
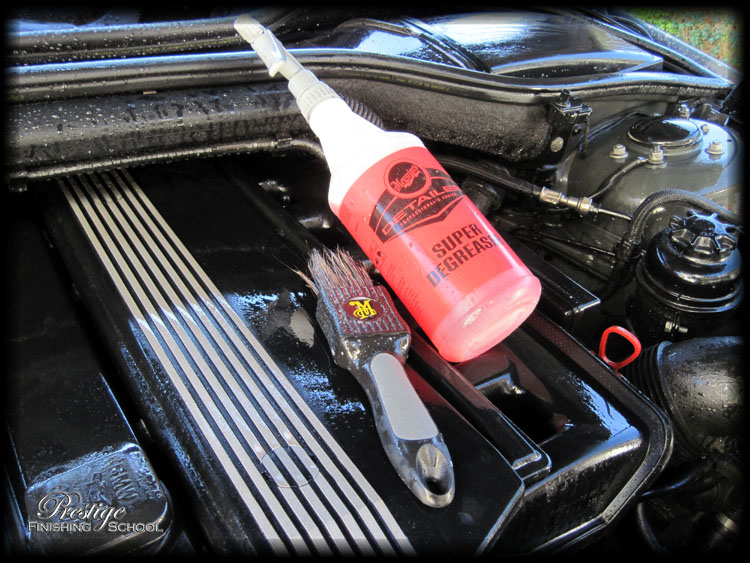
To begin, the engine bay was cleaned with "Meguiars Super Degreaser", diluted 10:1 and agitated with a Slide-Lock Detailing Brush. This was then rinsed off at low pressure.
The engine compartment was then dressed with 303ĺs "Aerospace Protectant", using a Sonus Microfibre work cloth:
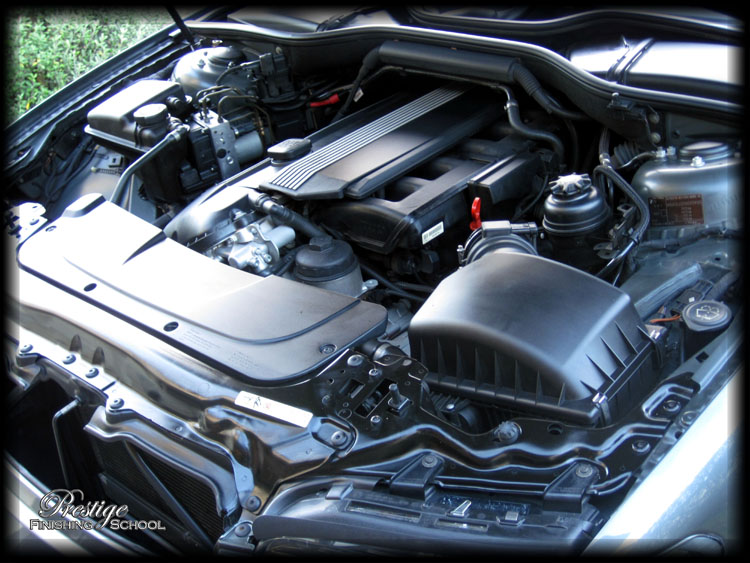
We find that the 303 Aerospace Protectant leaves a fantastic, matte, factory finish rather than the sticky/shiny results of other brands. In addition, it provides a significant amount of UV protection to minimize fading.
Wheels & Arches
The wheels were then attended to, one at a time. Firstly, with the wheel off, we have the opportunity to thoroughly clean one of the dirtiest areas of any motorcar.
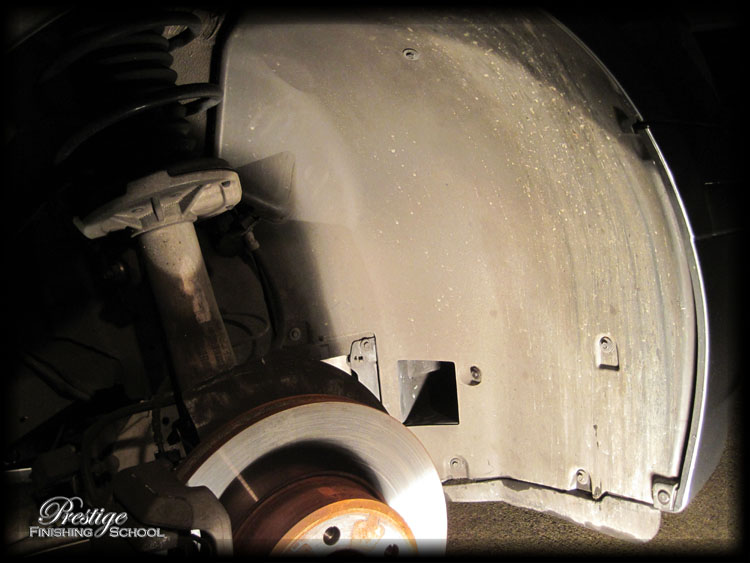
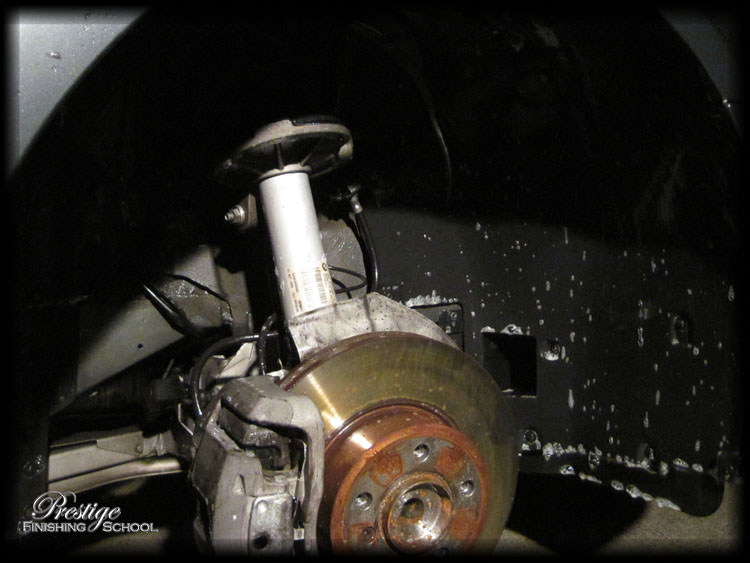
The arches are initially rinsed with high-pressure spray, then a strong solution (4:1 dilution ratio) of "Meguiarĺs Super Degreaser" was applied and the arches are scrubbed vigorously with a stiff bristled brush.
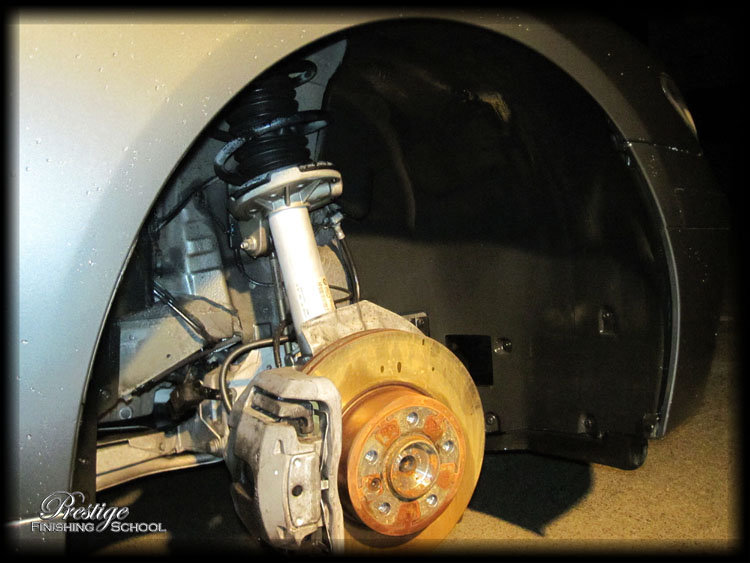
One clean, the wheel arch liner is dressed with "Meguiars All Season Dressing", leaving a very smart finish.
The wheels themselves also accumulate a disproportionately large amount of dirt ľ primarily from the brake pads. The cleansing process for these was to scrub the tyre walls with "Meguiars Super Degreaser", and to clean the bulk of the grime off with soap and water.
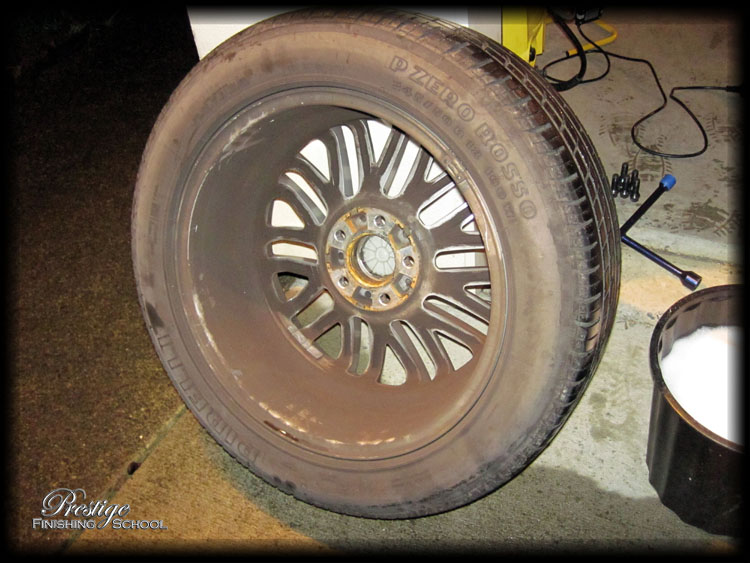
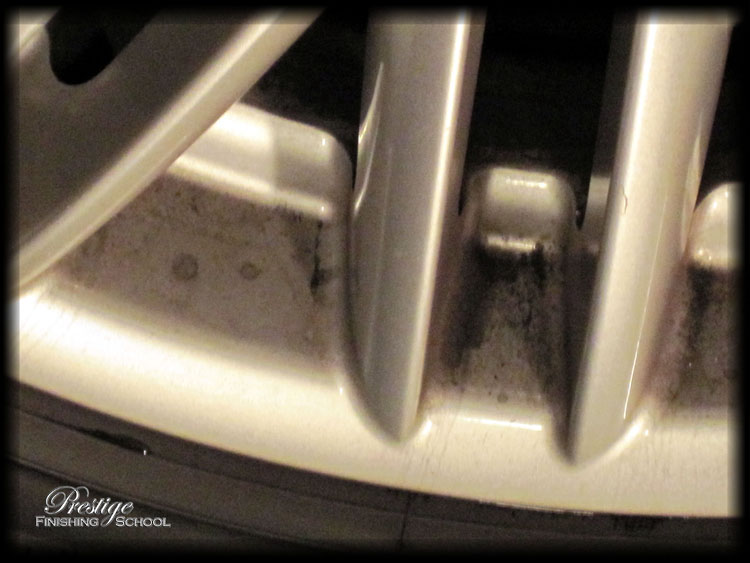
This left us with the etching and bonded particles of brake dust to attend to:
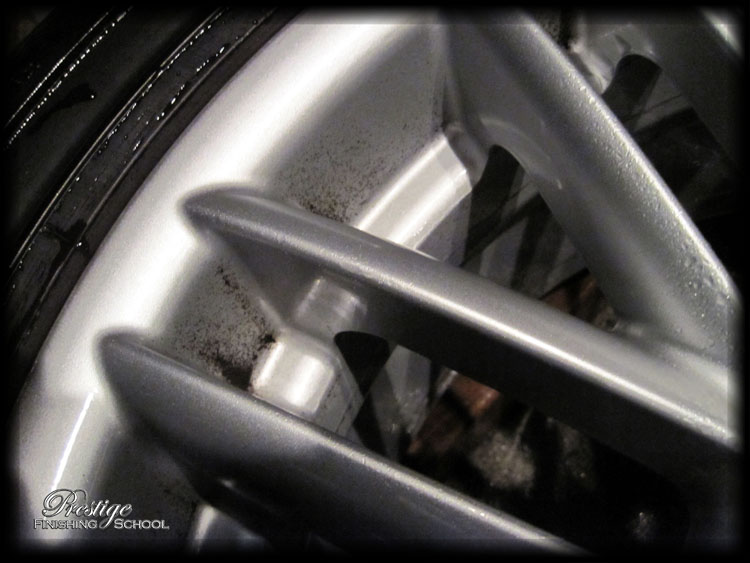
P21S Wheel Gel was employed to remedy the problem, combined with another full hour spent meticulously cleaning each of the rimĺs 20 alloy spokes. This was followed with an application of Poorboyĺs Wheel Sealant to protect the rim.
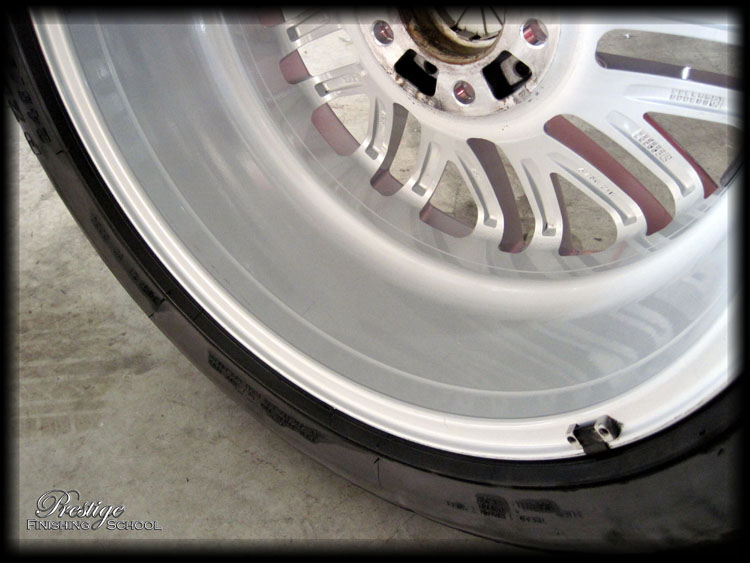
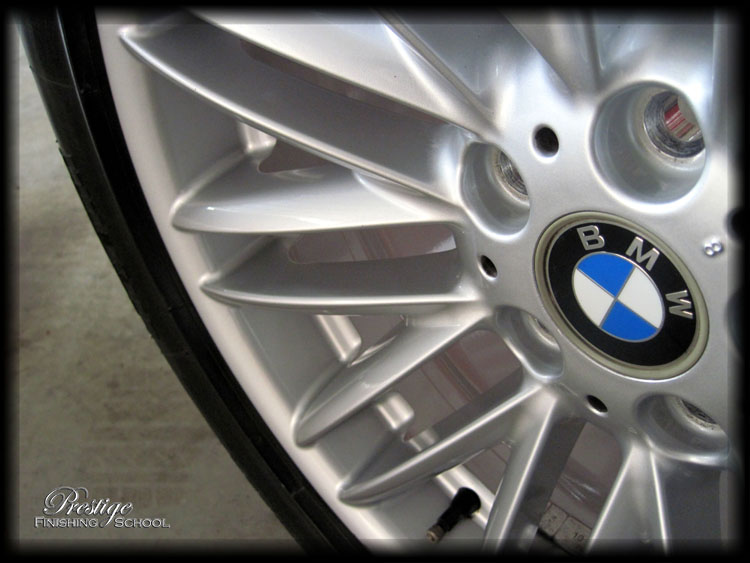
The end result is sensational, and the process was then repeated for each of the remaining three wheels.
Foam Bath
Prior to any polishing, or paint correction of any kind, it is imperative that the paint surface is impeccably clean. To achieve this in the most 'gentle' way possible, the vehicle is first covered in a thick blanket of foam. This is achieved with "Meguiarĺs Hyperwash", applied to the vehicle via an "Autobrite UK Foam Lance".
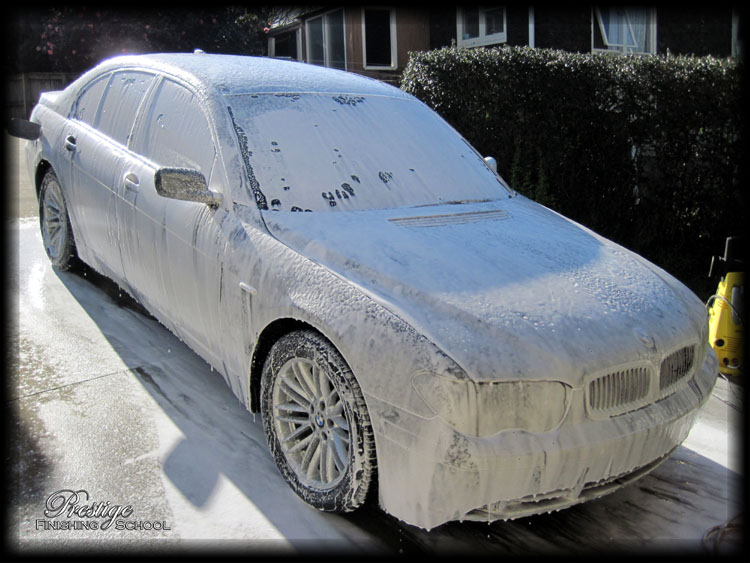
And left to dwell for 5 minutes before being rinsed off.

Hand Wash
With as much dirt as possible removed from the vehicle without direct contact, it was time to complete the wash process with a hand wash via a Lambswool Mitt and Meguiars Shampoo Plus.
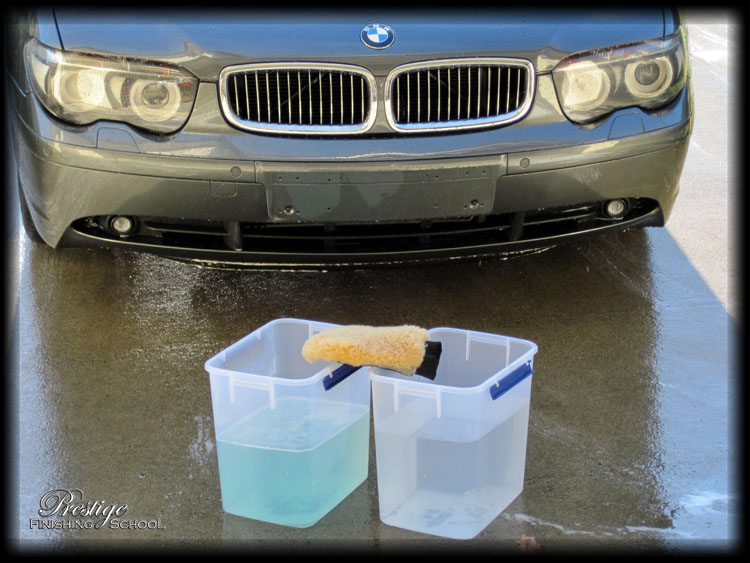
A lambswool (or microfibre) mitt should always be used for 'contact' washing of a vehicle's painted surfaces. Particles of grit and dirt on the paint are the primary cause of swirls on modern vehicles with 'clear coat' paint. Regular sponges cause the grit to be trapped against the surface of the paint and dragged across it. (Even worse still are the brushes at self-service or automatic carwashes.) The plush mitt however will draw the dirt away from the paint surface, deep into the fibers of the wool, thus preventing it from inflicting further damage.
Also notice the separate buckets for 'wash' and 'rinse' action. This is the safest and most effective way to clean a vehicle's paint. The Mitt is soaked in the 60° C Shampoo Plus solution which has a "Low-Suds / High-Lubricity" formula and then worked over the vehicle. After each panel, the Mitt is cleaned off in the 'rinse' bucket, dislodging any dirt picked up off the car, before being re-soaked in the shampoo.
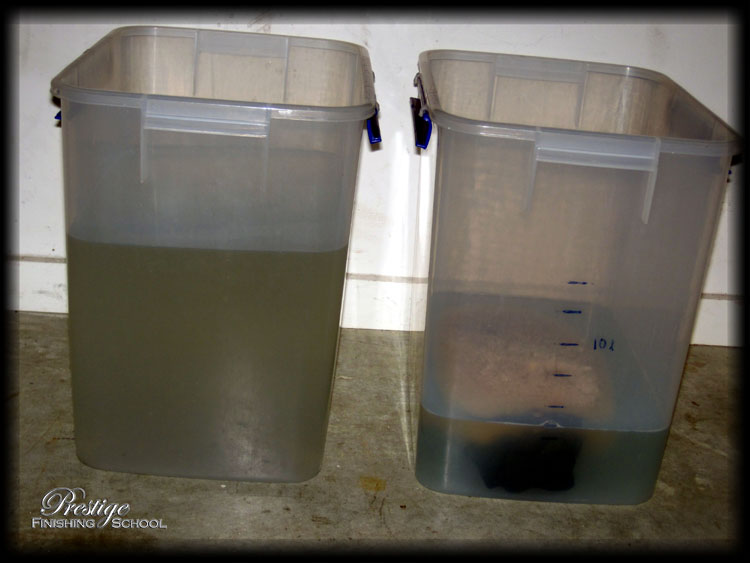
Despite the vehicle having been "washed, clayed & waxed" only days prior by the owner, it still pays to maintain 'safe' wash procedures. The fine particles of grit in the 'rinse' bucket on the left would still cause marring of a vehicleĺs paint, resulting in a visibly 'dull' finish, and potential scratches over time.
Clay Treatment
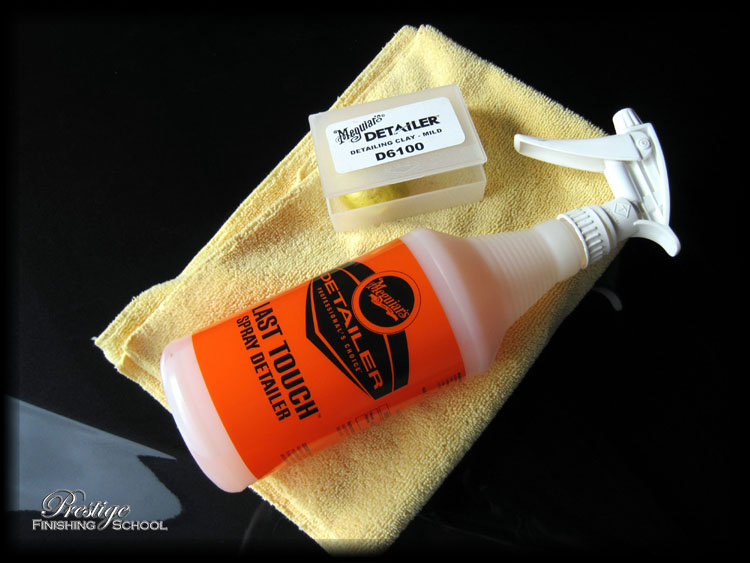
The final step in ensuring a perfectly clean paint surface is the removal of bonded contaminants with a detailing clay bar. This can include tar spots, tree sap or industrial fallout, all of which contribute to making the paint surface rough to the touch and dull to look at. In this instance, a Meguiars 'Mild Professional Detailing Clay' bar was used with Meguiars Last Touch (diluted 1:1) as lubrication.
Very little contamination was removed from the vehicle, as the owner had very recently clayed the vehicle himself. However, even small amounts of contamination can significantly reduce the effectiveness of any subsequent polishing. If not removed, the material will be drawn into the polishing pad, and potentially instill scratches to the paint surface throughout the machining process - so it is well worth taking the time to ensure that the paint is perfectly clean and smooth prior to any form of correction.
With the BMW's painted surfaces now perfectly clean and smooth, we can move the vehicle inside and commence corrective polishing…