Ferrari 575M Maranello F1 (Part 2)
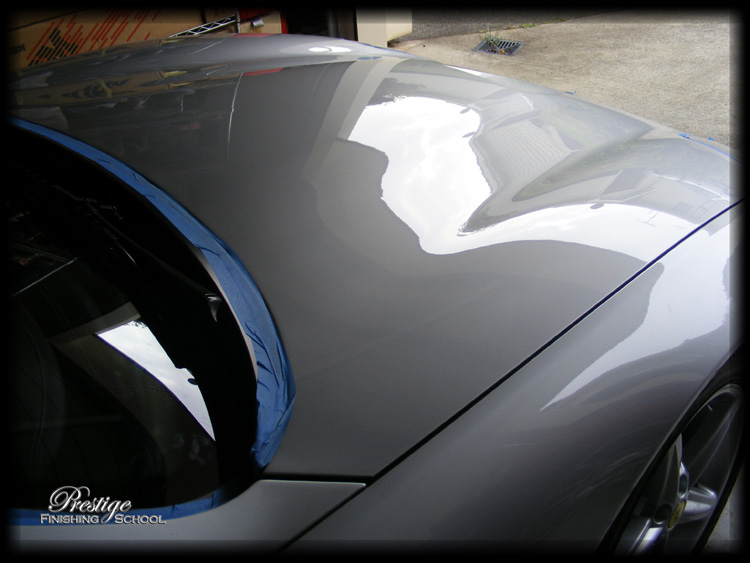
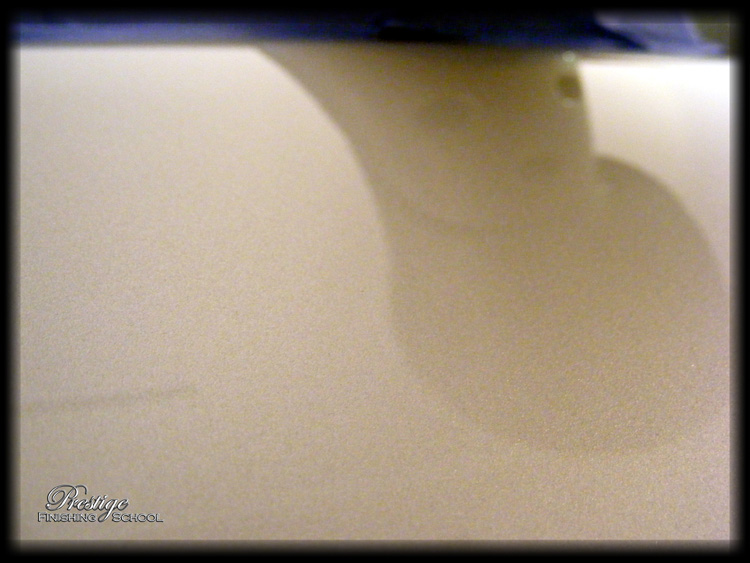
At this point, we get to see and understand the true and unadulterated state of the vehicle bodywork. Without the benefit of any (defect masking) wax and under the unforgiving twin 500W Halogen lights, the paint surface was holding up reasonably well!
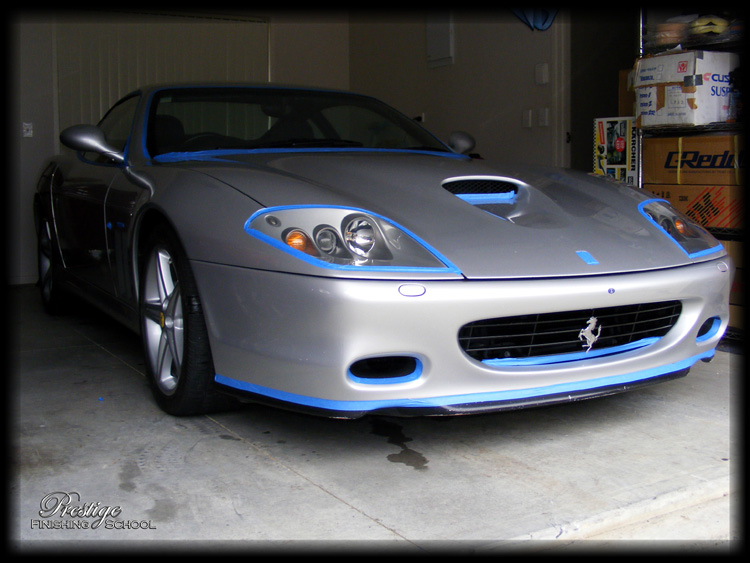
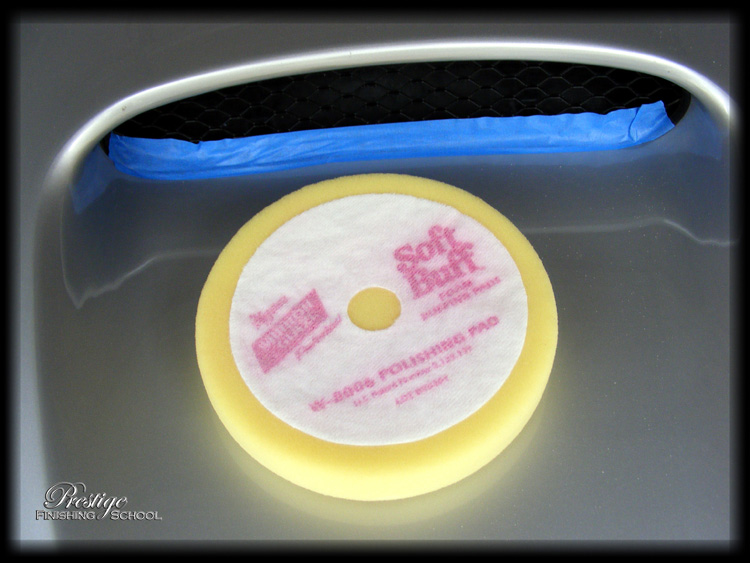
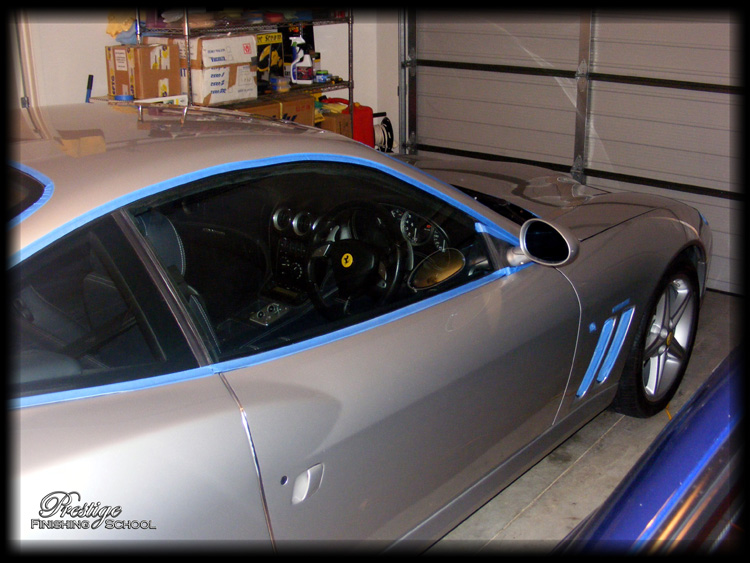
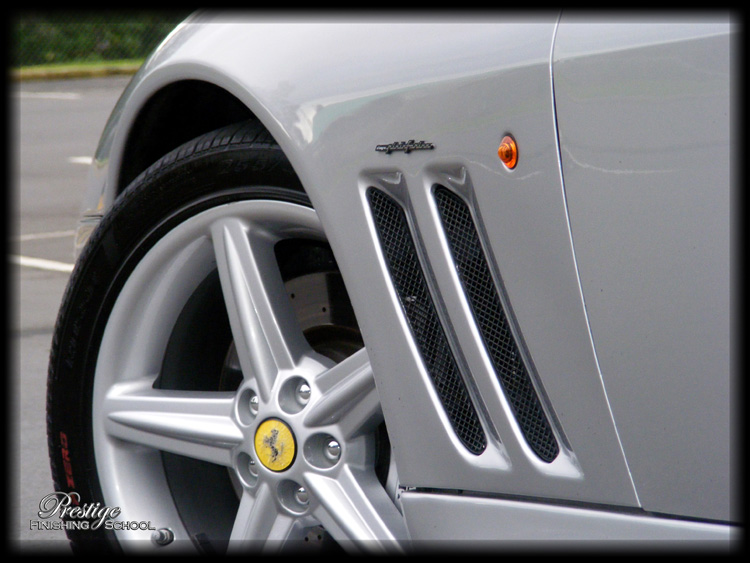
The vehicle's trim is masked off with purpose made 3M painters tape. This serves to protect the trim pieces from being stained with residue during the polishing process. Additionally, it prevents damage to badges and sharp edges as well as preventing dusting from the polishing stage from getting into gaps and requiring re-cleaning.
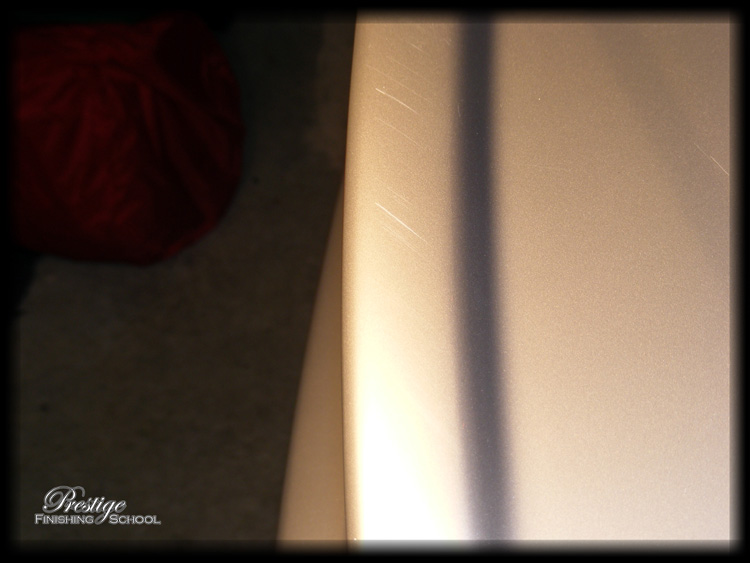
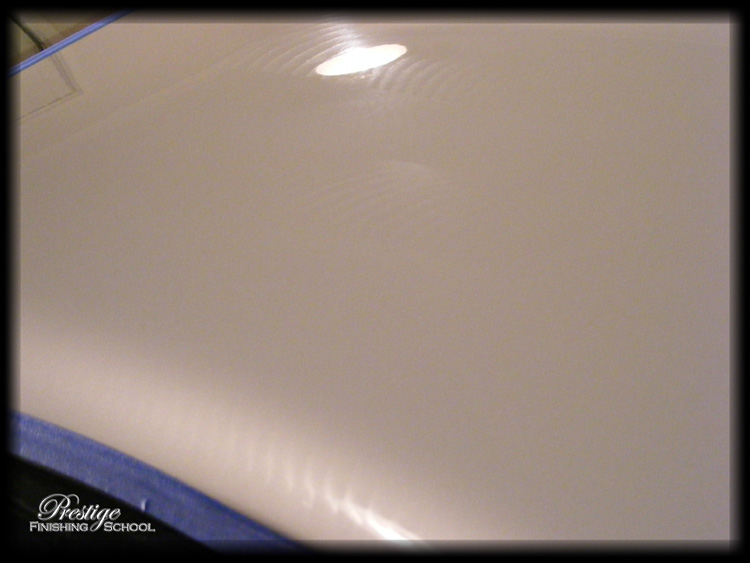
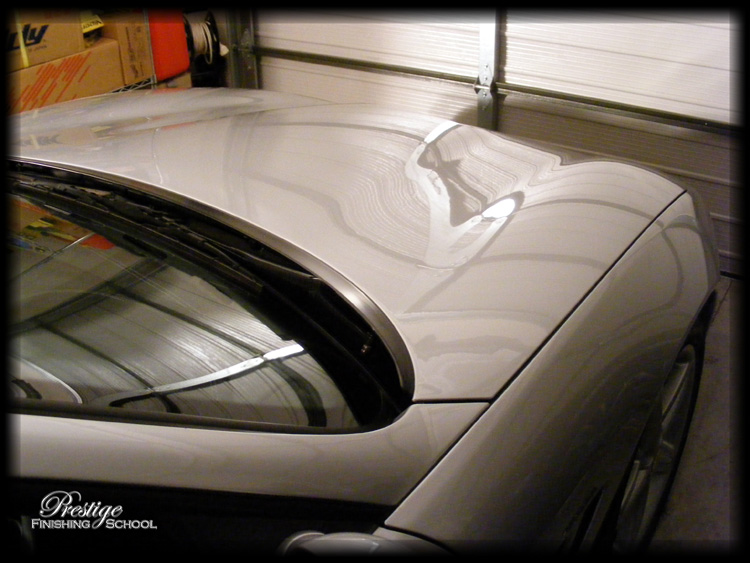
There was evidence of some minor swirling of the paint, especially here on the roof…
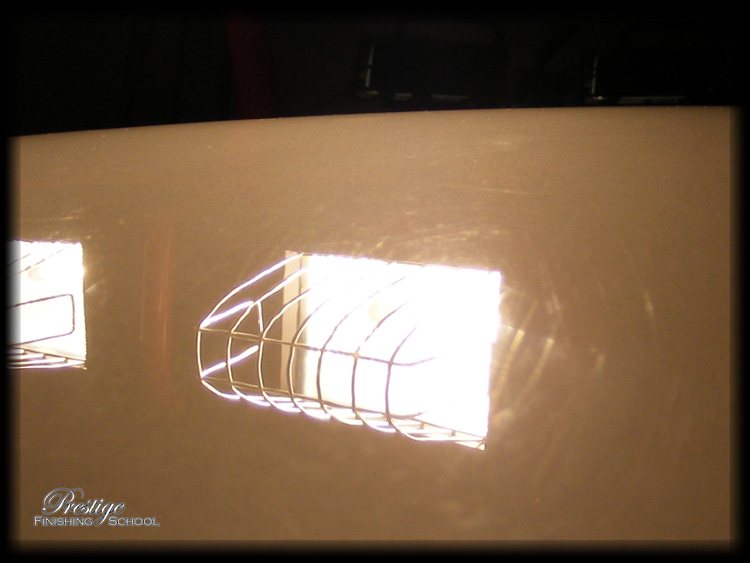
…and on the boot lid.
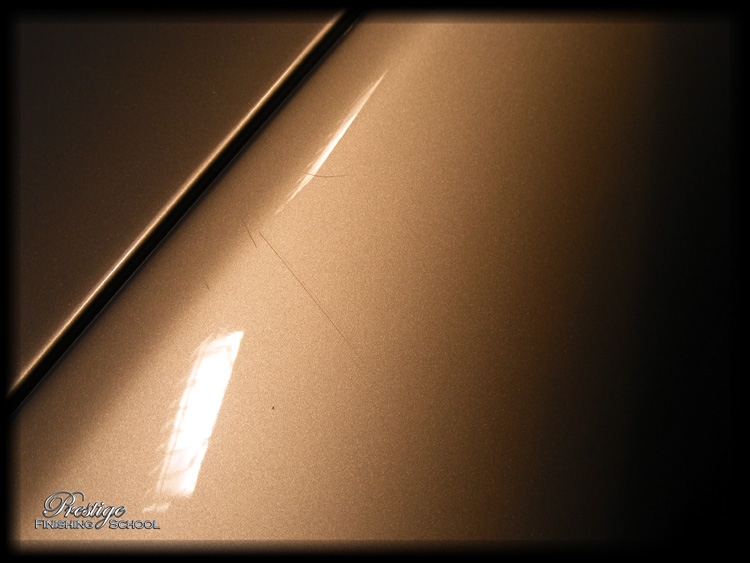
There are a number of small deeper scratches around the vehicle. These would require heavy compounding and cutting, prior to polishing in order to remove them and unfortunately this was beyond the scope of this "Minor Correction" detail.
Nevertheless, we are confident that we can make this car shine!
Minor Correction
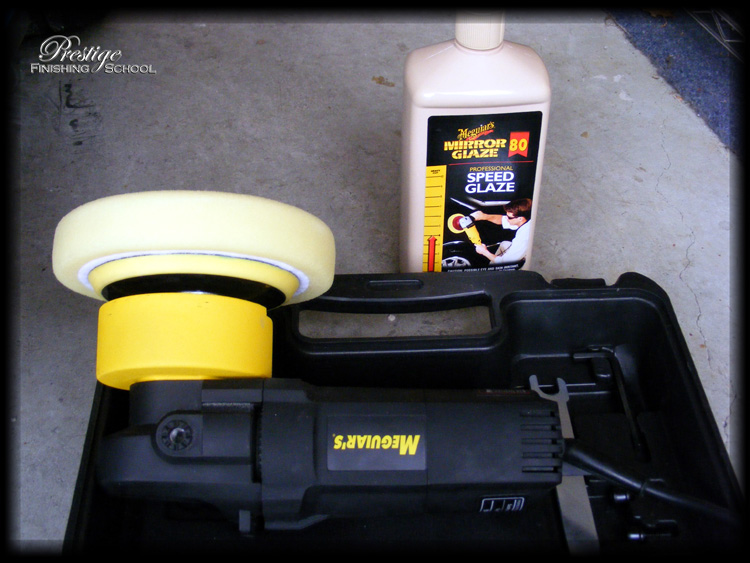
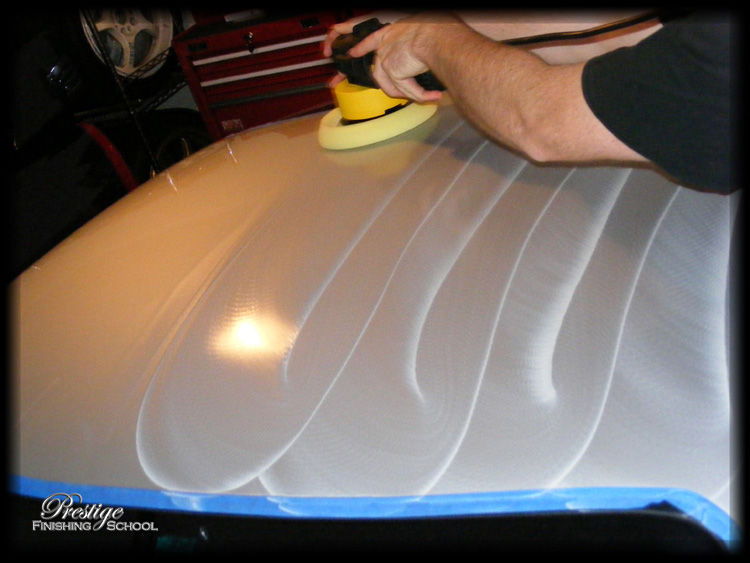
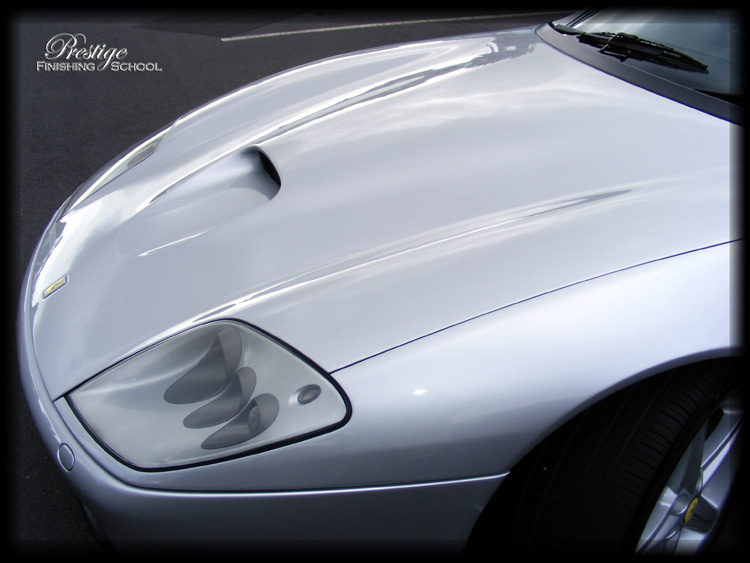
Again, we commenced with the bonnet. We performed all of the machine polishing with a Meguiars G220 Dual Action Orbital Polisher and W8006 Polishing pads.

We started out with our mildest polish, Meguiars M80 Speed Glaze.
…this gave great results on the bonnet.
But the swirling on the roof necessitated stepping this up to M83 "Dual Action Cleaner Polish".
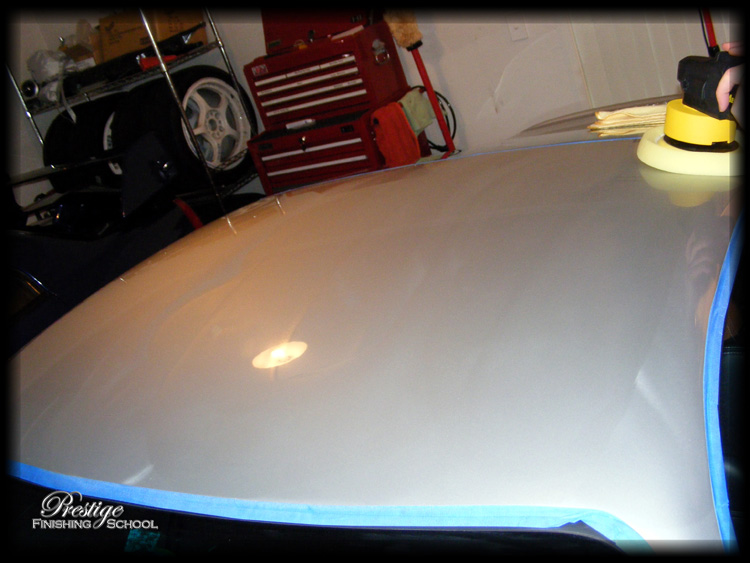
…which finished down nicely, allowing a generous "working time" and enabling us to achieve a jewel-like finish.
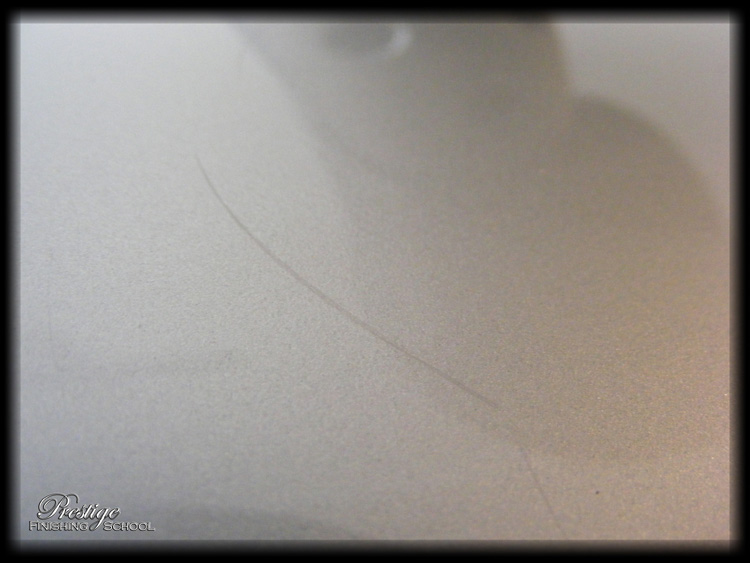
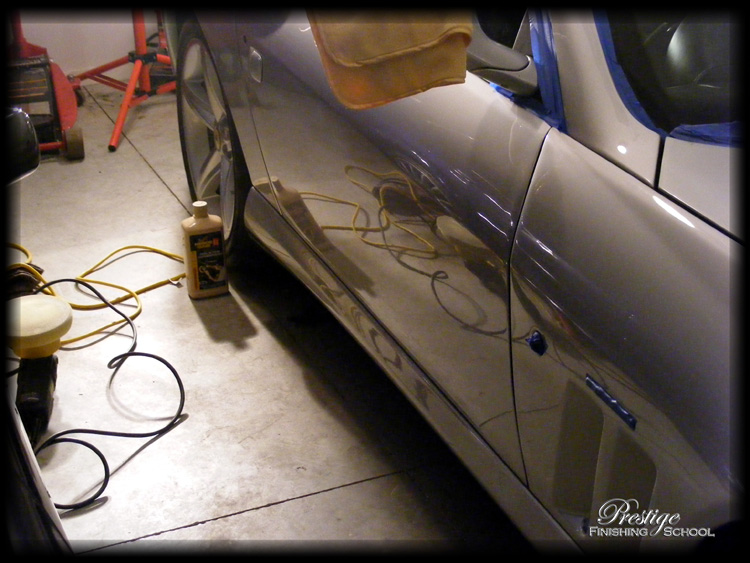
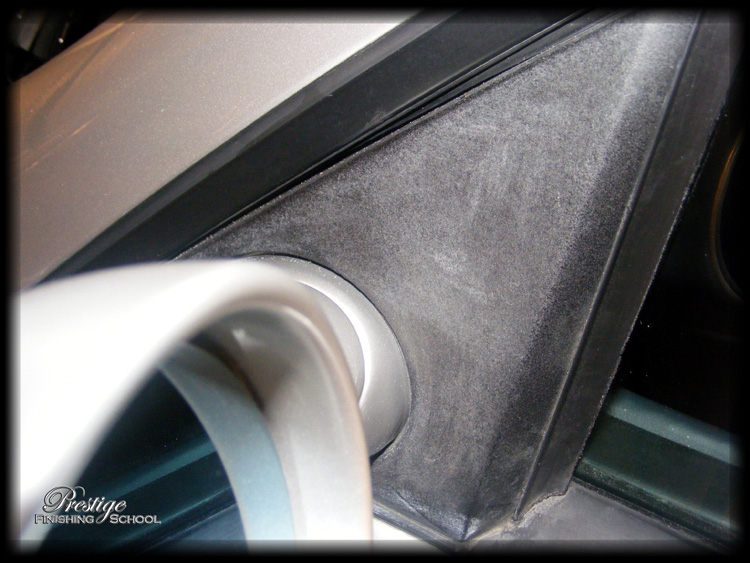
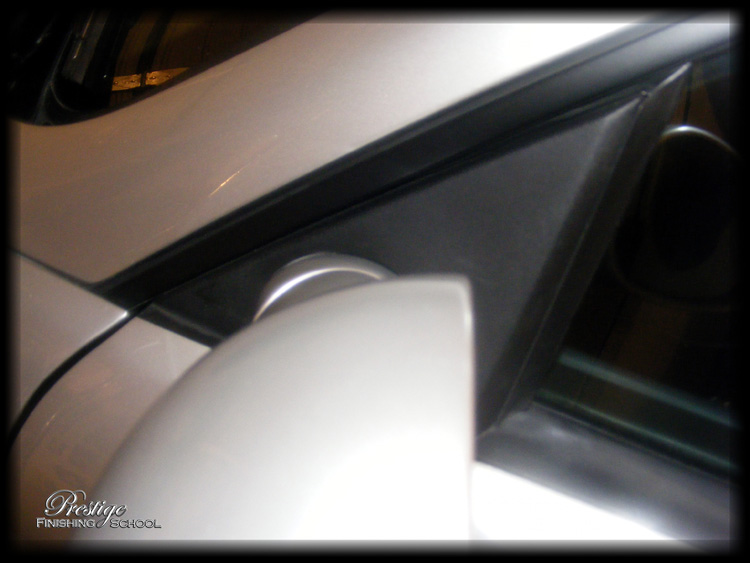
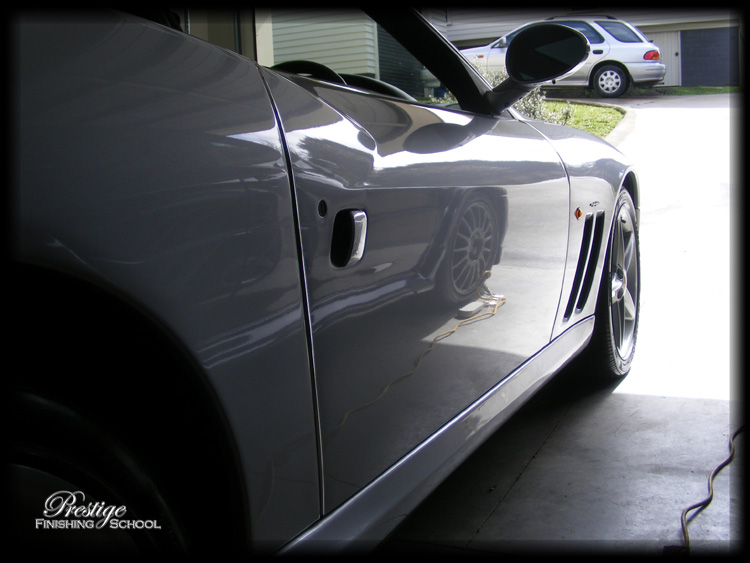
The M83 was also used to remove some of the lighter scratches, such as this one under the wing mirror on the passenger's door.
Even the best looking panels were showing faint evidence of light swirling when examined extremely closely.
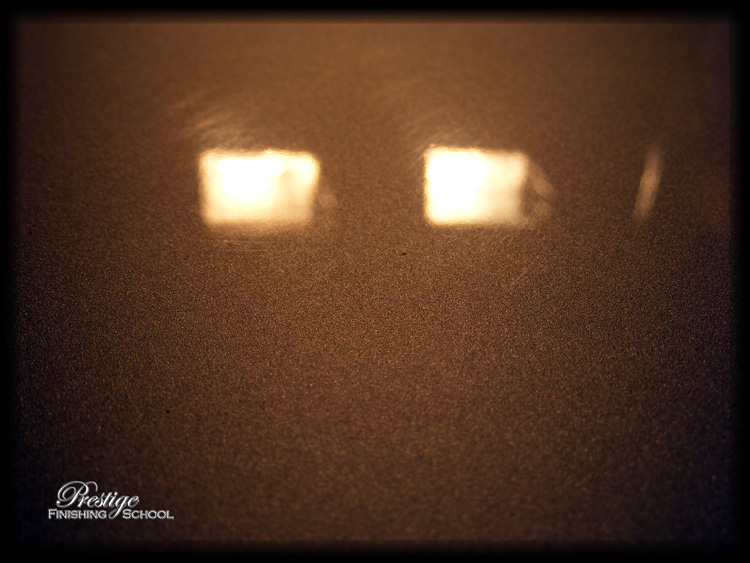
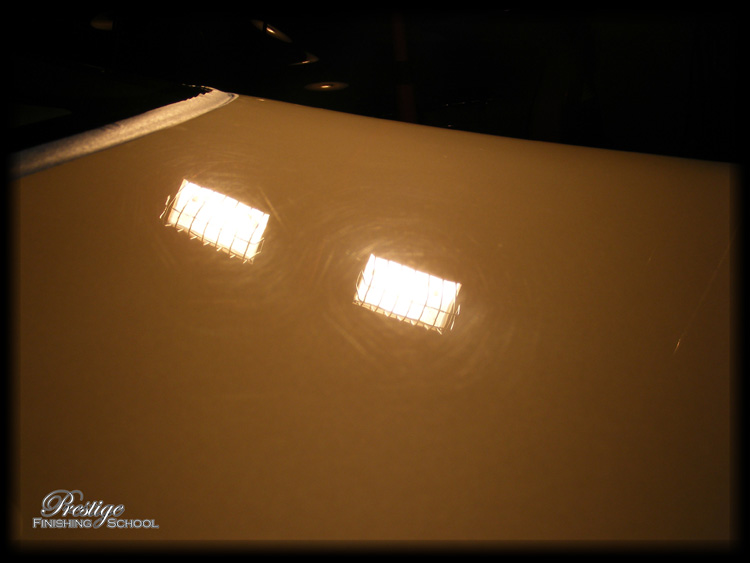
…and these were corrected to a perfectly blemish free finish.
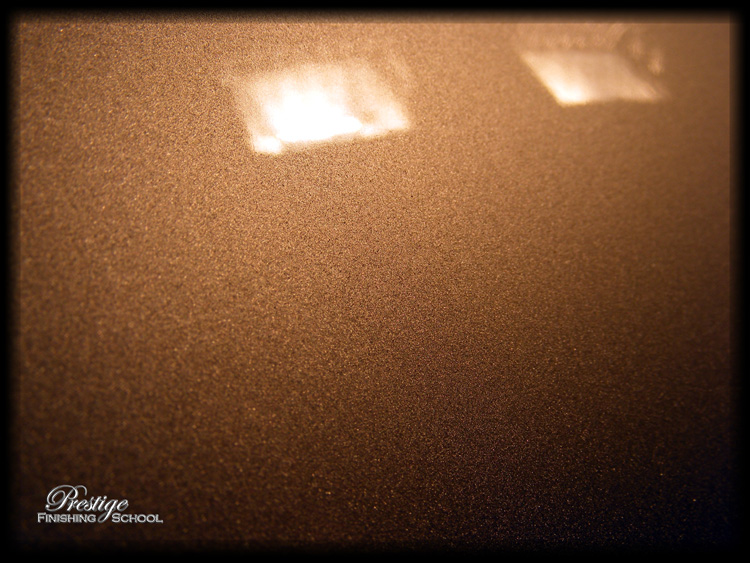
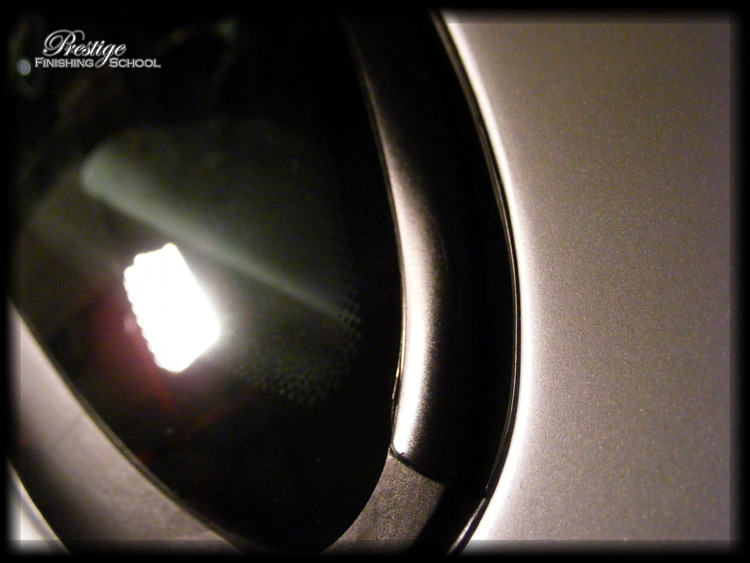
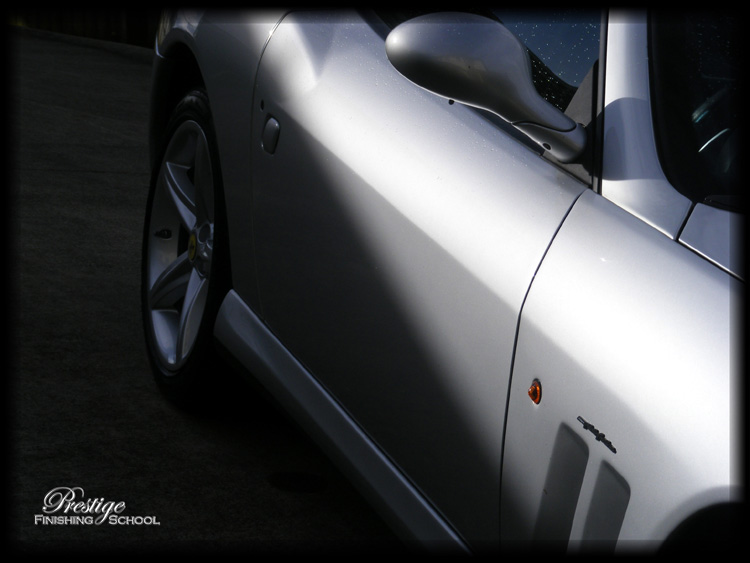
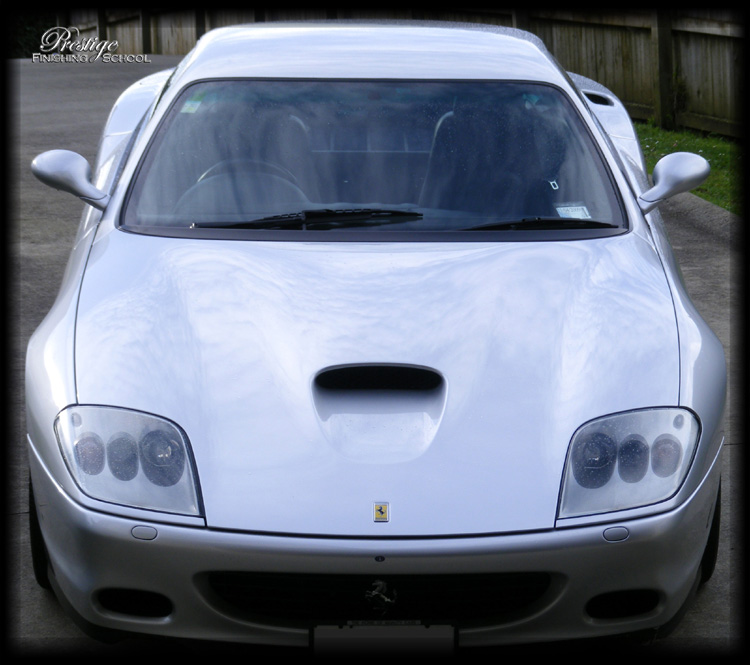
This image gives an indication of the shine and reflectivity achieved during the correction stage.
Silver vehicles are especially good for looking "passable" when dirty, but this very same attribute makes it notoriously difficult to make them really shine � and even more challenging to capture on film!
Finishing (Part 1)
With the paint now in the best possible condition, we turn our attention to protecting the mirror-like finish from the elements and enhancing the gloss. In this case, our client has opted for the absolute best protection that we offer.
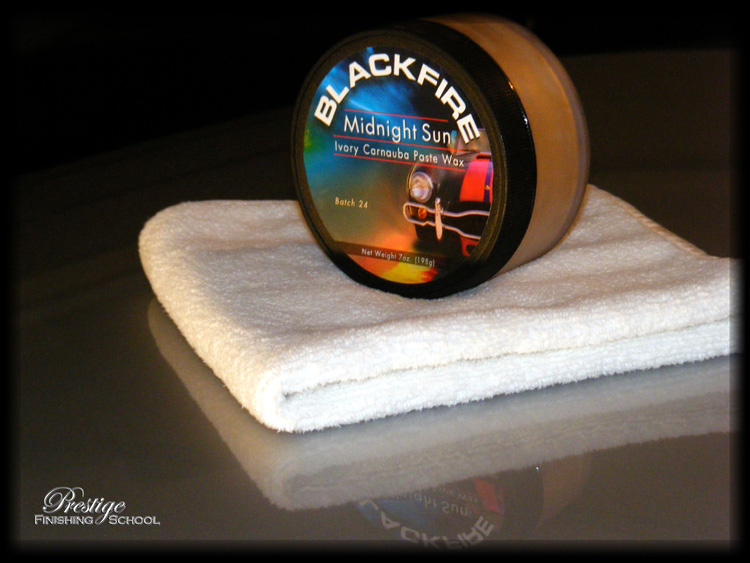
Blackfire's "Wet Ice over Fire" paint protection system comprises a base coat of "All Finish Paint Protection", a synthetic sealant employing the latest advances in polymer bonding. This must "cure" on the vehicle's surface for at least 8 hours, and is then topped with two separate coats of "Midnight Sun" Carnauba wax. (Also separated by minimum 8hr curing period.)
The sealant was applied by machine, on a Meguiars Finishing Pad!
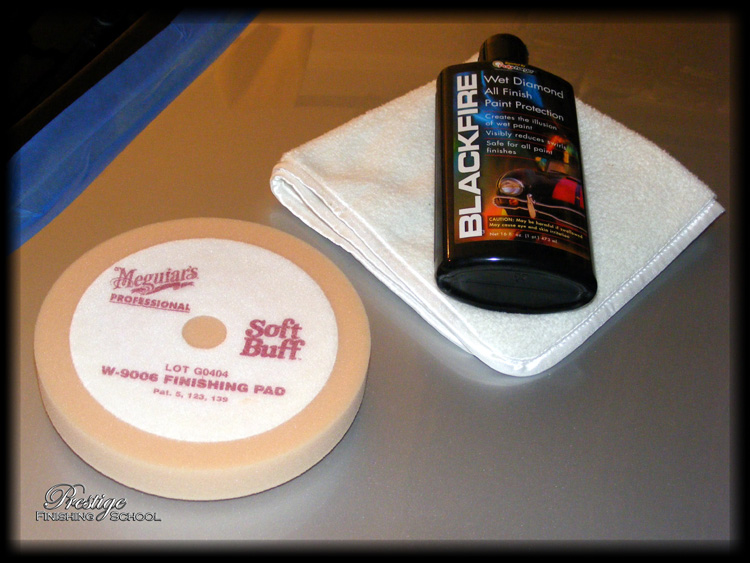
The machine application helps to prevent too much sealant being worked into the paint (which makes it difficult to buff off) and ensures uniform product coverage.
This was buffed off with a plush microfibre cloth, and left to set.
Interior Detail
While the Blackfire sealant was curing, we set about cleaning up the interior of the vehicle. It wasn't in especially bad shape, but it certainly wasn't up to standard!
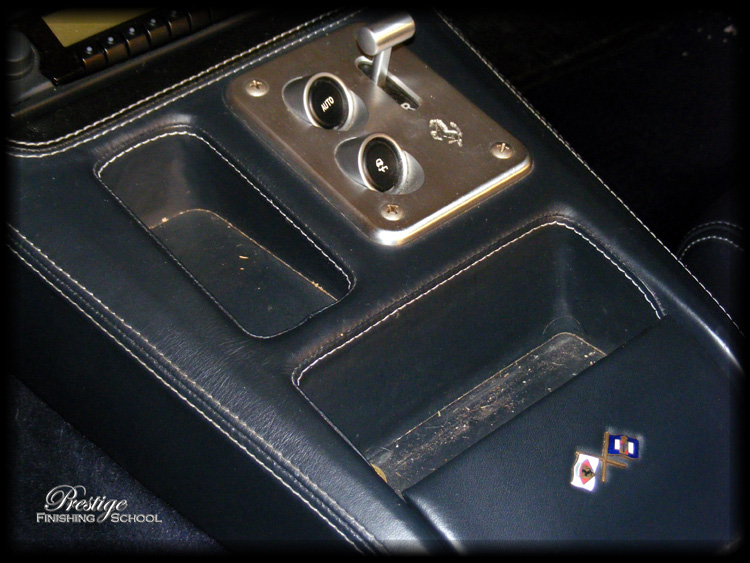
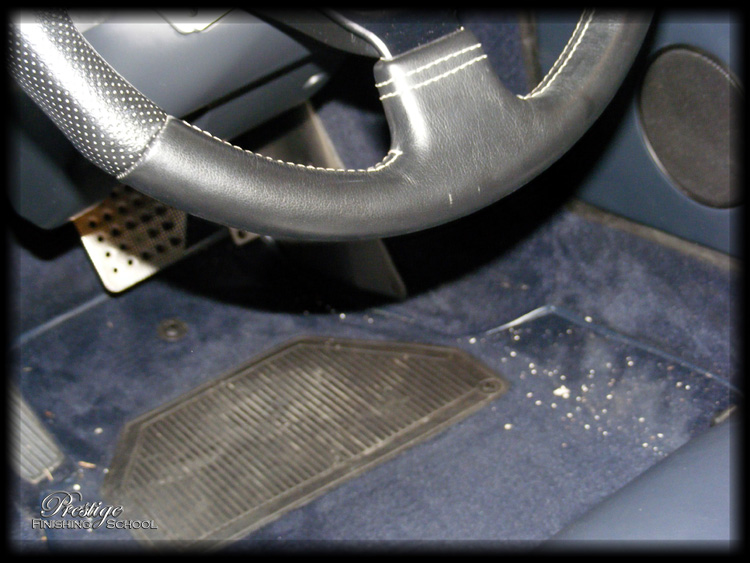
Some areas were more heavily soiled.
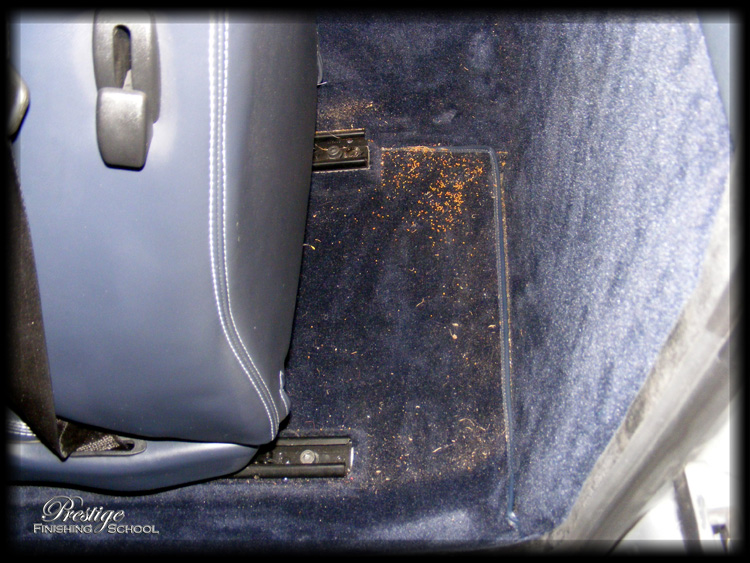
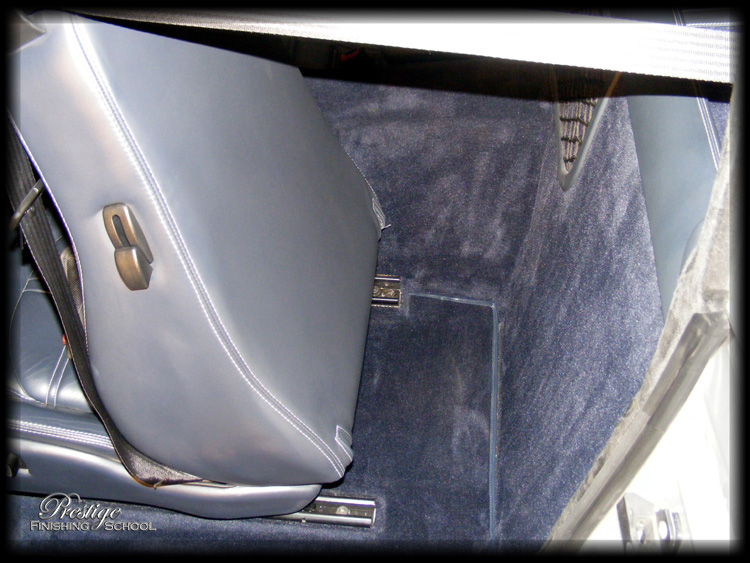
Nothing a good vacuum won�t see to though.
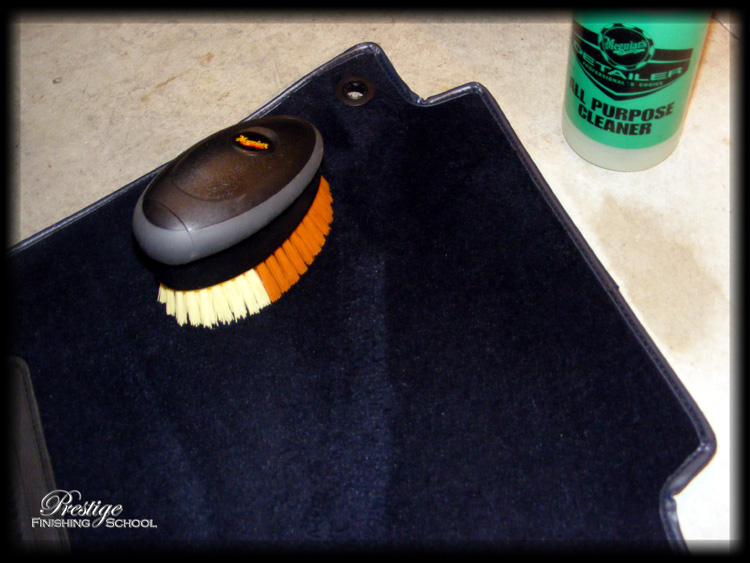
Unfortunately, there were some unsightly stains on the floor mats.
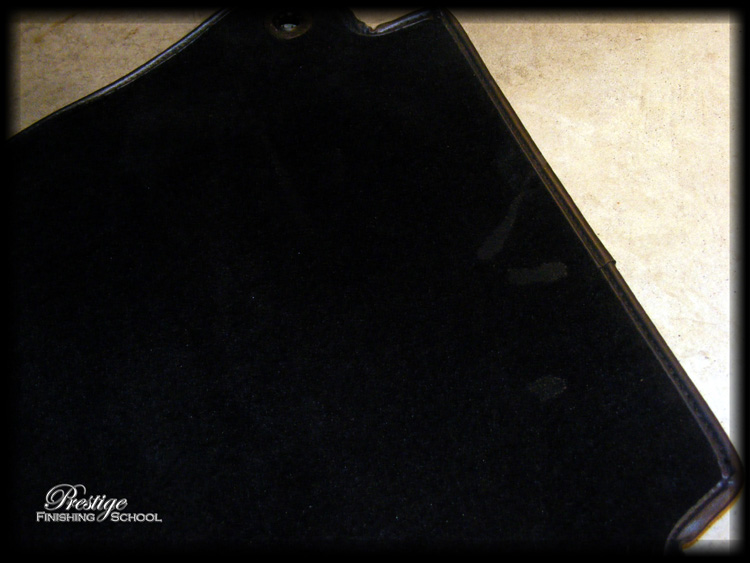
These were removed with a weak concentration of All Purpose Cleaner, and a Meguiars Interior Surface Detailing brush.
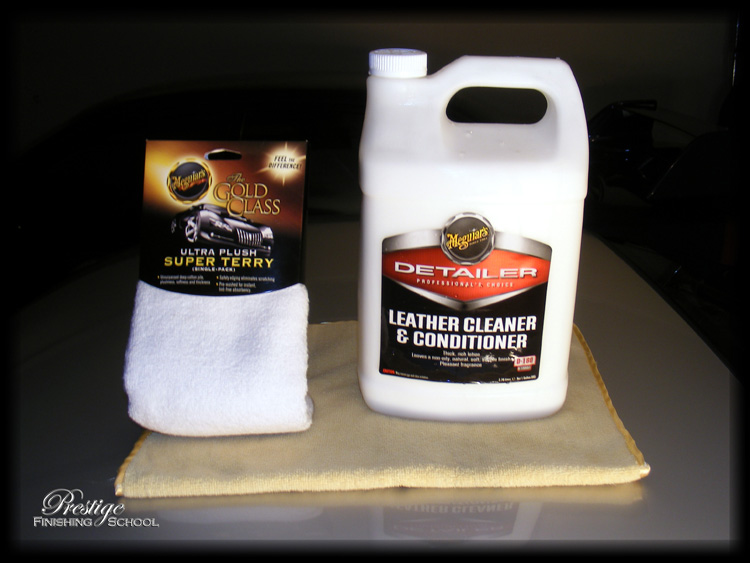
The leather interior was completely cleaned and the hides conditioned.
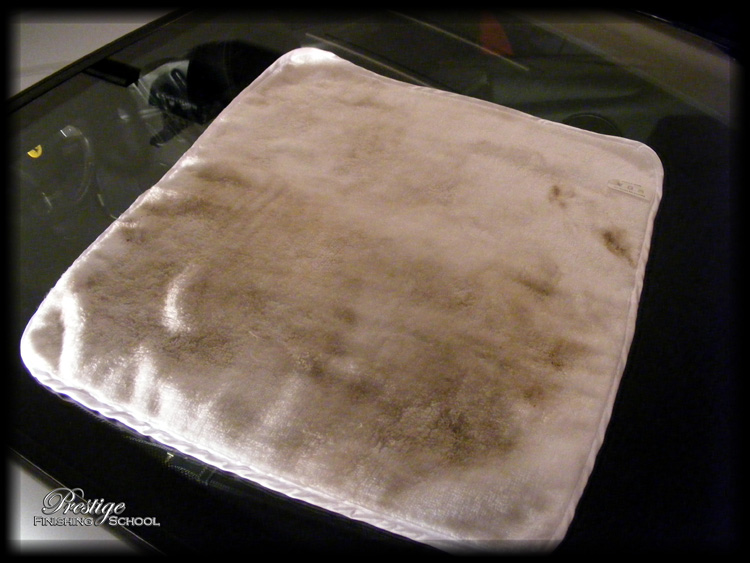
That brand new Terry Cloth shows up exactly how much dirt was removed from the leather by the time we'd finished!
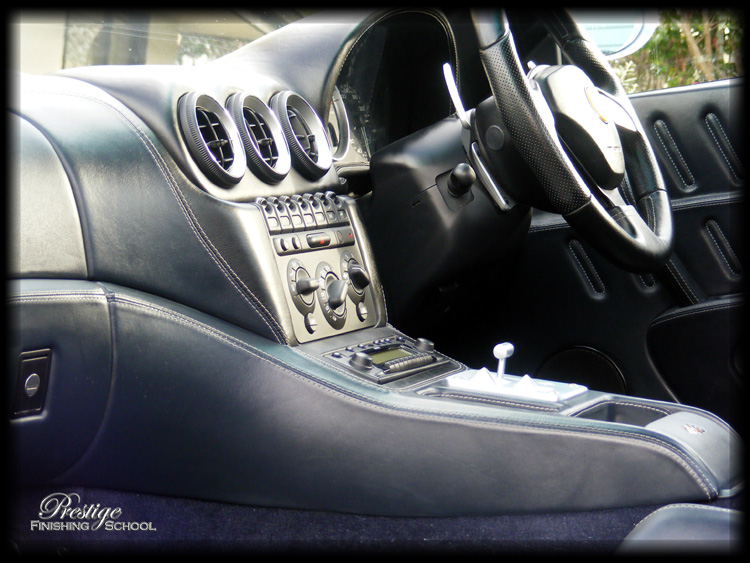
And the results speak for themselves, with the interior now looking much more representative of its hand-crafted, original condition.
Finishing (Part 2)
We now turn our attention to the 'little things' that really embody the essence of top level motor detailing. For example, the removal of any leftover masking tape residue.

…and the cleaning up of earlier attempts to 'wax' or 'polish' black plastic mouldings and trim pieces!
By this time, the vehicle is ready for the application of its first coat of Carnauba wax. This is applied by hand, using a foam applicator and buffed off with another deep pile microfibre buffing cloth.
The wax builds on the reflectivity and adds a visible 'glow' to the paint.
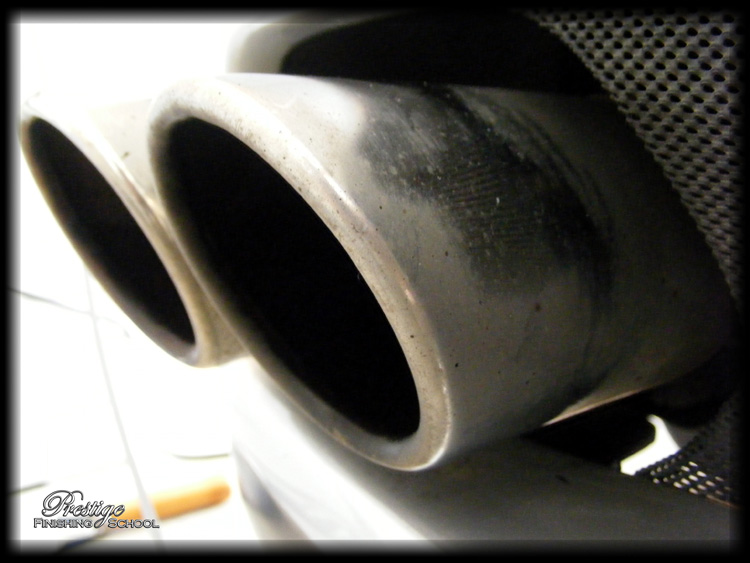
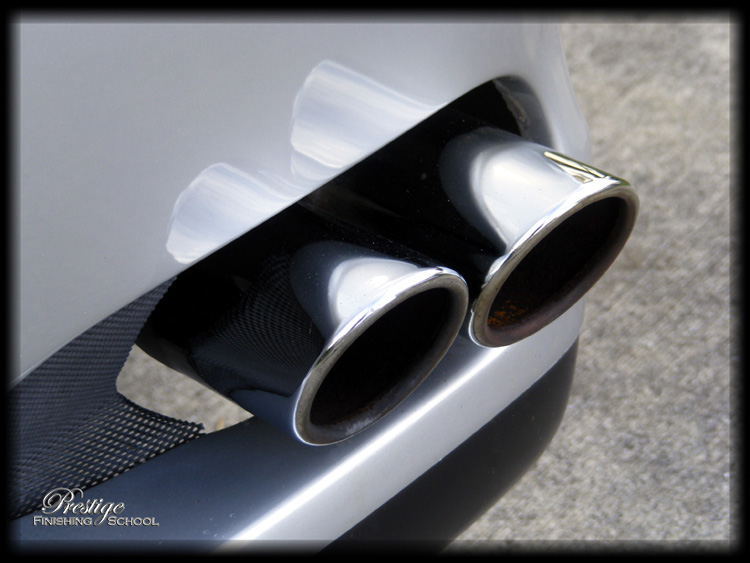
Exhaust tips were cleaned up with Meguiars NXT metal polish.
And tyres dressed with Blackfire Long Lasting Tyre Gel.
In addition, all glass was cleaned, inside and out with Meguiars Glass Cleaner Concentrate.
Final Showing
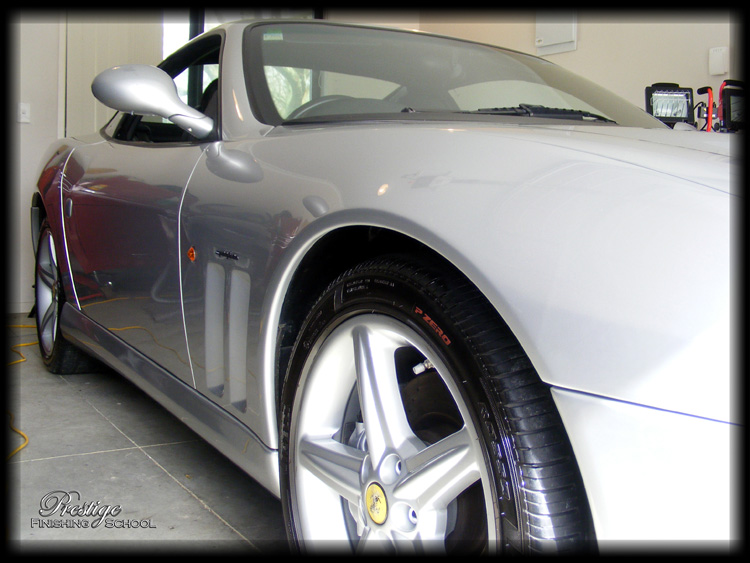
All that remains now is to roll the vehicle out into the sunlight and indulge ourselves in a few choice pictures before the final application of wax that would ensure protection of the car's paint for months to come.
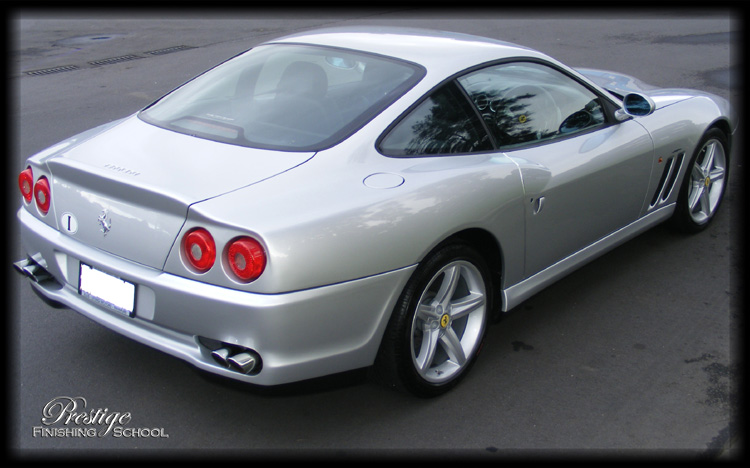
Completing this detail was at times frustrating, but ultimately a deeply rewarding exercise. The color of the vehicle doesn't lend itself to dramatic, bold imagery that can often be showcased with black or red vehicles, but instead projects a more subtle demeanor that can be gazed at for hours, and each time delight the viewer with a new glimmer or nuanced reflection.
With the owner expressing equal measures of amazement and delight upon taking delivery of his Italian thoroughbred, we look forward to our next project. In the meantime, we are proud to present another top class graduate from the Prestige Finishing School!