Porsche Cayenne S (Part 2)
Initial Assessment
Right from the beginning, it was evident that only a very small amount of paint correction would be necessary for this vehicle, with very little marring present on any of the painted surfaces. Nevertheless, we still undertook a thorough examination of each panel, paying particular attention to the thickness of the paint present.
The PosiTest DFT Combo gauge from DeFelsko is an invaluable tool for this purpose. It will quickly and accurately (to the nearest micron (µm) which is 1/1000th of a millimeter) measure the thickness of a coating on any ferrous (eg. steel) or non-ferrous (eg. aluminium) surface.
Having knowledge of the relative thickness of the paint is a fundamentally important factor when undertaking any form of paint correction. Both in terms of understanding the amount of "working material" that you have to begin with, and throughout the correction process to ensure that only safe amounts of the top layer of clear coat are removed.
Across the majority of the Cayenne, paint levels were showing consistently healthy readings:

However, on the aluminium bonnet, there was a significantly thinner application of paint, with some areas reading as low as 45µm. That’s roughly the thickness of a very thin human hair! (And bear in mind, that reading comprises a layer of primer and a layer of colour, as well as the clear.)
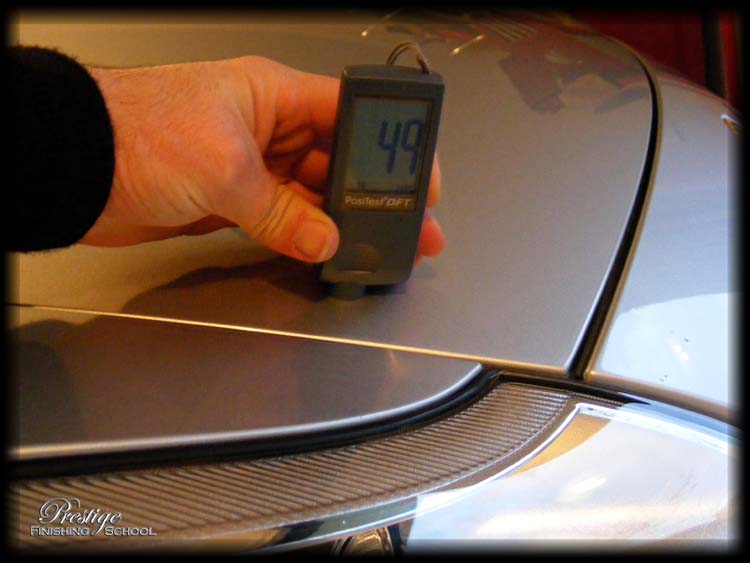
Undertaking any corrective action on this level of paint with aggressive compounds or polishes would run a significant risk of "striking through" the protective clear coat altogether. Such a misstep would necessitate a complete re-spray of the panel, so we always check every panel before, during and after any of our details.
In all, almost a thousand readings were taken throughout the course of this detail, with only the bonnet showing any area of significant concern.

Each panel was carefully assessed to highlight any localised ‘thick’ or ‘thin’ areas that might represent previous touch-up work, or aggressive cutting in a localised area.

As far as we could ascertain, this vehicle had completely ‘virgin’ paint.
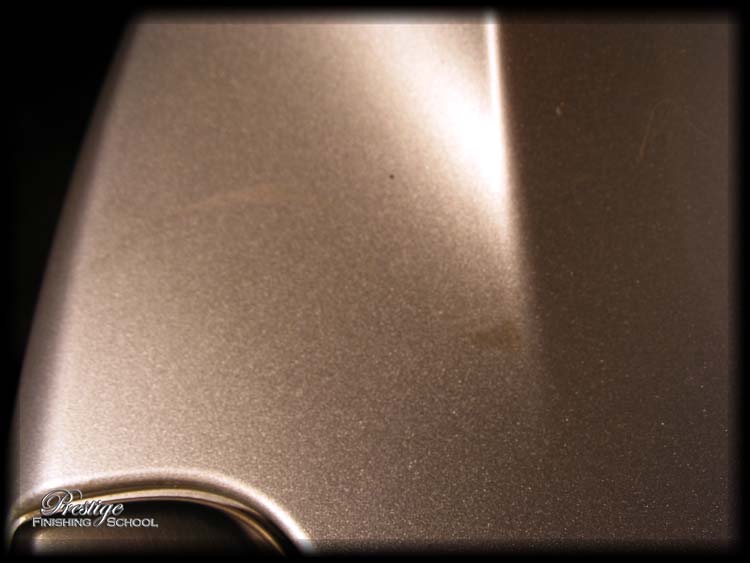
And, the paint was in great shape, with no evidence of swirling or scratches.
Only a very small amount of mico-marring could be seen on close inspection.
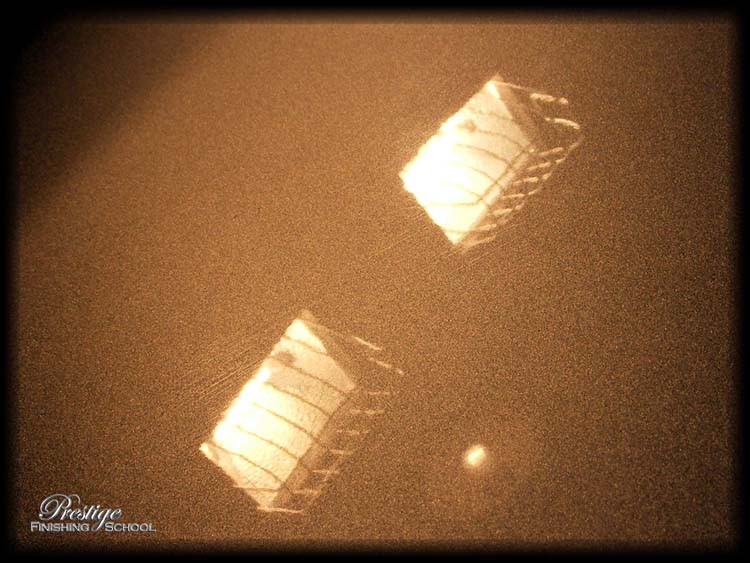
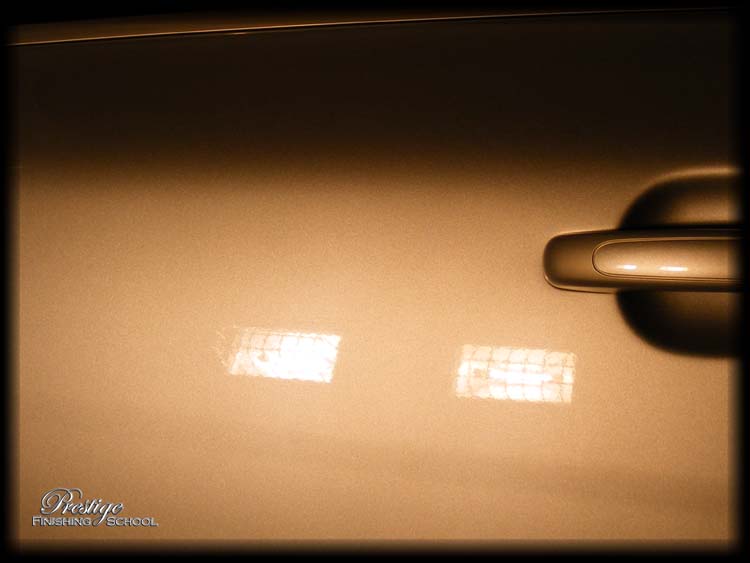
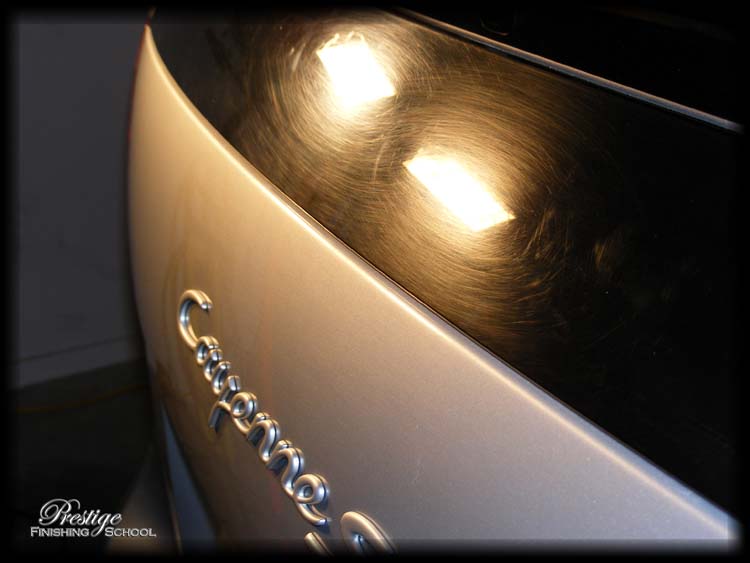
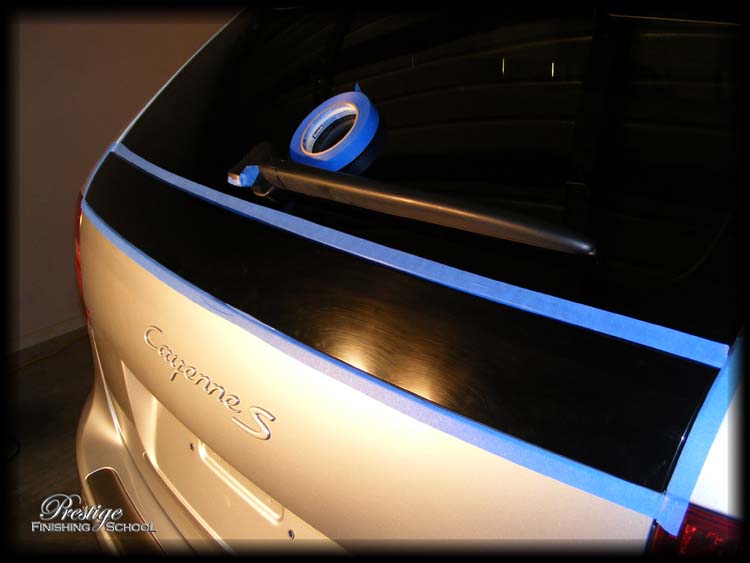
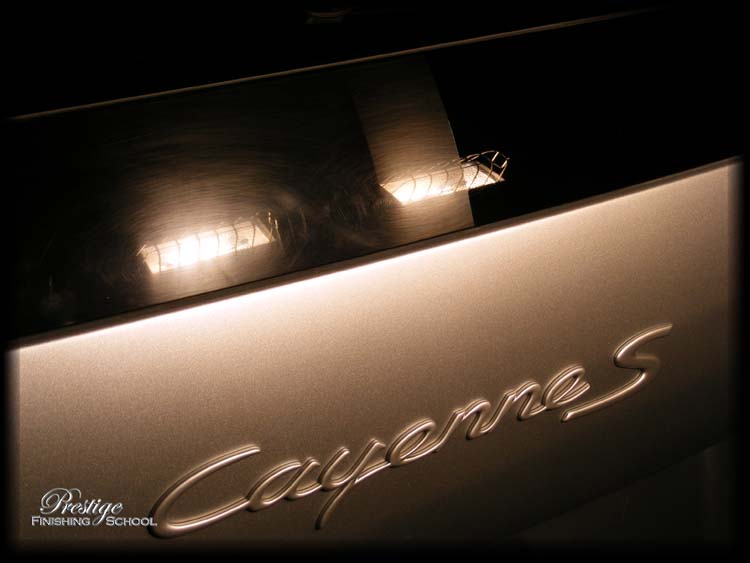
There were two areas of concern, both on the vehicle’s boot. Here, severe swirling of the trim just below the rear window:
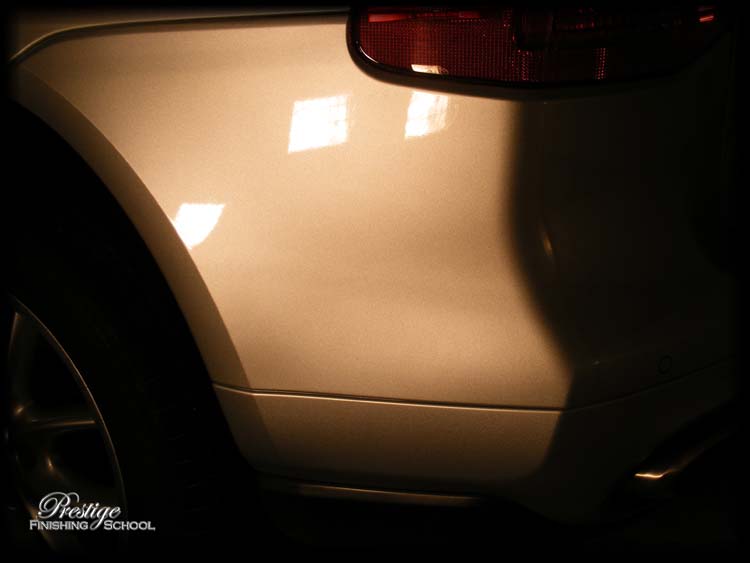
And here, some deeper scratches at the base of the boot door.
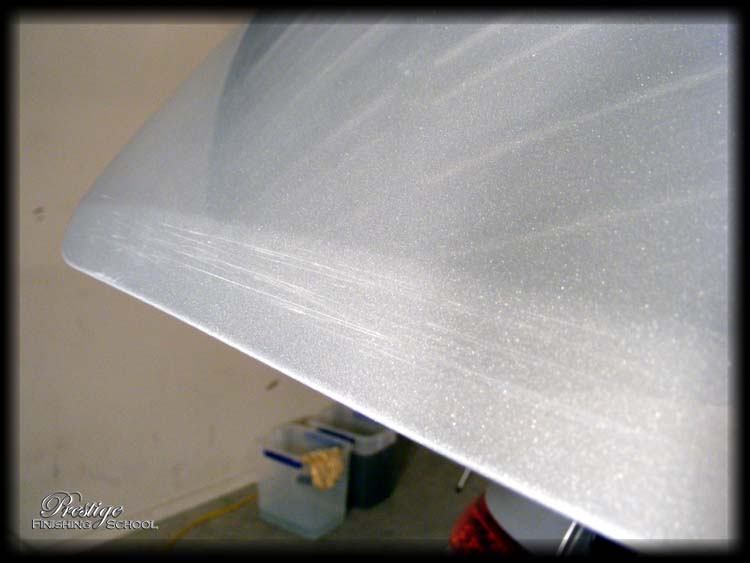
These will be addressed first of all!
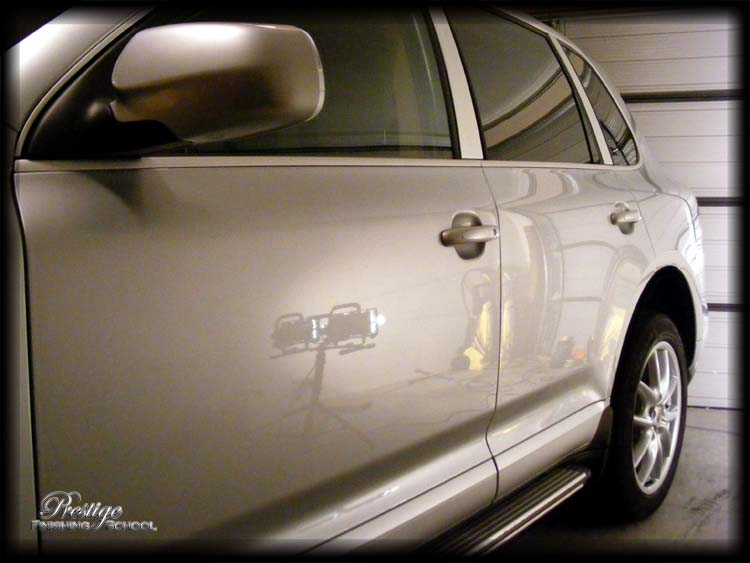
Course of Correction
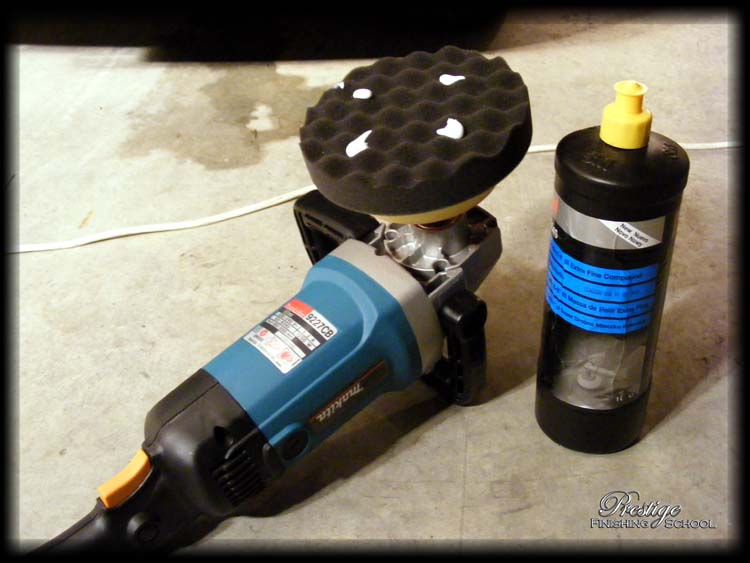
This stage of the detail would be carried out with the Makita 9227CB rotary polisher. There are a plethora of "cheap & nasty" rotaries on the market, but the Makita has several features that are practically mandatory for any quality correction. The first is a guaranteed constant rotational torque, irrespective of the amount of pressure placed on the machine head, and the second is a variable speed control, providing fine-grained control between the ranges of 500-2000RPM. These combined with the superior ergonomics and ‘nice’ features such as the ‘soft start’ mechanism make for an ideal tool.
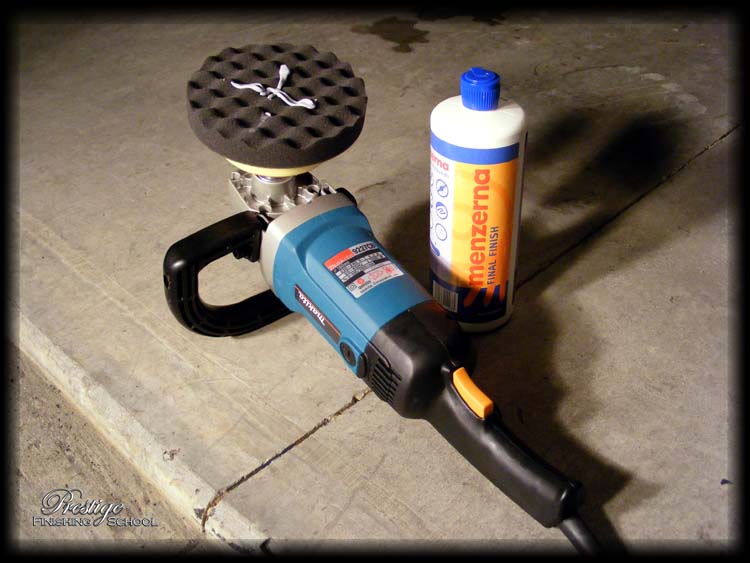
The machine is fitted out with a 3M rotary backing plate and 3M polishing pad. Given the German subject, we opted for Menzerna polishes – starting off with the least aggressive 85RD.
The area was taped off in preparation with 3M painters tape:
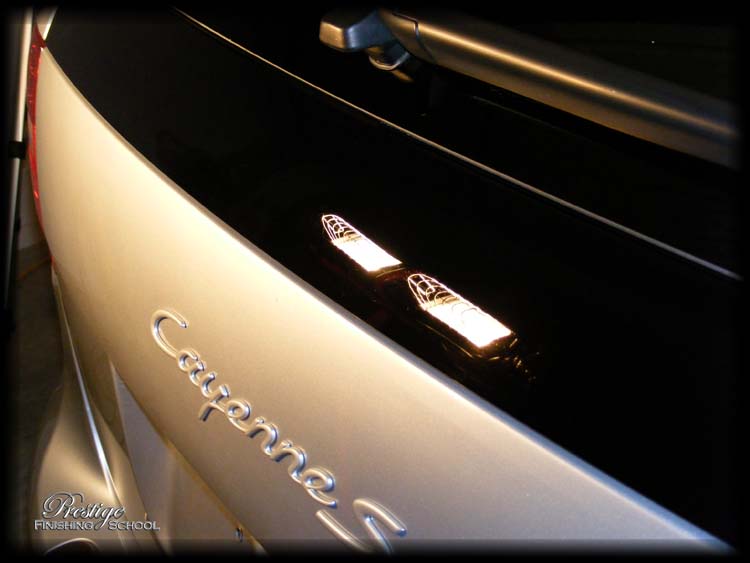
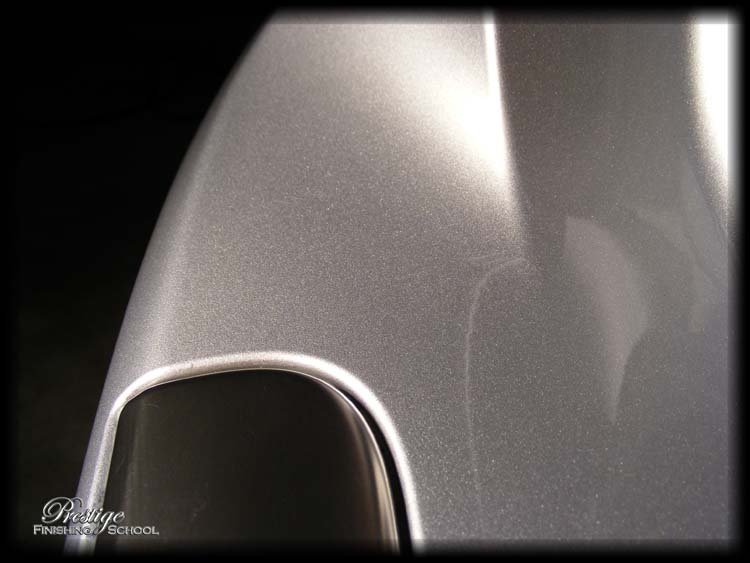
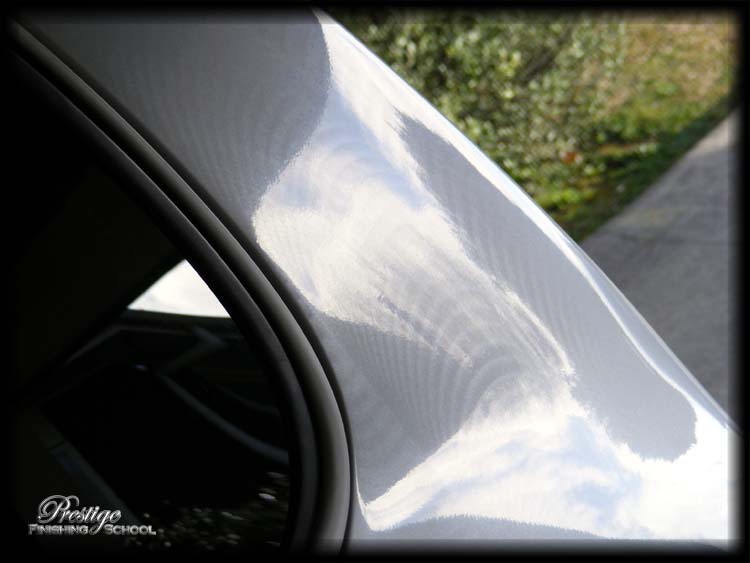
We corrected half the section at a time – this shot shows the dramatic reduction in swirl marks and increase in clarity on the right. This was achieved with only two ‘hits’ with the very mild 85RD.
…and here is the completed panel looking brand new once again.
The scratches at the base of the tailgate were not so easily moved. These required a slightly more aggressive treatment, but not significant cutting or compounding. In this case, 3M’s "Extra Fine Polish" on a new 3M polishing pad did the trick.
The results are a great improvement.
Also, on the loading ‘ledge’ of the boot, just above the rear bumper, there was some discoloration and etching, as well as some light scuffs.
This was cleaned up by hand with more of the 3M polish on a microfibre work cloth.
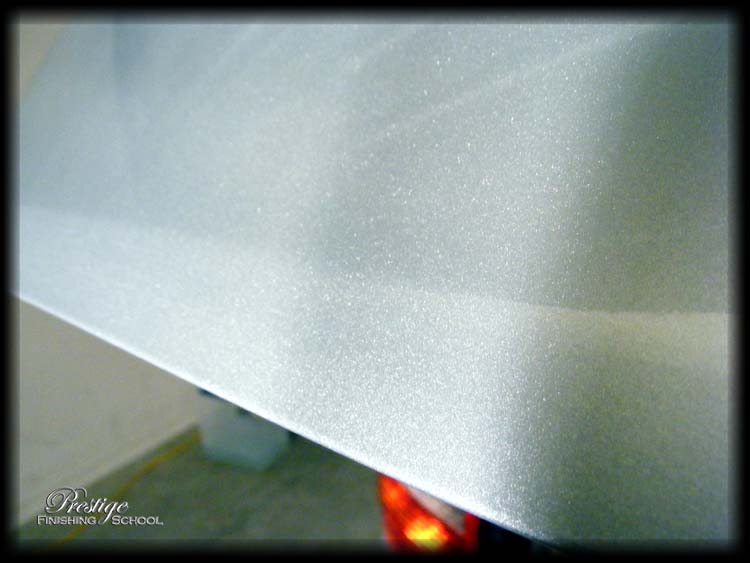
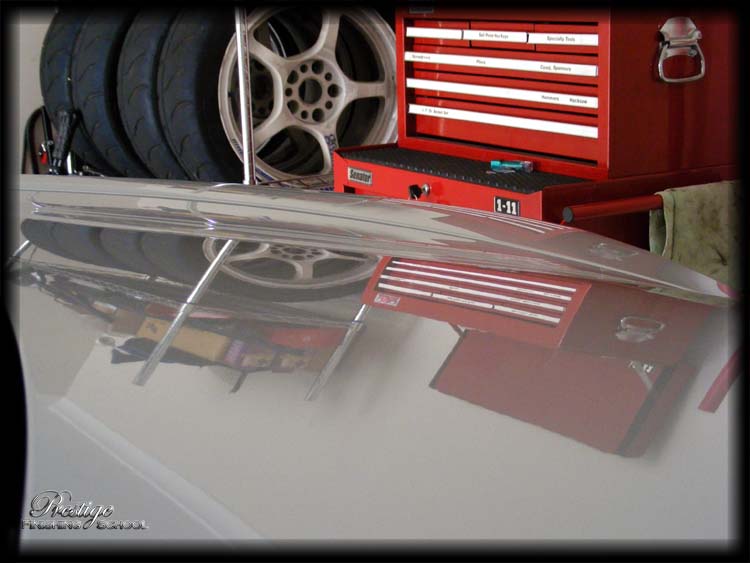
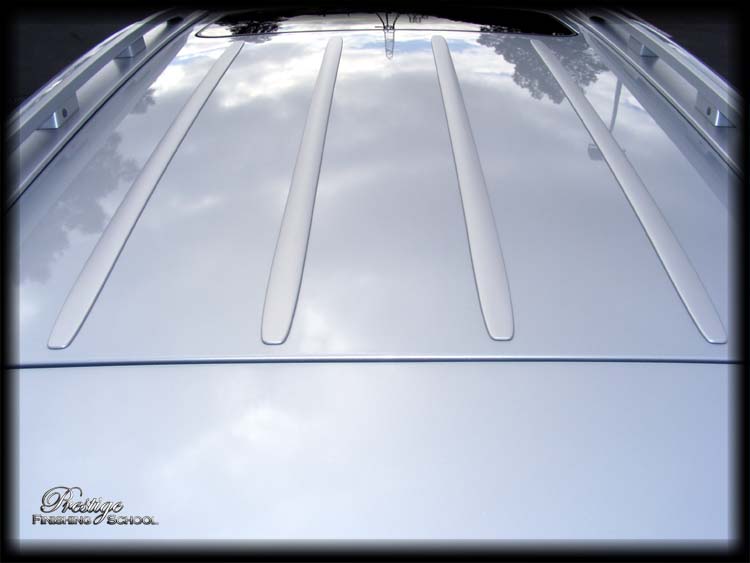
Finally, the entire vehicle was finished to a jewel-like clarity with an application of 3M’s Ultrafina SE on a finishing pad.

This really bought out the sparkle in the metallic paint.
Finishing
The "Last Step Product" for this detail was Blackfire’s "Wet Ice over Fire" solution. This begins with the "All Finish Paint Protection" Polycharged Sealant, which is applied by machine, then buffed off and left to ‘cure’ for 8 hours. The Meguiars G220 Dual Action Orbital Buffer and Meguiars finishing pad was employed for this.
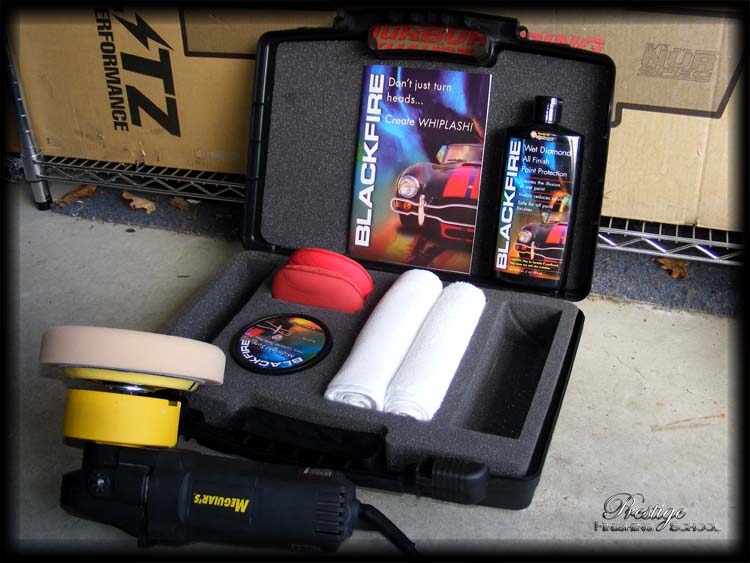
It is then followed up with two coats of "Midnight Sun" Ivory Carnauba Wax, applied by hand – again separated by 8hours. This leaves a spectacular finish!
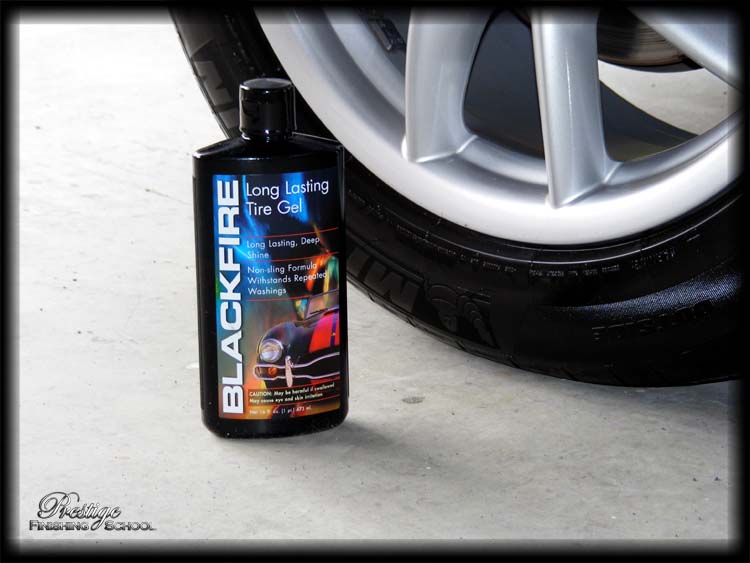
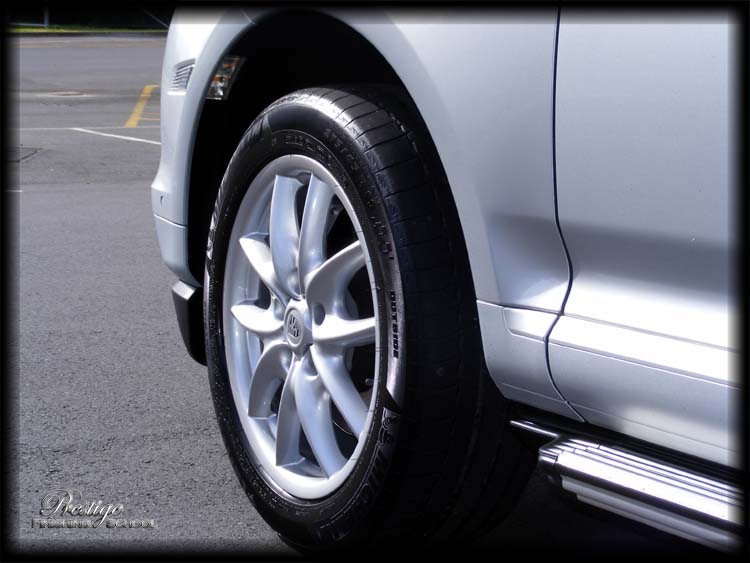
Blackfire’s products were also used to dress the tyres.
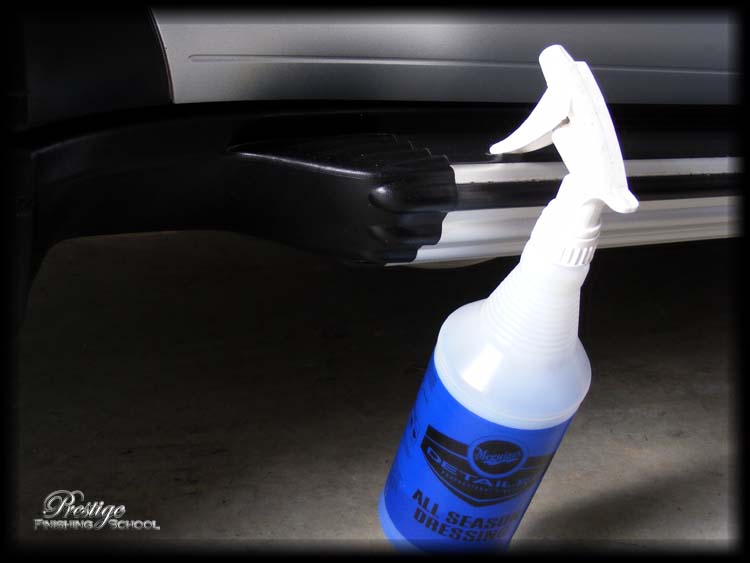
The plastic trim was dressed with Meguiars All Season Dressing.
The windows were cleaned, inside and out, with Meguiars Glass Cleaner Concentrate.
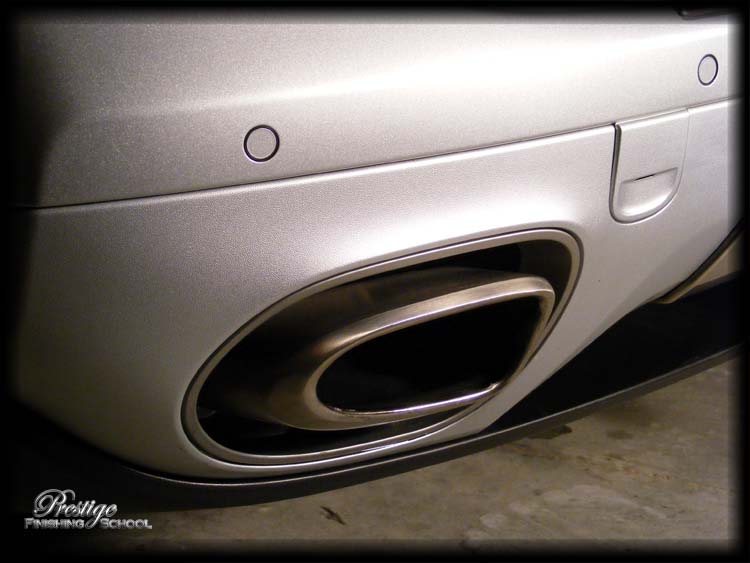
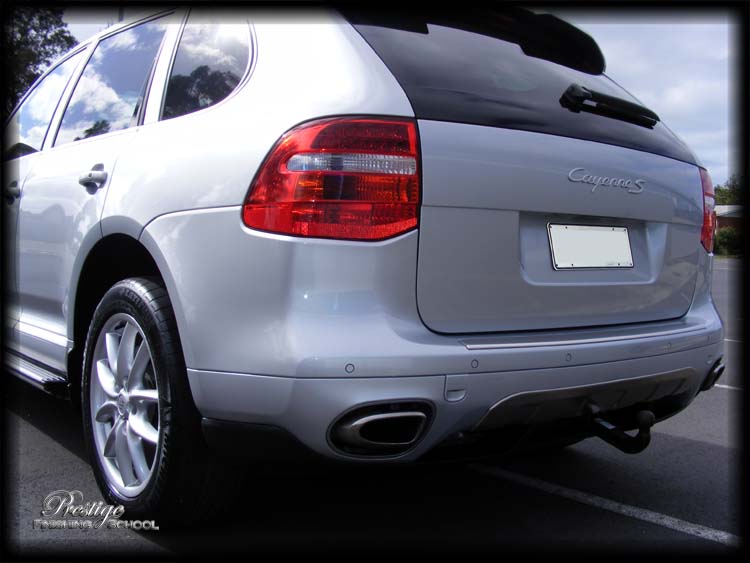
Remember those nasty looking exhausts?
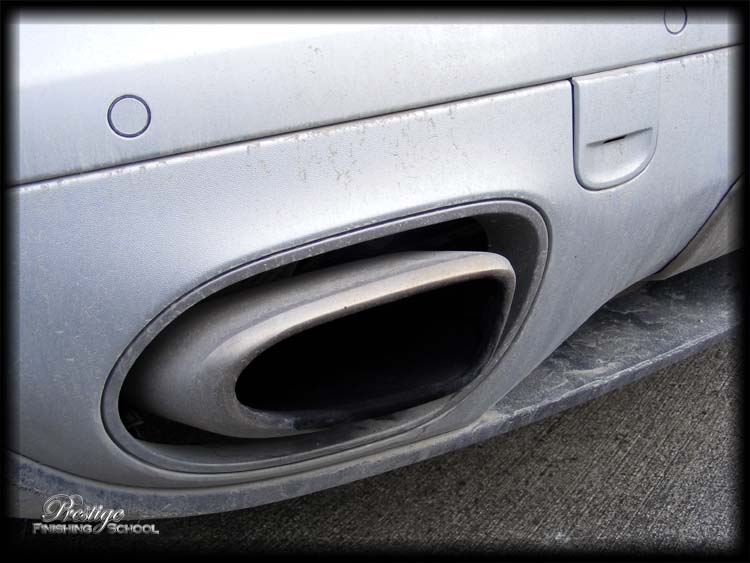
They were cleaned up with Meguiars NXT Metal Polish.
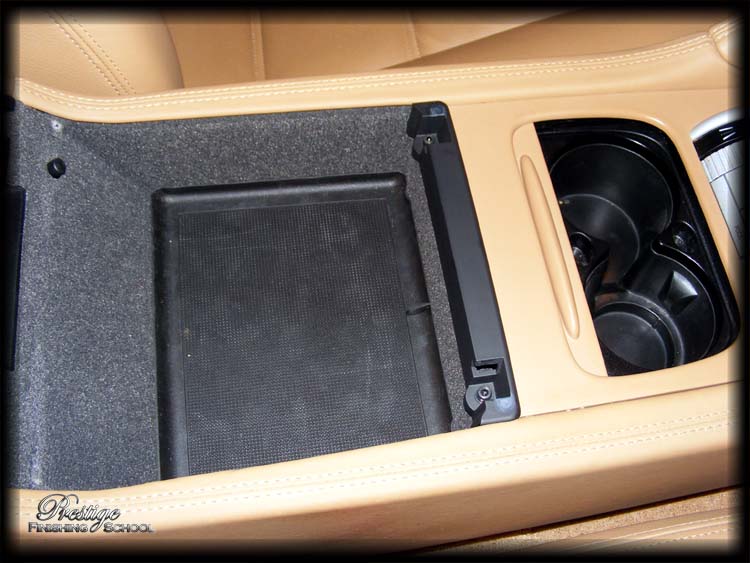
Interior Detail
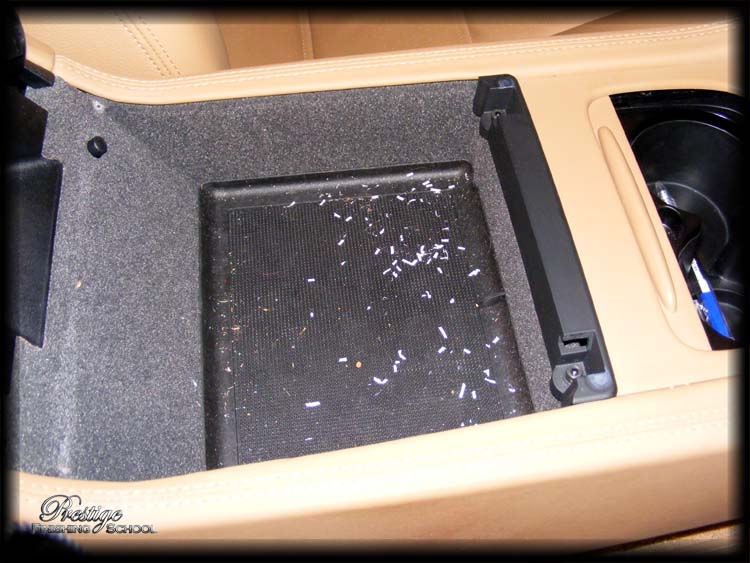
Inside the wagon was the usual assortment of stains…
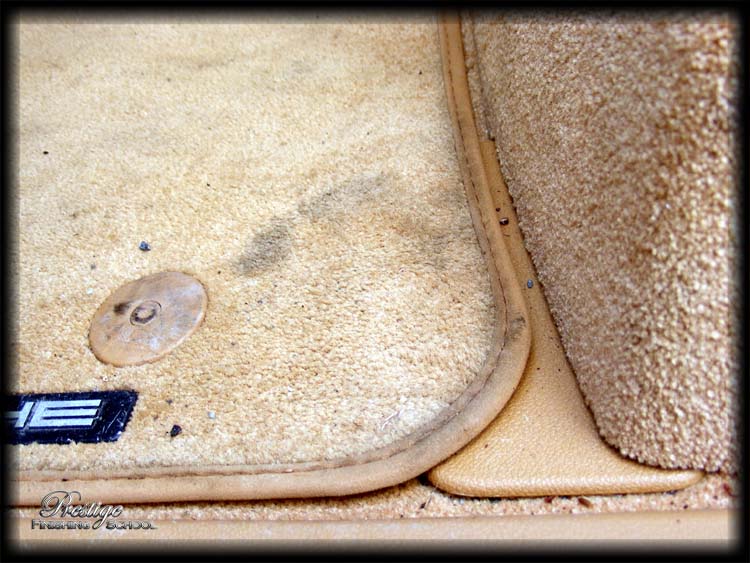
…and ground-in dirt.
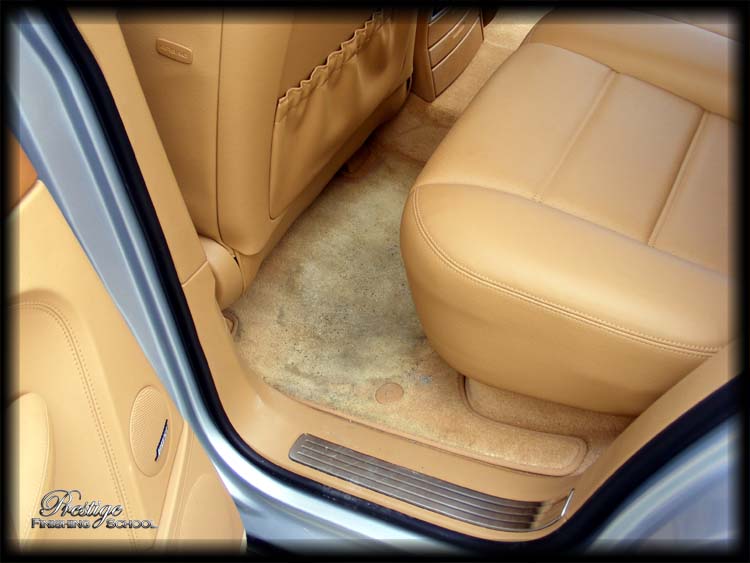
Oh, and crumbs :)
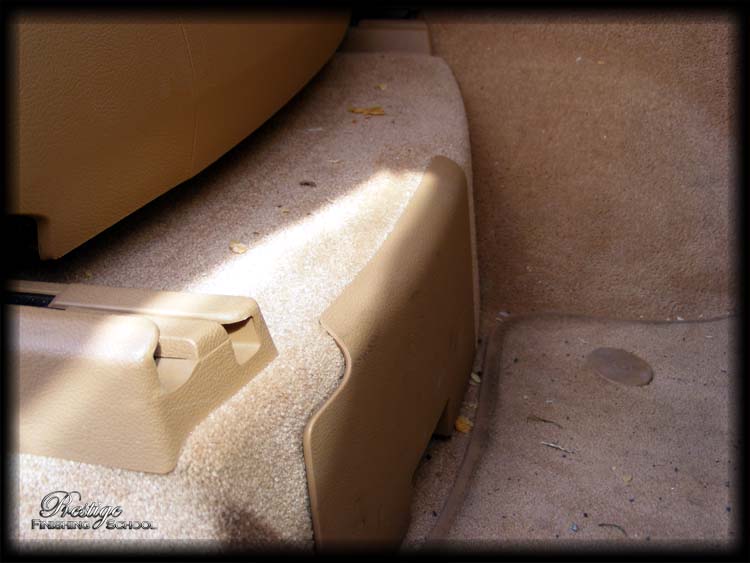
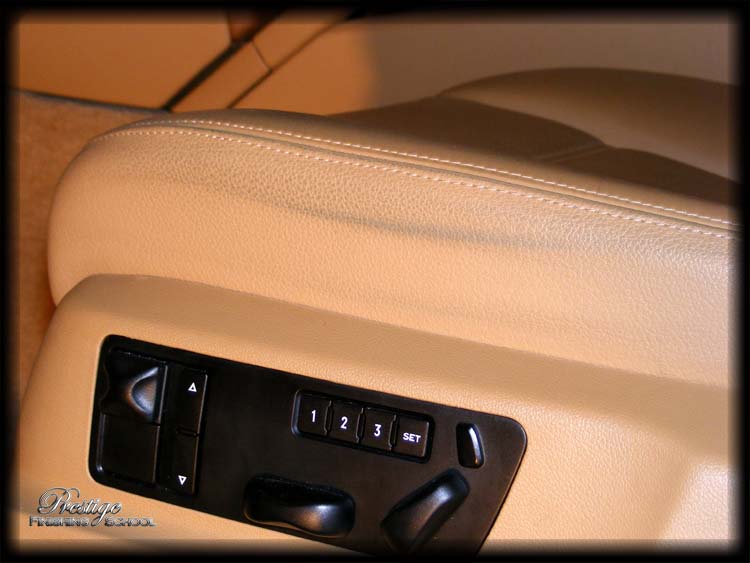
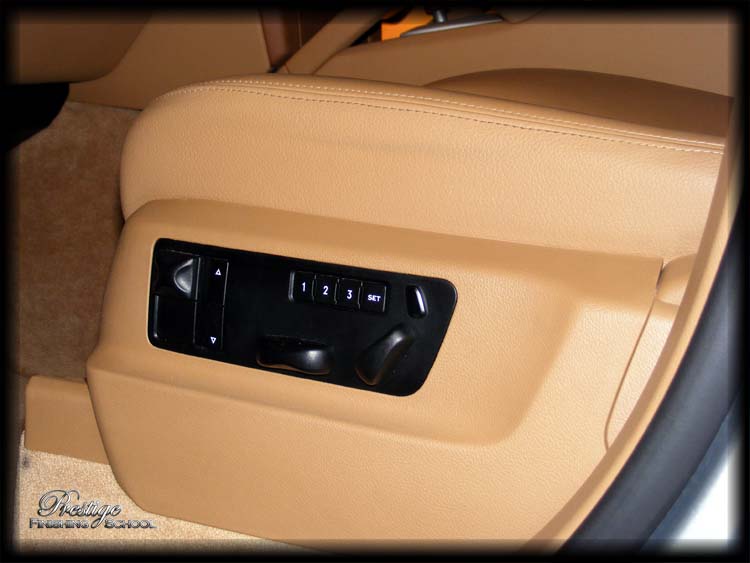
And several of the hard surfaces were also looking a little worse for wear.
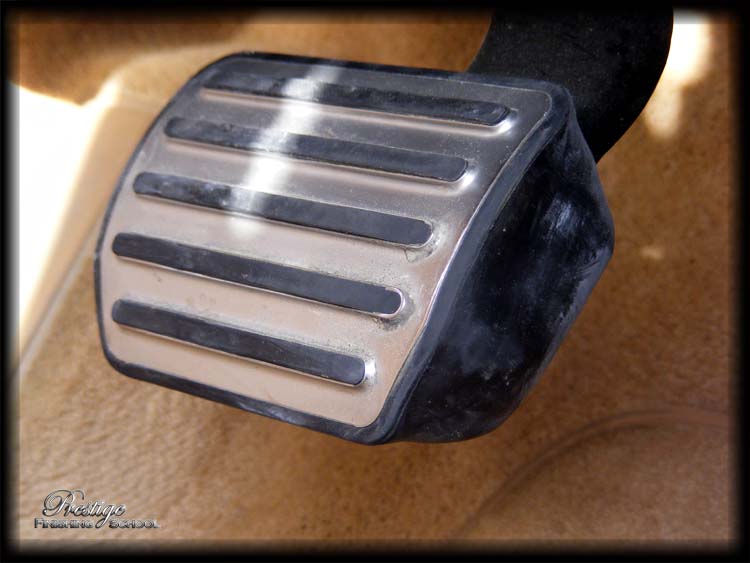
These were cleaned up relatively easily…
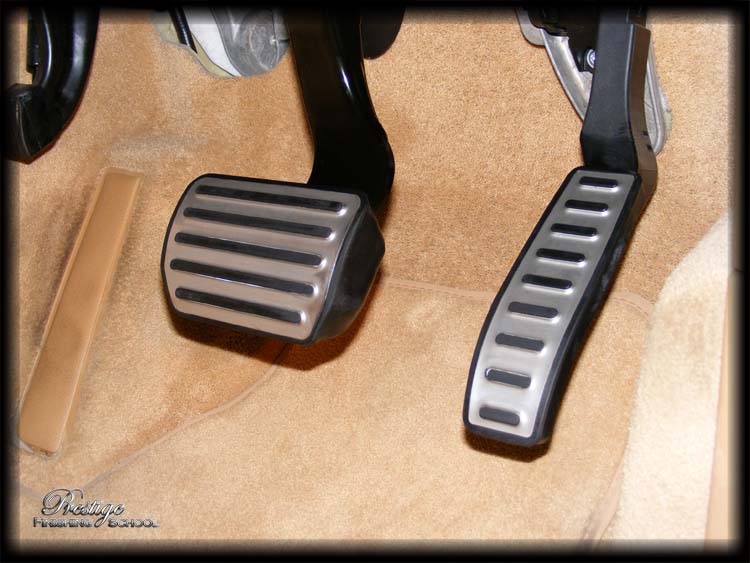
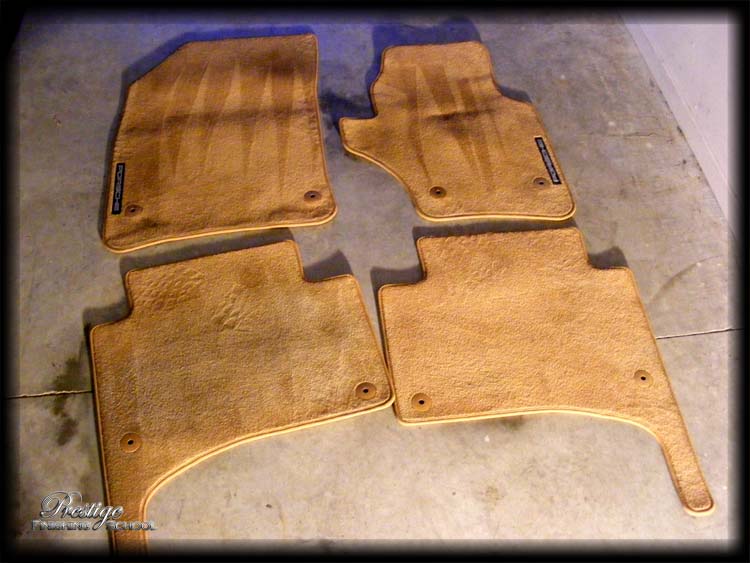
And the interior mats scrubbed clean.
There was some dye transfer from clothing on the passenger’s seat.
Which was vastly improved with a gentle application of leather cleaner.
There was some dye transfer from clothing on the passenger’s seat.
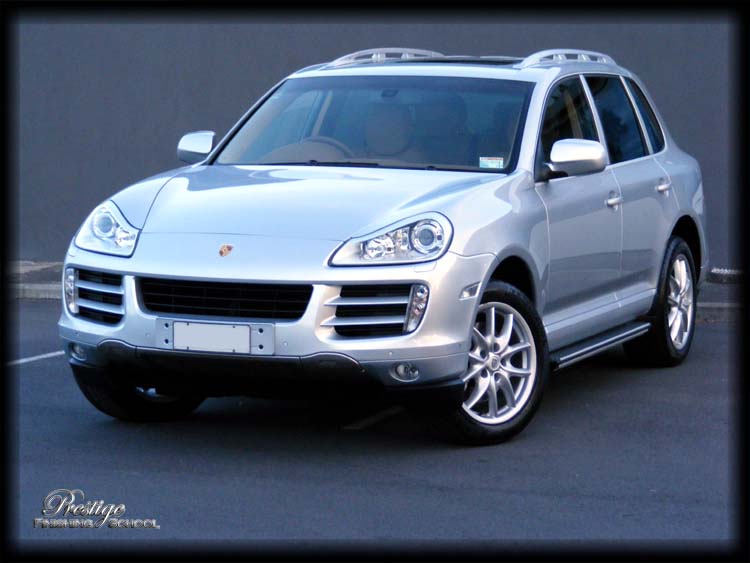
Final Showing
With all the details taken care of, it’s time to show off…
…and roll the vehicle out into the sunlight and indulge ourselves in a few choice pictures.
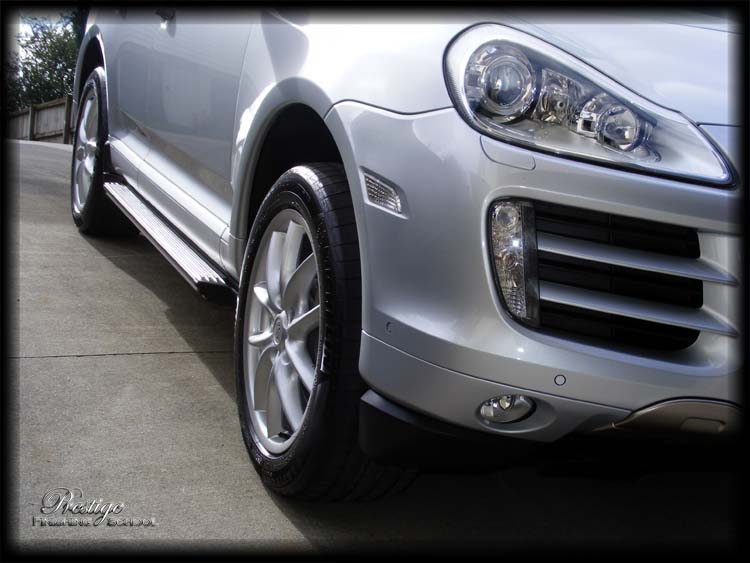
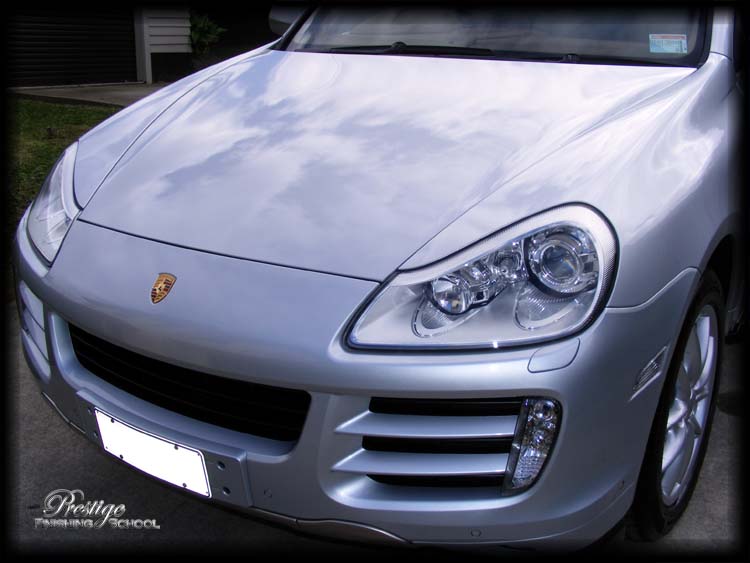
Although not in need of any serious paint correction, this was a big job. The sheer size of SUV’s, coupled with the extent of dirt on this particular subject made this a solid two-day detail. The end result, as always, was deeply satisfying. With the vehicle’s owner expressing his pleasure at the job done, we thank you for taking the time to read about another graduate from Prestige Finishing School!