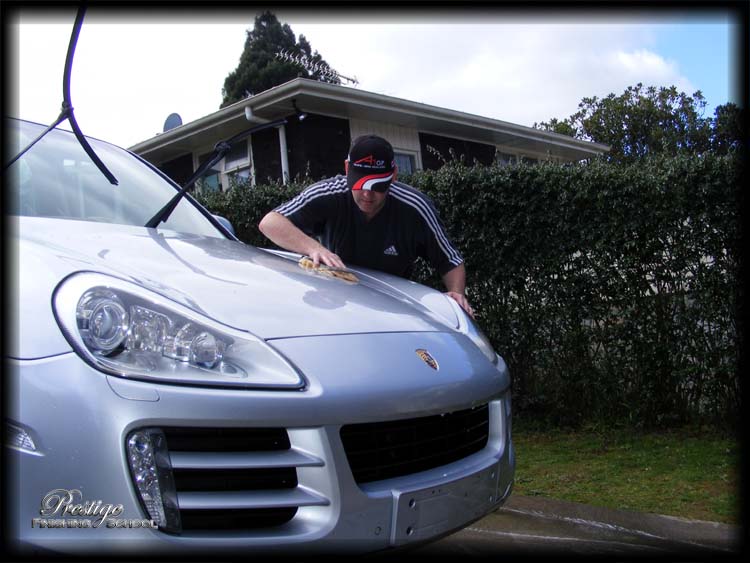
Porsche Cayenne S (Part 1)
Recently, we were engaged to perform a transformation on what ‘used’ to be called an ‘Off Roader’. Nowadays, SUVs are prevalent throughout urban centers and many never leave tarmac roads – this subject however, covers as many miles of unsealed metal as it does on the highway.
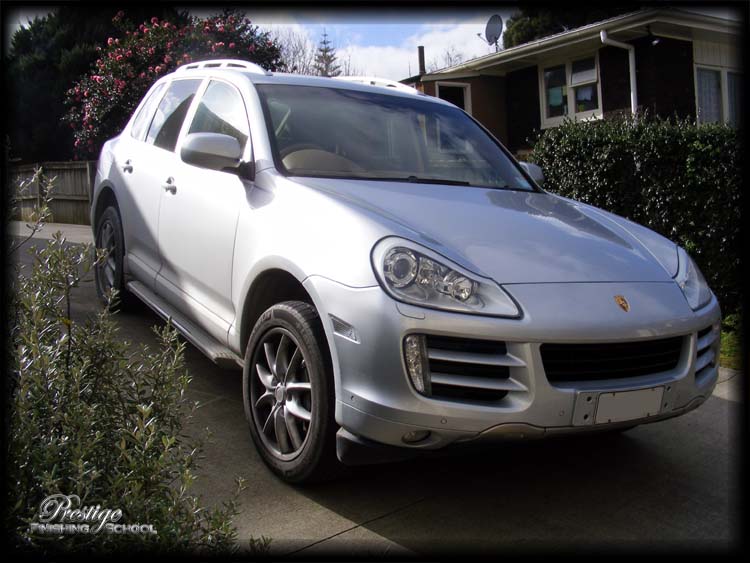
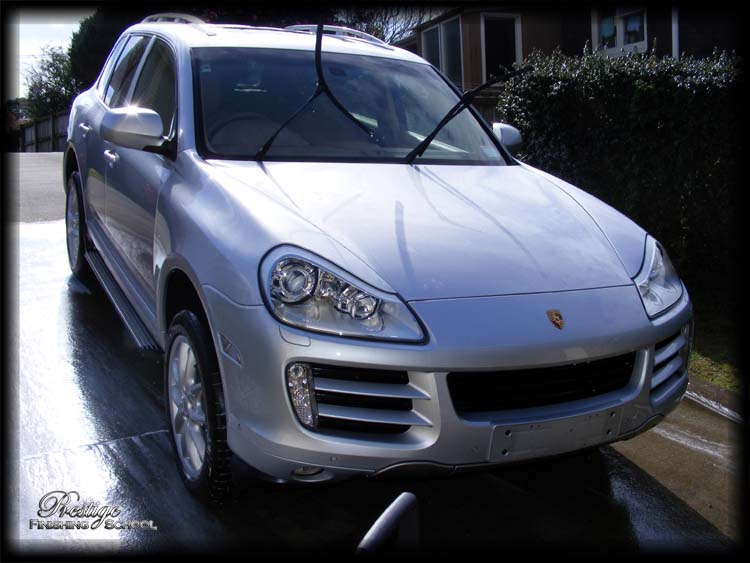
This Porsche Cayenne S rolled of the assembly line in Stuttgart early in 2008. Interestingly, it was purchased ‘new’ by its current owner from a Porsche dealership in Portugal, and freighted to New Zealand independently to be complied & registered for use here. Although not quite as straightforward as walking into a showroom and driving away, this allegedly saved the owner ‘tens of thousands of dollars’ off the purchase price from the NZ dealership.
Enrolment:
On arrival, the vehicle appeared to be in relatively good condition:
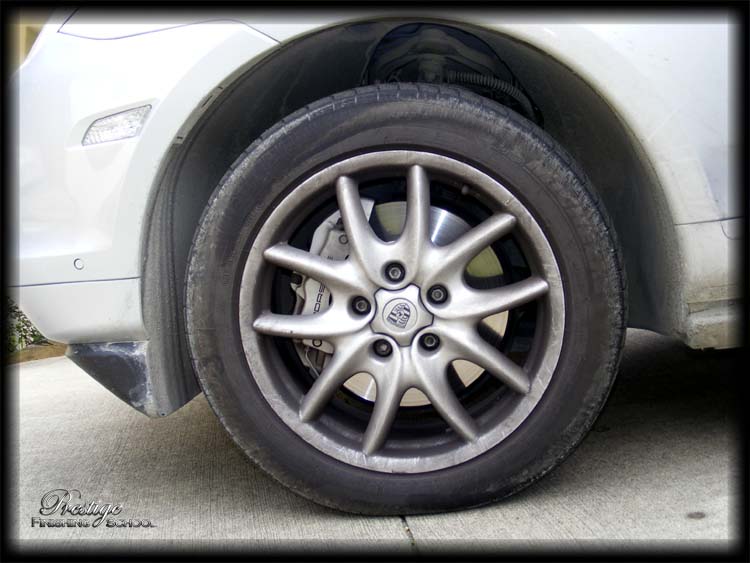
However, it was evident that the miles covered on gravel had resulted in the accumulation of a fair amount of grit in the wheel wells…
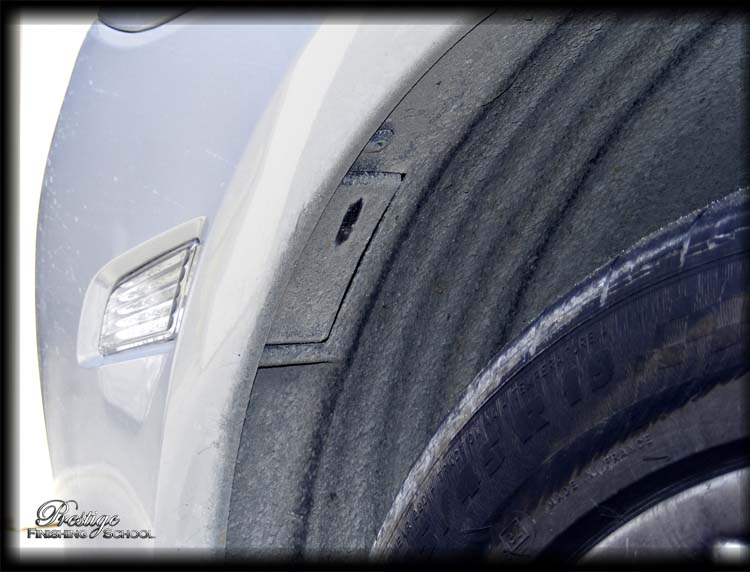
Yes, a swipe with a fingertip revealed that there actually was an indicator lens hiding up in the wheel arch:
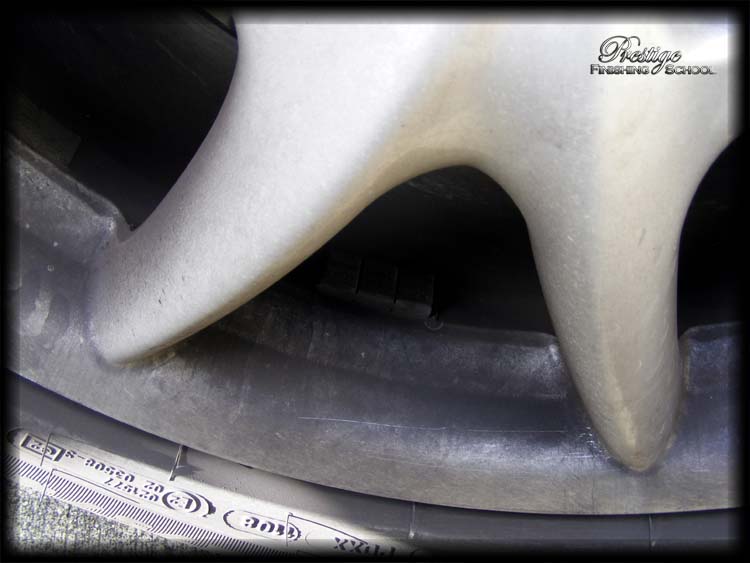
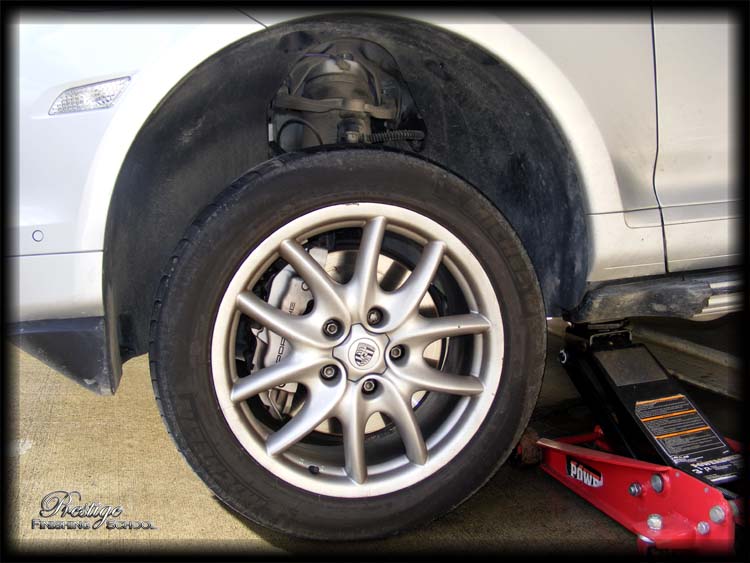
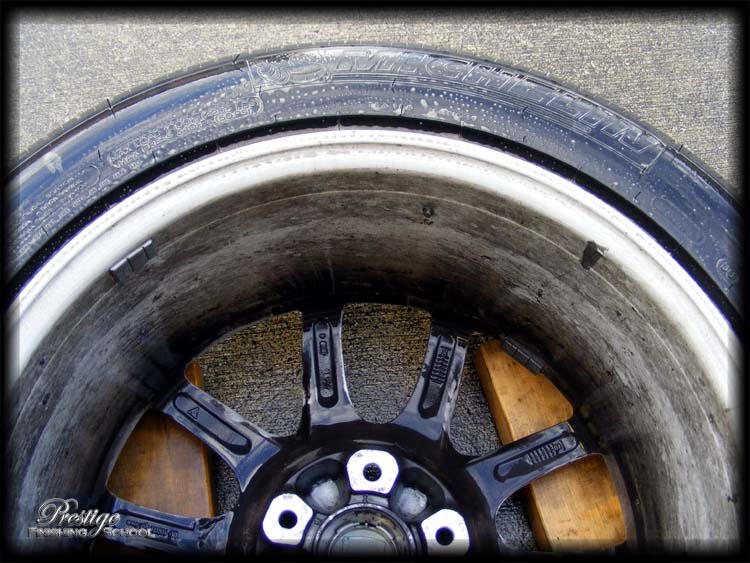
The rims themselves had a reasonable covering of brake dust and grime.
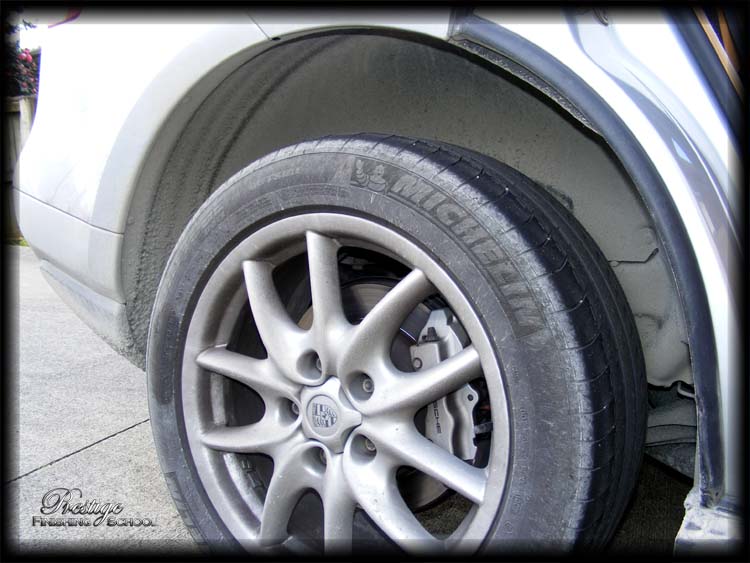
These two shots reveal just how big the job was going to be!
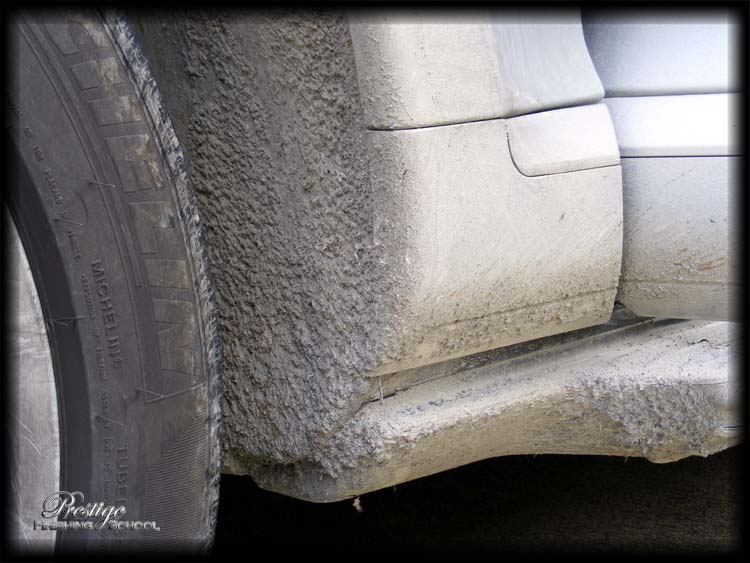
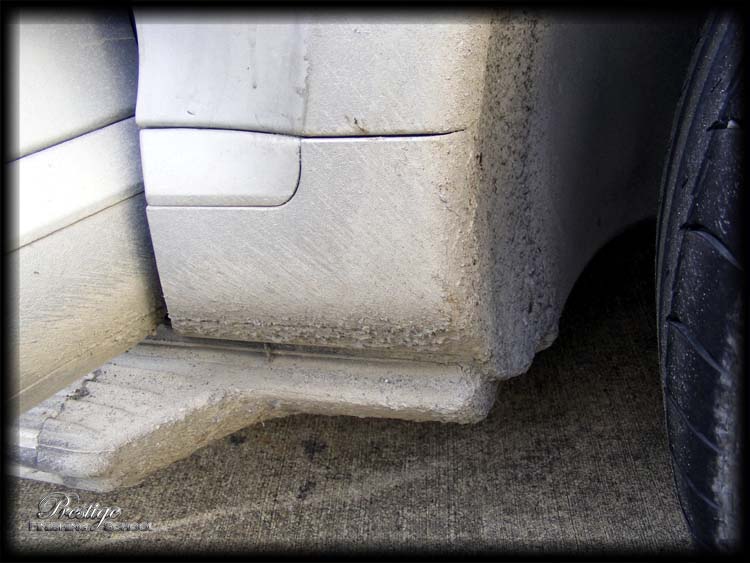
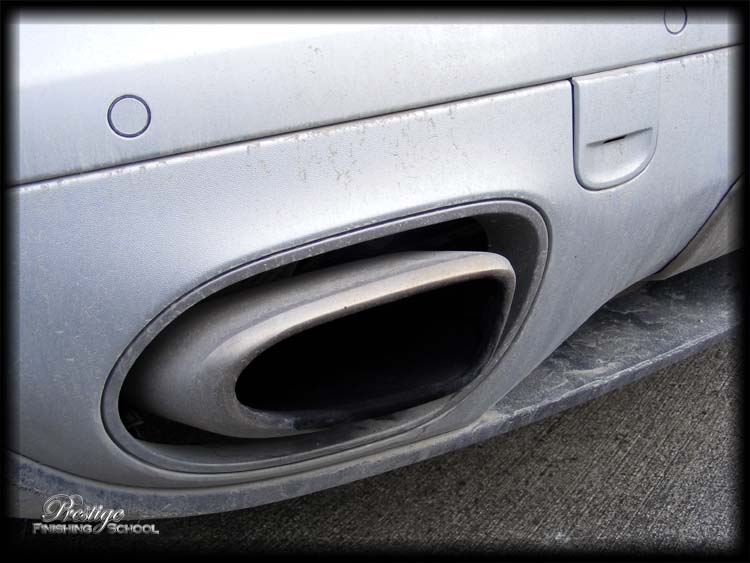
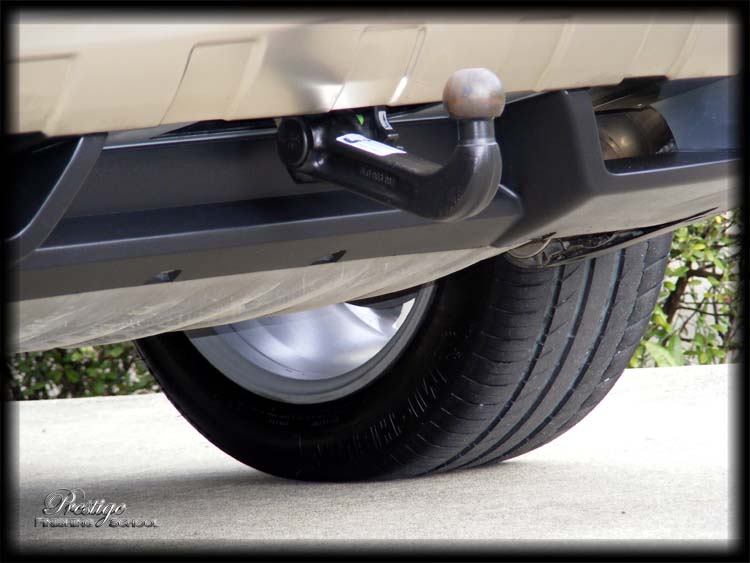
The lower panels and features of the vehicle also showed a decent amount of mud and general grime.
Remedial Tutelage:
Before approaching the vehicle’s painted panels, it’s important to attend to some prerequisite tasks. Generally, we tackle areas such as the vehicles engine bay, wheels, arches and sills/shuts ahead of a traditional ‘wash’ process to ensure that the vehicle is cleaned in the safest possible manner. This also ensures that we don’t end up rinsing dirt onto areas that have already been cleaned.
Engine Bay
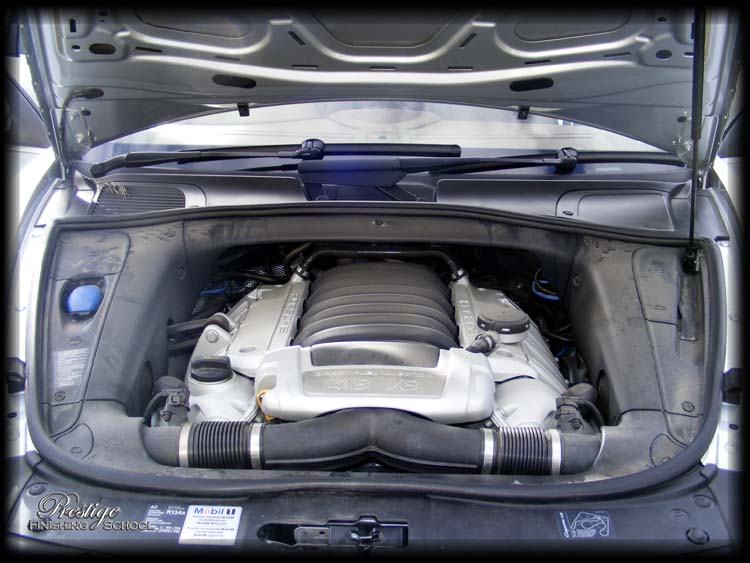
The German powerplant was certainly showing evidence of having powered the vehicle along many miles of very dusty roads:
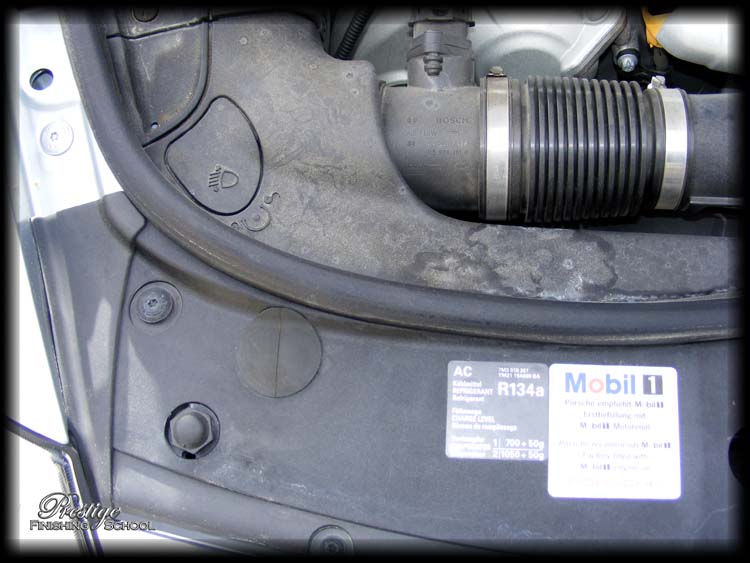
With some evidence of chemical spills staining the plastics:
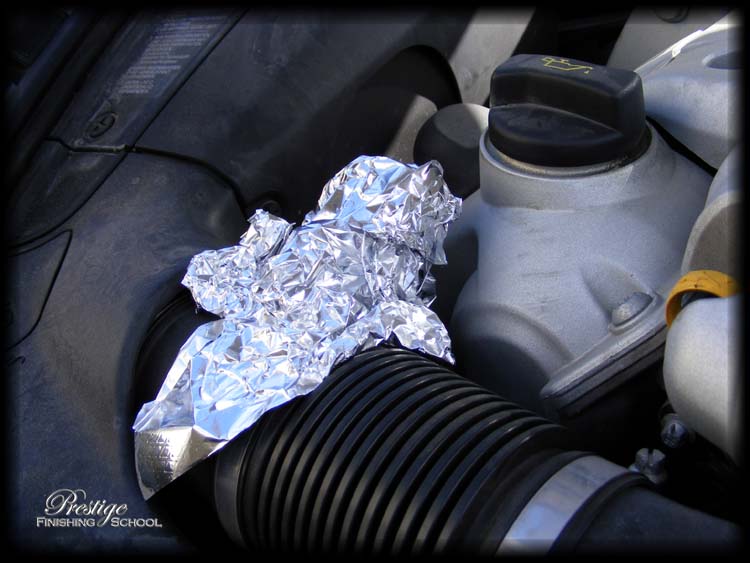
As precaution, the exposed electrical connections were covered...
…and the entire engine bay given a thorough going over with Meguiars All Purpose Cleanser, and “Slide-Lock Detailing Brush”.
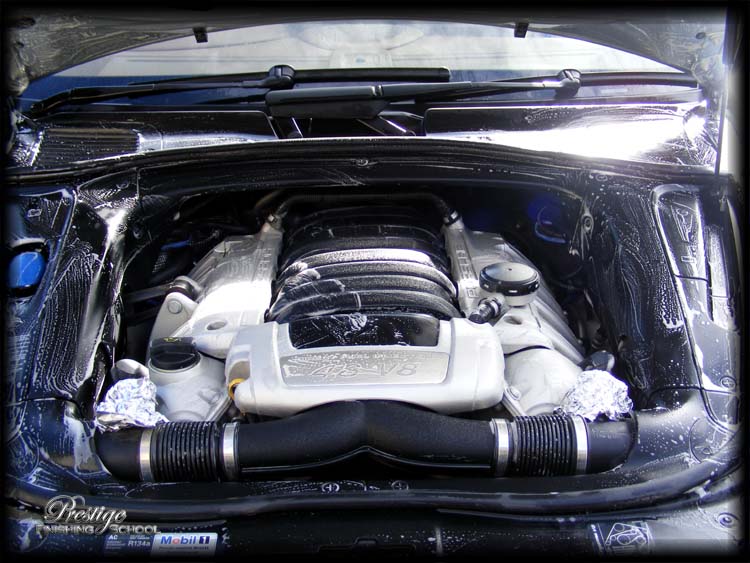
This was then rinsed off at low pressure, leaving things in a much better state.

"303 Aerospace Protectant" was applied with a microfibre work cloth to protect the plastics:
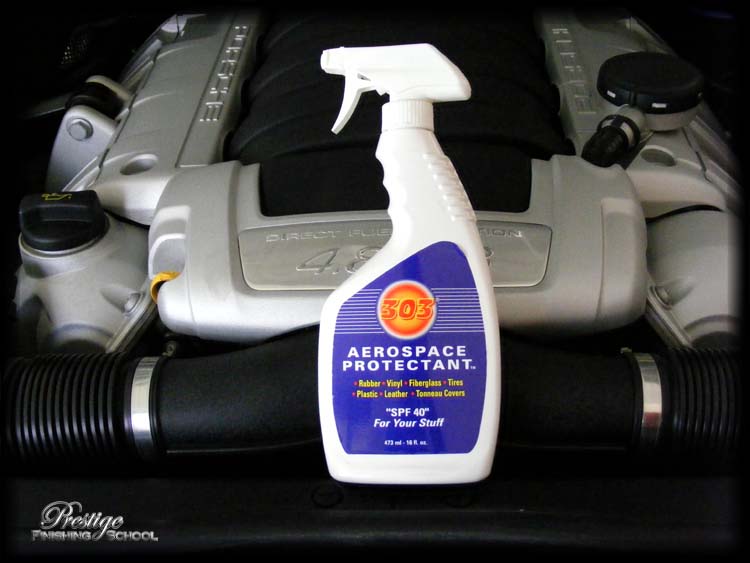
This product leaves a fantastic ‘factory fresh’ finish – not overly shiny or sticky.
Wheels & Arches
Before anything else, we needed to get rid of the caked on dirt. Twenty minutes with the pressure washer in the arches left us with a mess that we needed a shovel to clear away!
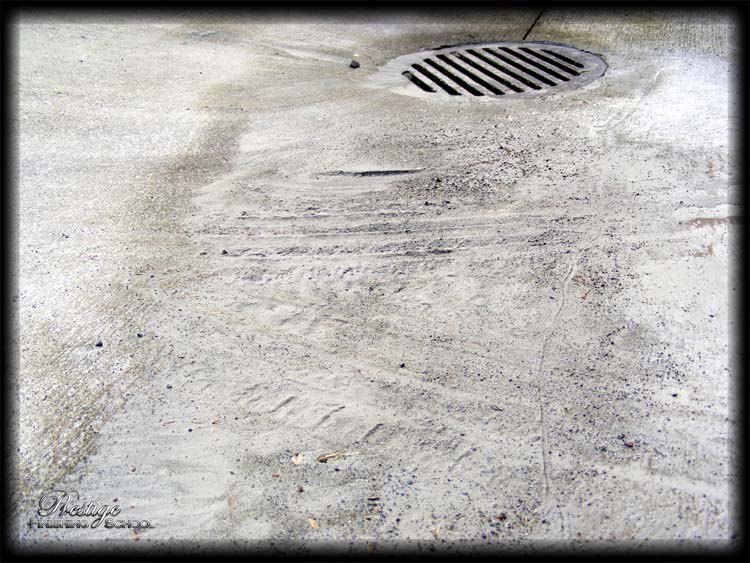
…and left us with this to take care of:
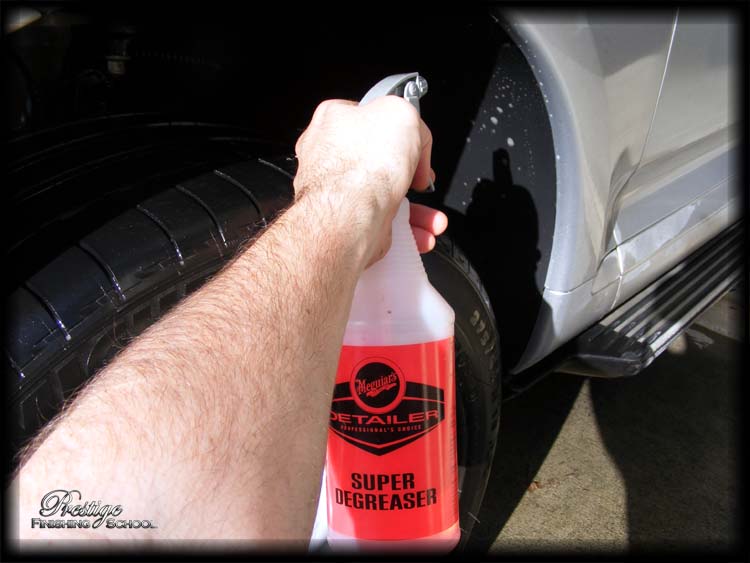
The tyres and wheel arches were liberally sprayed with Meguiars Super Degreaser (10:1) and agitated with a stiff bristled brush.
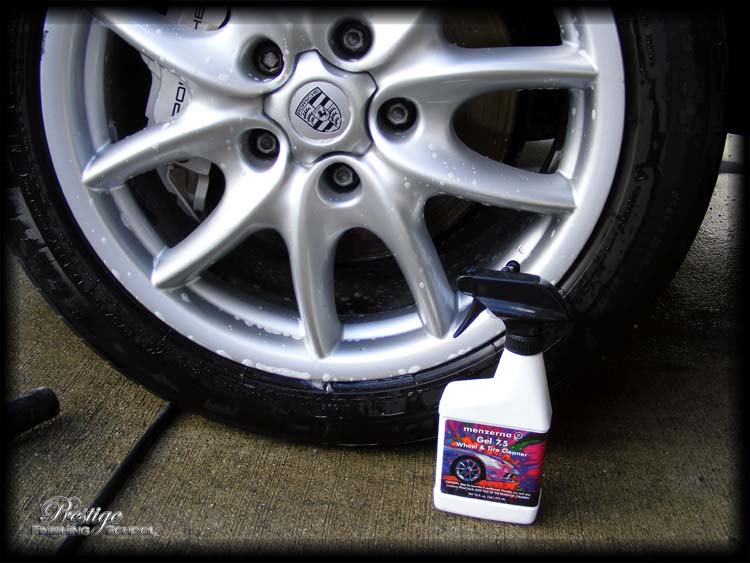
With the wheel faces being cleaned with Menzerna Wheel Gel.
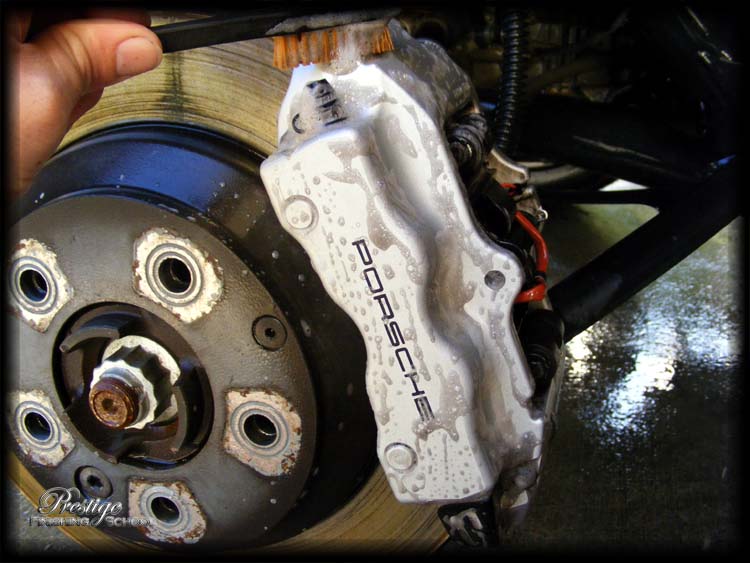
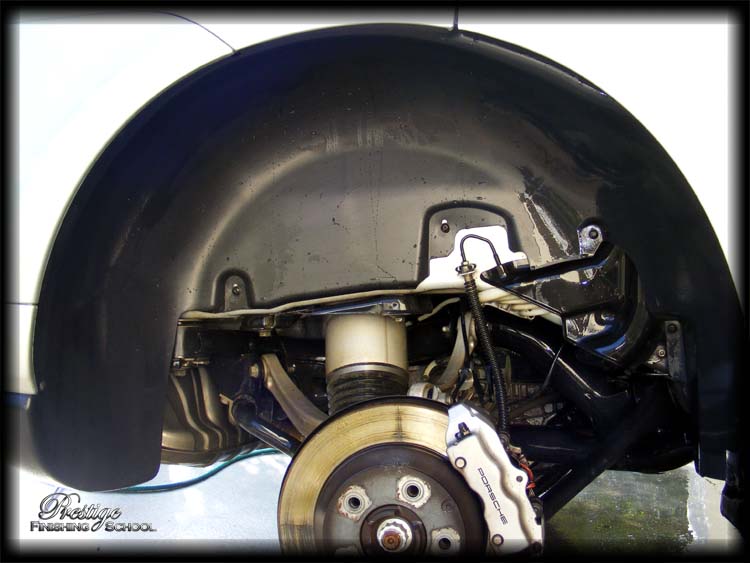
The wheels were then removed to enable a thorough detailing…
…and gave us the opportunity to ensure that the wheel wells were left spotless.

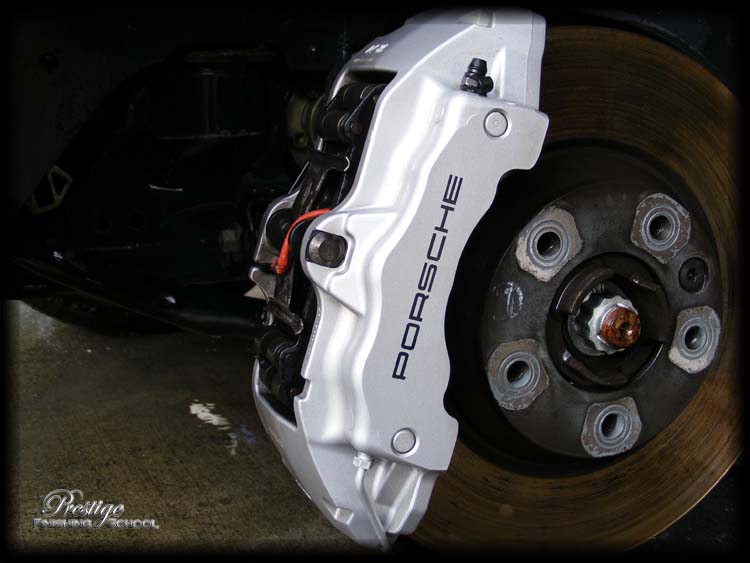
This also enabled us to fully clean the brake calipers. This was achieved with more Menzerna Wheel Gel, and a Meguiars Triple Detail brush.
Clean!
Rear wheels also removed…
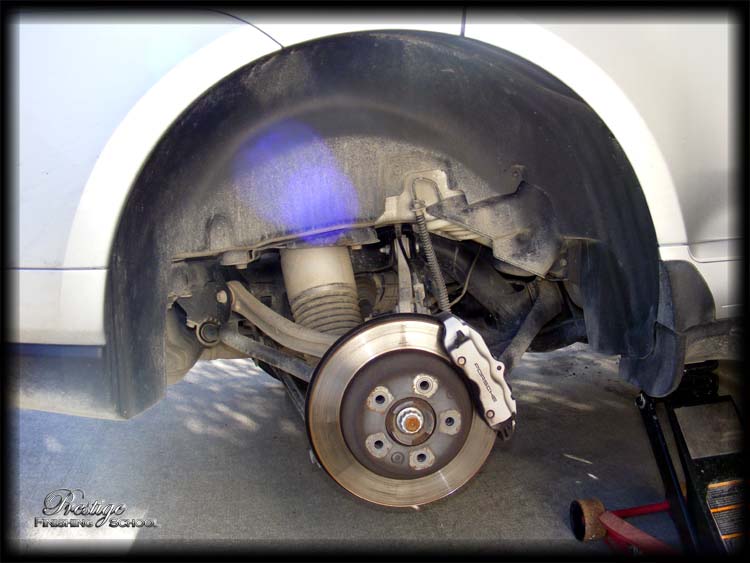
…and arches thoroughly cleaned.
The wheels were left with some spots of tar, as well as glue residue from earlier wheel balancing weights. They were sprayed with our trusty tar removal solution and left for 30seconds. This lets the product completely dissolve the tar and glue…

And the mess is then easily wiped clean with an old microfibre work cloth.

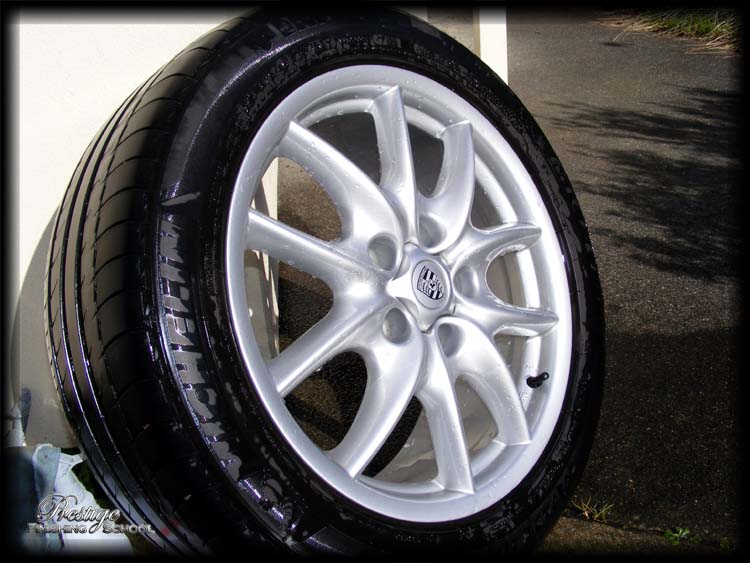
The result is a perfectly clean wheel:
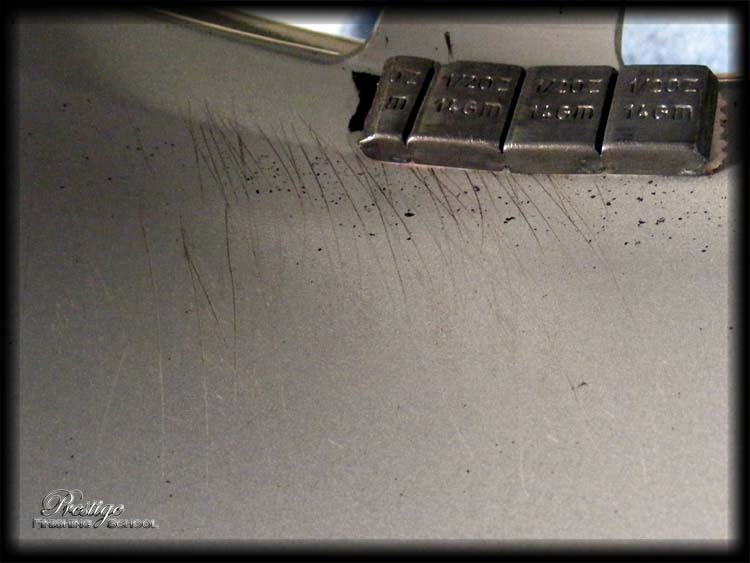
Though, it is hugely disappointing to see this kind of damage that must have been inflicted during the vehicle’s first ever tyre change…
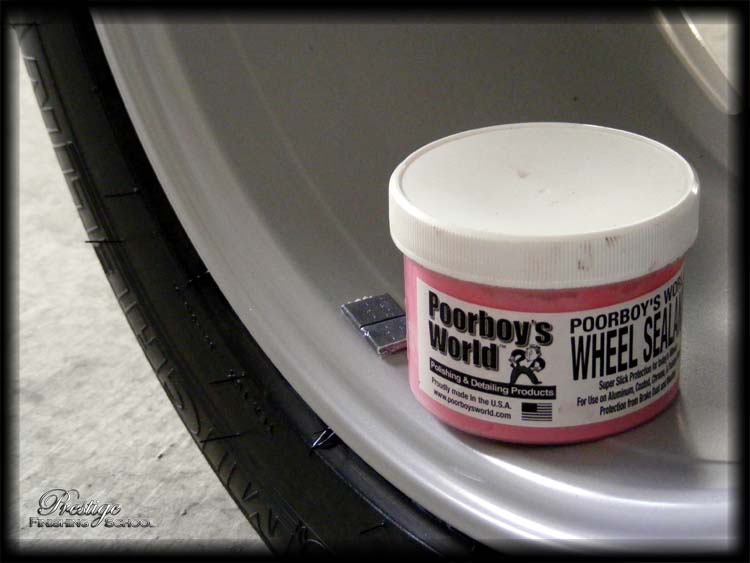
The wheels were then protected with Poorboy’s Wheel Sealant – inside and out.
Yes, we did also take the opportunity to ‘dress’ the inside tyre walls – let’s face it, you never want to be "Caught short without clean underwear!".
Pre Rinse
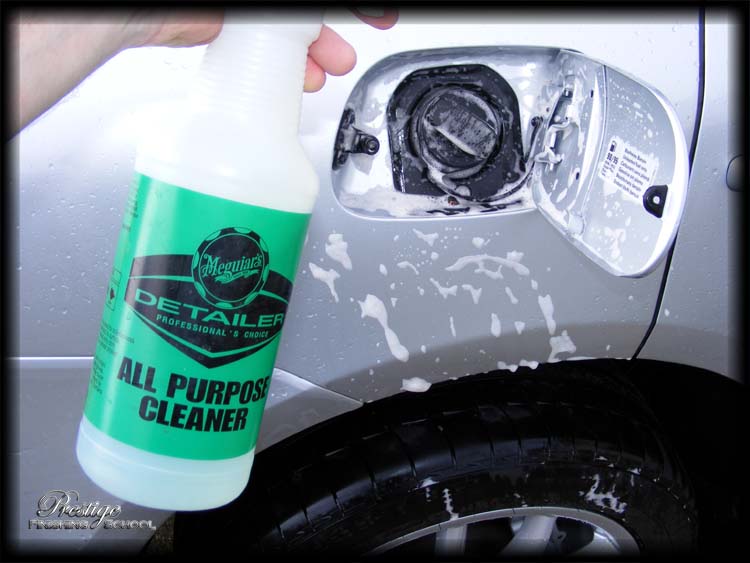
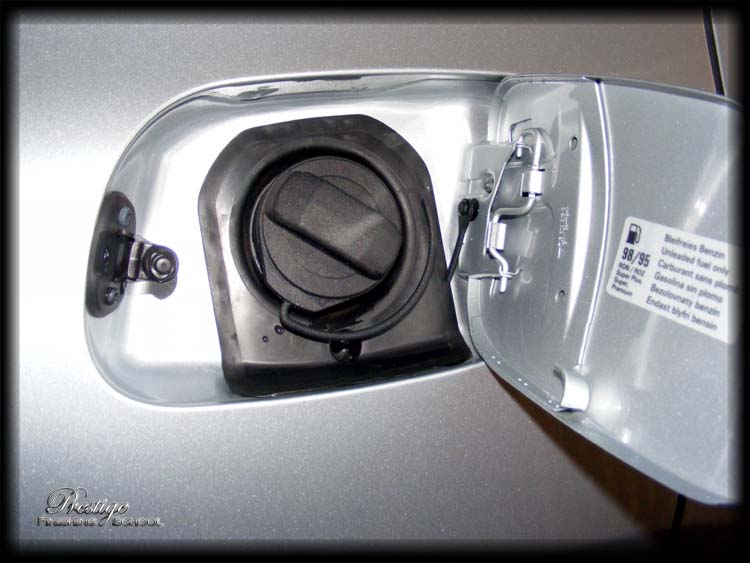
The petrol filler cap had a small buildup of dirt:

…quickly taken care of with some APC and a quick rinse.
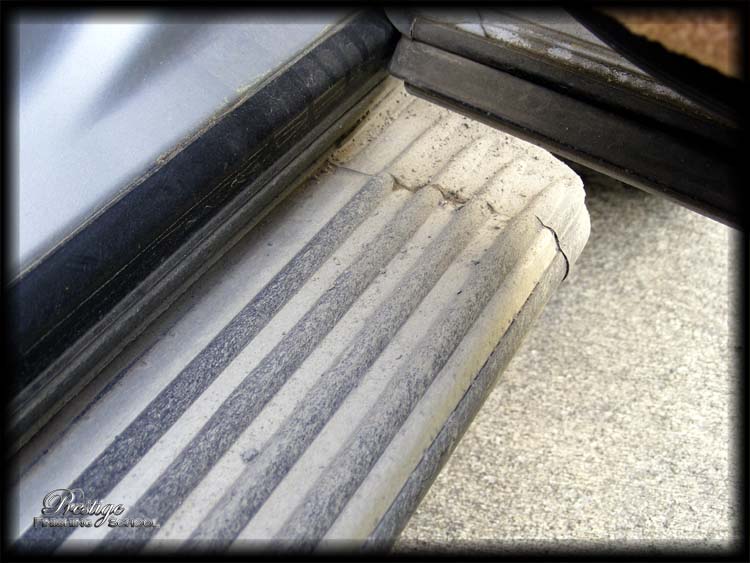
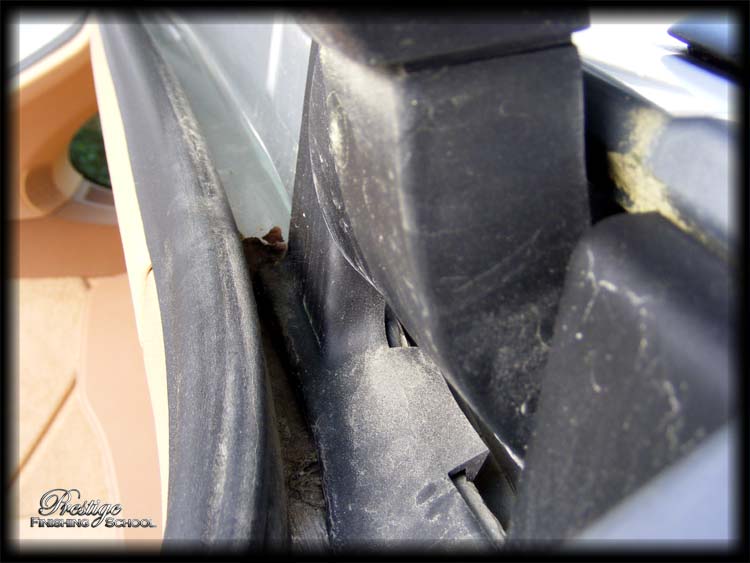
The hinges on the tailgate were also showing signs of neglect.
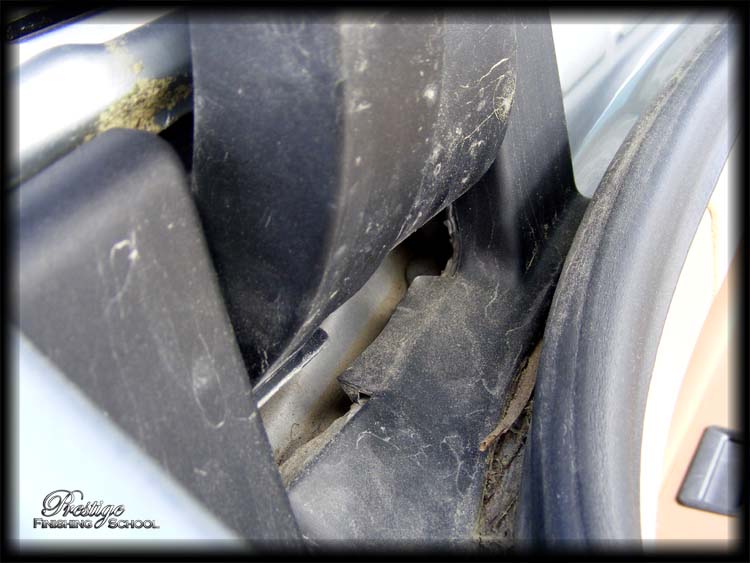
Nooks and crannies such as these are often missed in ‘regular’ washes, and can end up with years of dirt building up.
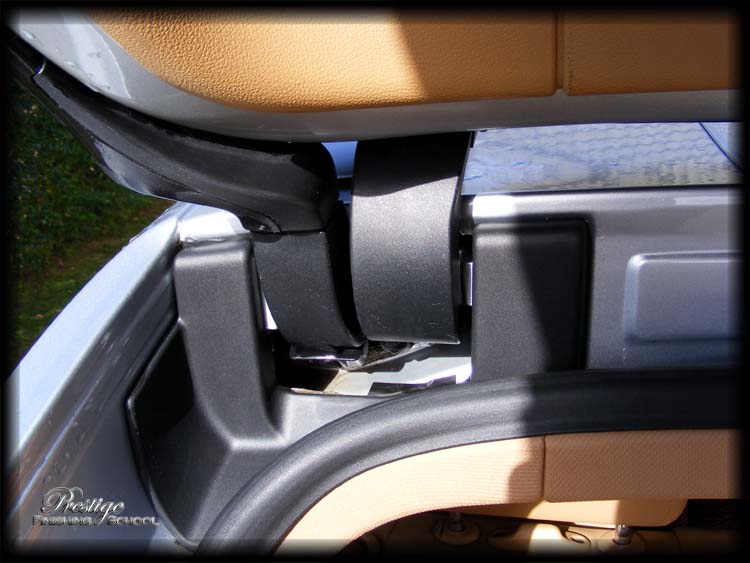
Again, these spots were addressed with Meguiars APC and a soft brush…
Leaving them looking much better!
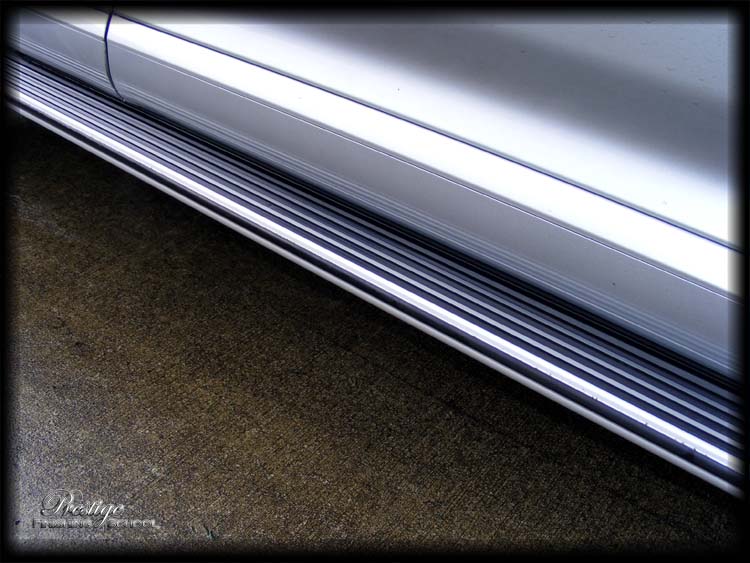
Finally, the side sills were given a quick scrub…
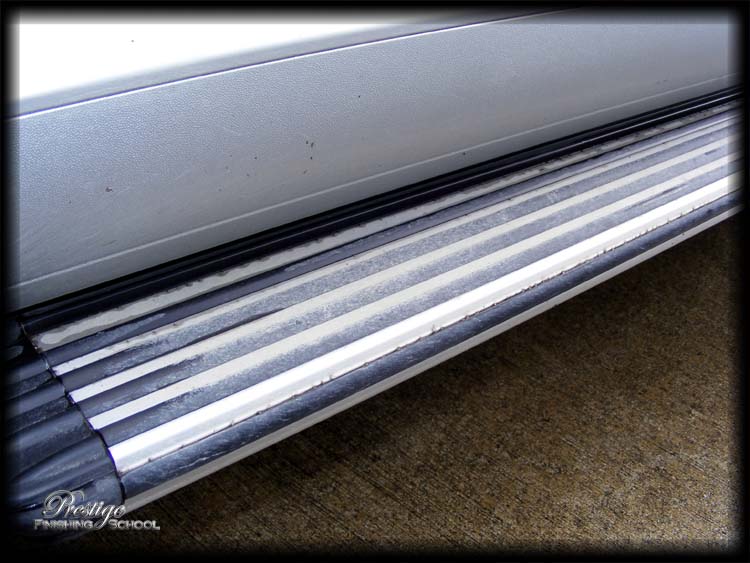
…to remove much of the bonded road grime.
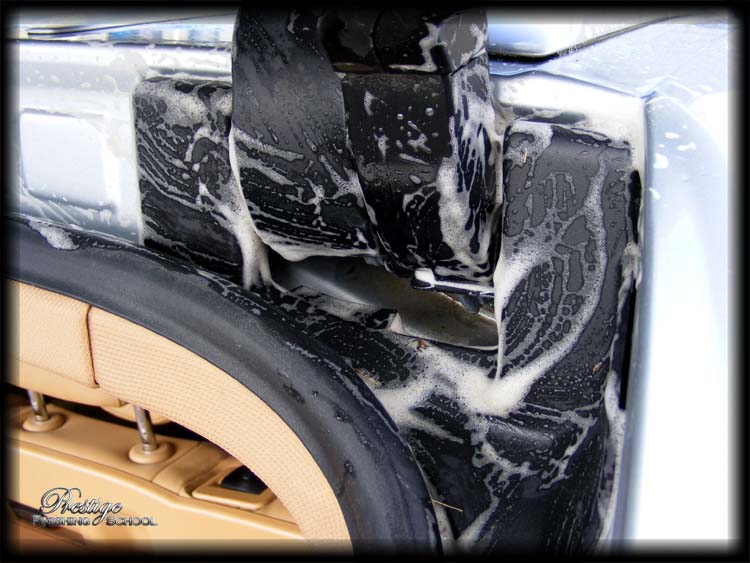
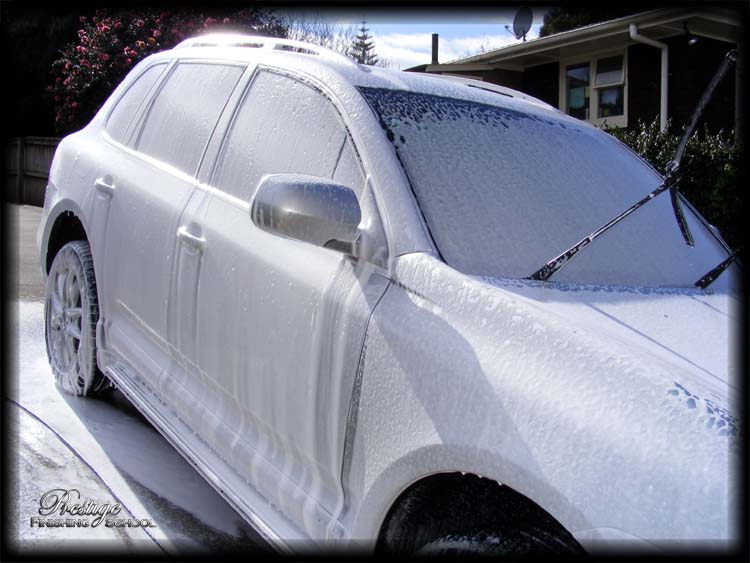
Foam Bath
The entire vehicle was then treated to a bath of Meguiars All Purpose Cleaner, applied via an Autobrite UK Foam Lance. APC is a more aggressive cleaner than a regular shampoo, and will strip away much of any wax that may be protecting the paint.
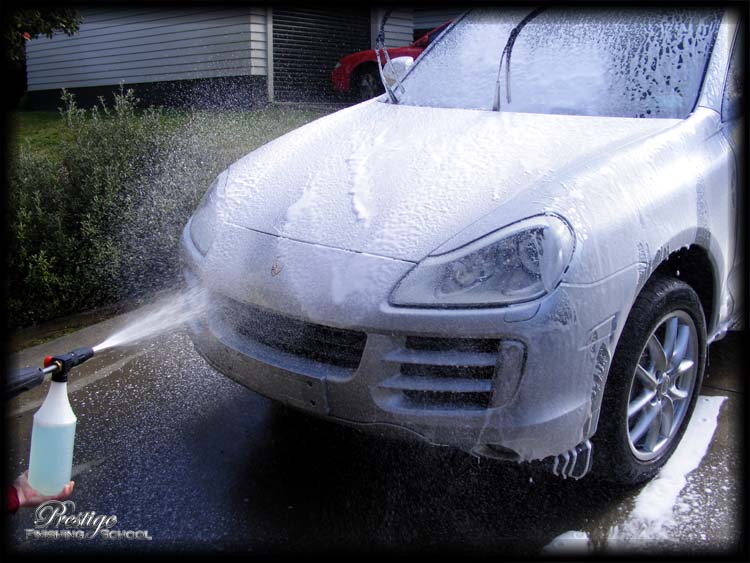
It was used in this case, primarily due to the sheer amount of dirt on the vehicle – and as we would be following the process with finishing and protective coats, there was no downside.
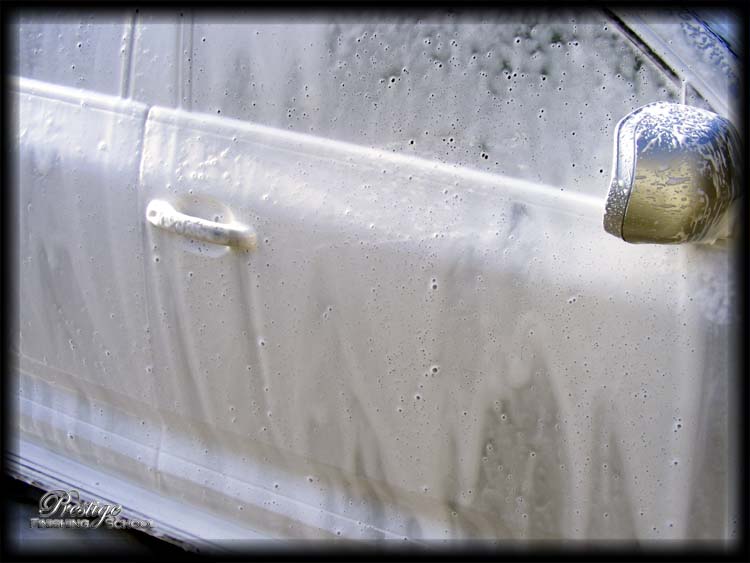
The foam was left to dwell on the vehicle for 5min which gives it an opportunity to dissolve the grime and loosen it from the vehicle’s surface.
…and then rinsed off.
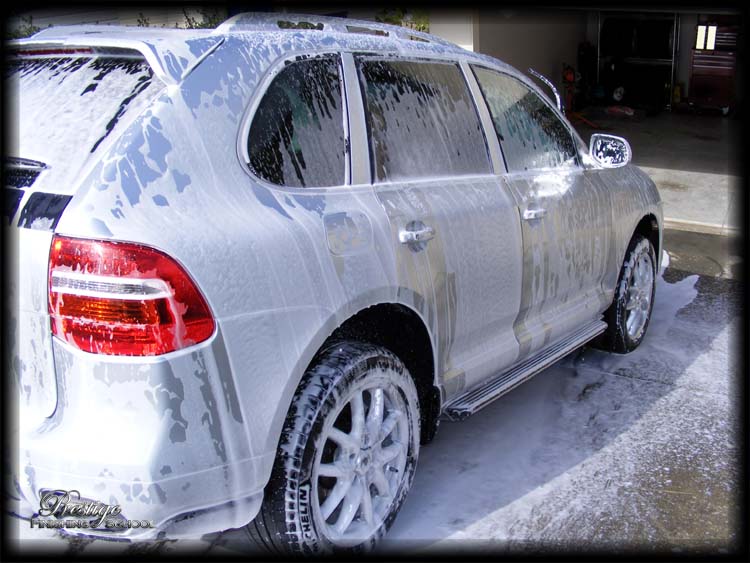
This was followed up with a second treatment, this time comprising Meguiars Hyperwash Shampoo.
The vehicle was again rinsed clean of the foam with a pressure washer, and was already looking much more respectable. Only the finest film of dirt remained on the painted surfaces, thus greatly reducing the risk of marring the paint during the contact wash process.
Hand Wash
With as much dirt as possible removed from the vehicle without direct contact, it was time to complete the wash process with a hand wash via a Lambswool Mitt and Meguiars Shampoo Plus.
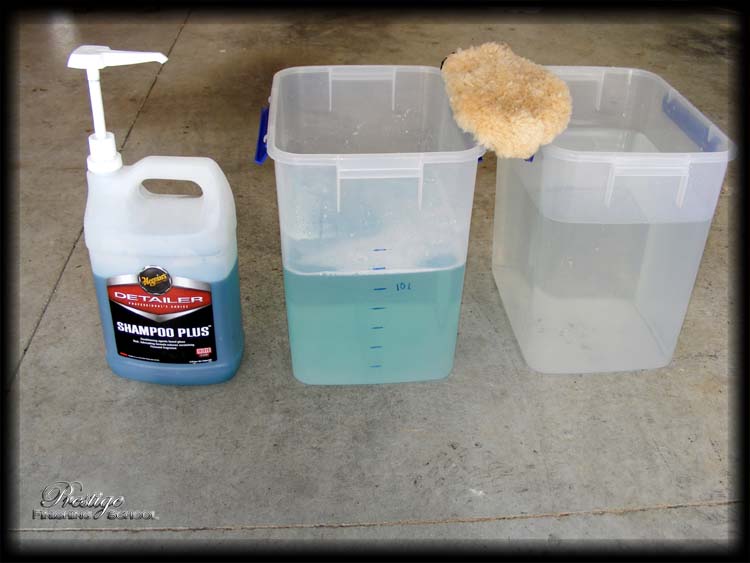
A lambswool (or microfibre) mitt should always be used for 'contact' washing of a vehicle's painted surfaces. Particles of grit and dirt on the paint are the primary cause of swirls on modern vehicles with 'clear coat' paint. Regular sponges cause the grit to be trapped against the surface of the paint and dragged across it. (Even worse still are the brushes at self-service or automatic carwashes.) The plush mitt however will draw the dirt away from the paint surface, deep into the fibers of the wool, thus preventing it from inflicting further damage.
Also notice the separate buckets for 'wash' and 'rinse' action. This is the safest and most effective way to clean a vehicle's paint. The Mitt is soaked in the 60° C Shampoo Plus solution which has a "Low-Suds / High-Lubricity" formula and then worked over the vehicle. After each panel, the Mitt is cleaned off in the 'rinse' bucket, dislodging any dirt picked up off the car, before being re-soaked in the shampoo.
If you consider the use of two buckets ‘overkill’, consider the state of the rinse bucket after completing the wash:
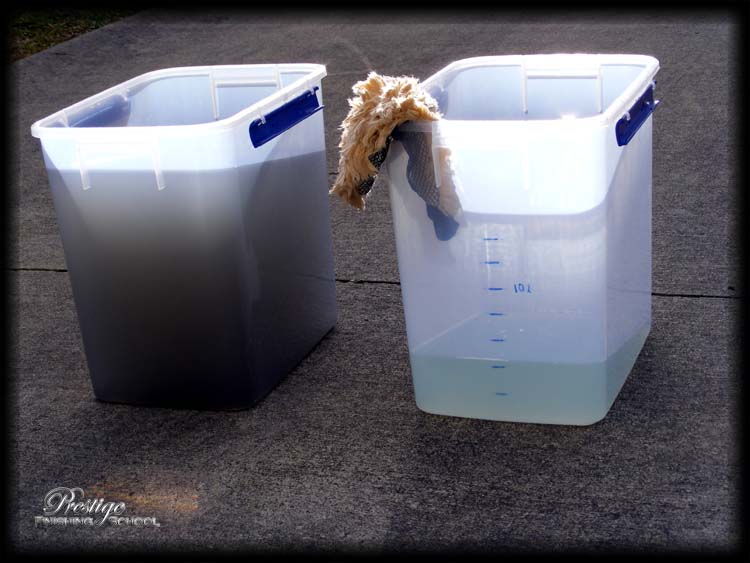
Would you consider wiping your car with anything soaked in the left bucket?
Clay Treatment
The final step in ensuring a perfectly clean paint surface is the removal of bonded contaminants with a detailing clay bar. This can include tar spots, tree sap or industrial fallout, all of which contribute to making the paint surface rough to the touch and dull to look at. In this instance, a Meguiars ‘Mild Professional Detailing Clay’ bar was used with Meguiars Last Touch (diluted 1:1) as lubrication.
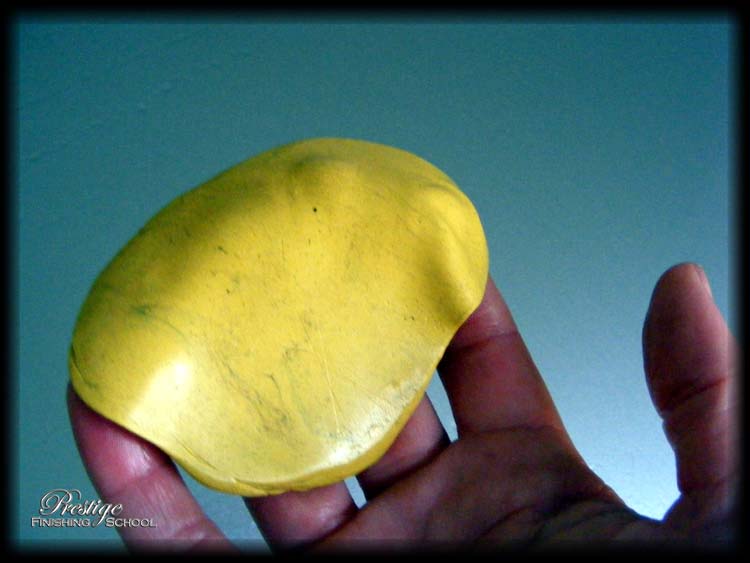
Very little contamination was removed from the vehicle, with the above picture being representative of the amount of bonded material on each panel.
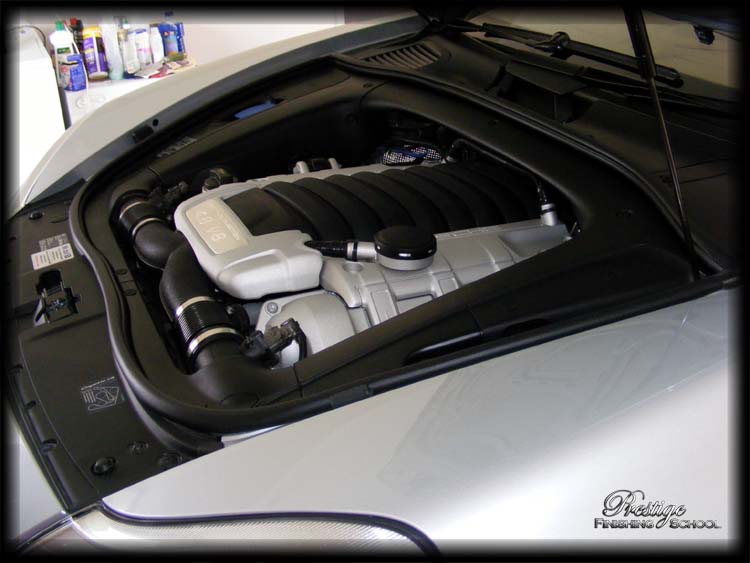
Even small amounts of contamination can dramatically reduce the effectiveness of any subsequent polishing, so it is well worth taking the time to ensure that the paint is perfectly clean and smooth prior to any form of correction. The vehicle was then given a final rinse off with the pressure washer and then patted dry with a Sonus Der Wonder Microfibre Drying Towel.
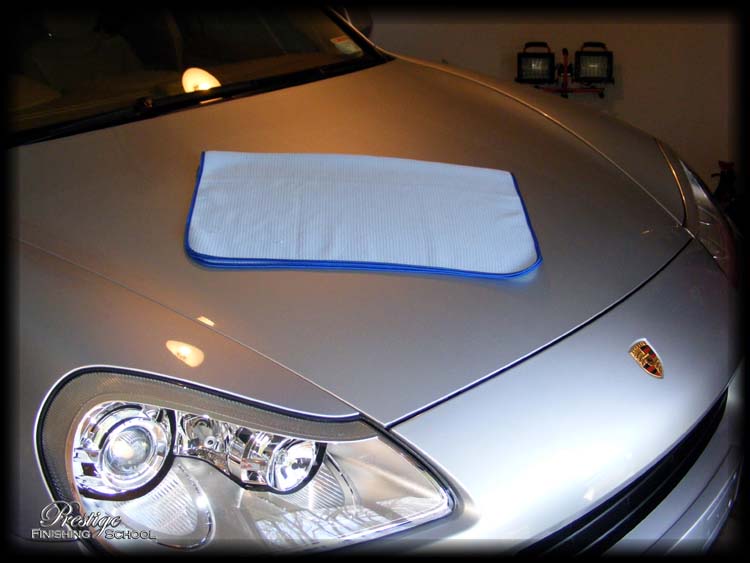
With the Porsche’s exterior now in a perfectly clean and dry state, it was moved inside to begin a thorough examination of the condition of the paint and to determine the type and quantity of correction that would be required to produce a perfect finish.