Holden VX Commodore (Part 1)
This booking was for 'Major Paint Correction' on a well used, and often neglected Supercharged 2001 Holden VX Commodore. This vehicle was purchased some years ago by a local fast food franchisee who was 'falling out of love' with the way it now looked. Our mandate for this job was to restore the old warhorse to its former glory, and let the owner enjoy it for another few years before replacing it. This proved to be quite a challenging task – the reasons for which will soon become apparent.
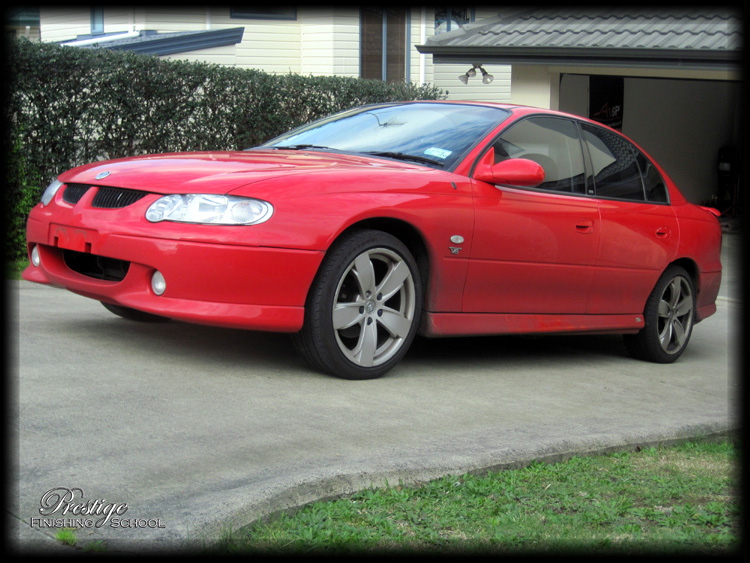
This particular vehicle has covered many thousands of miles, and has only recently ceased being parked under overhanging foliage. As a result, all matter of leaves, bird-droppings, and other organic 'gunk' had accumulated in the various sills, gutters, nooks & crannies around the vehicle. There were also a large number of stone chips and a nasty gouge (down to bare metal) that had been previously seen to with touch-up paint. We would need to work extremely carefully!.
Enrolment:
The vehicle was presented with a generous coating of road grime.

With the usual areas looking particularly grubby.

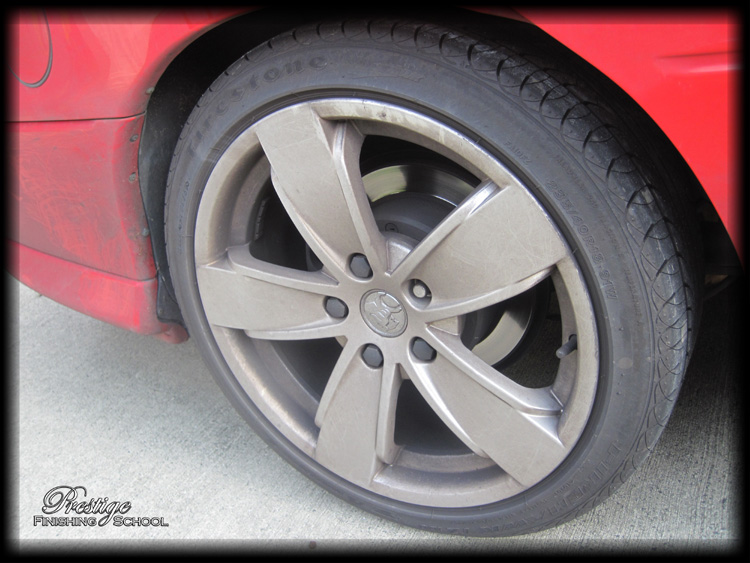
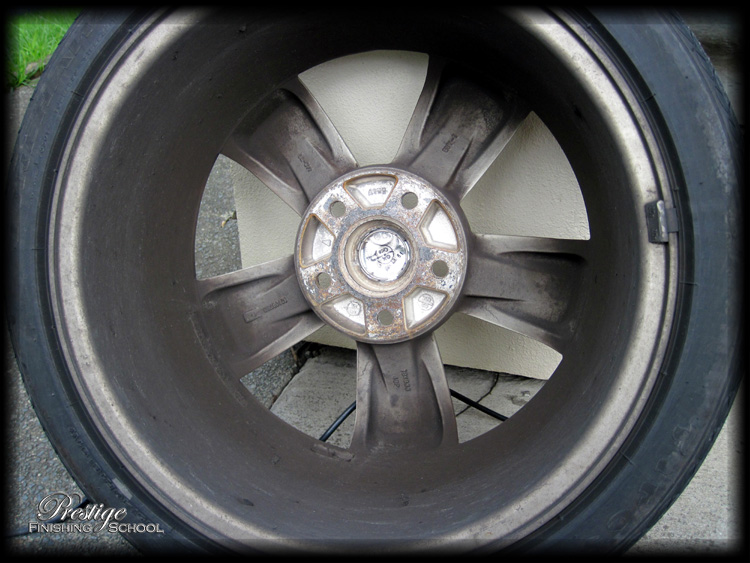
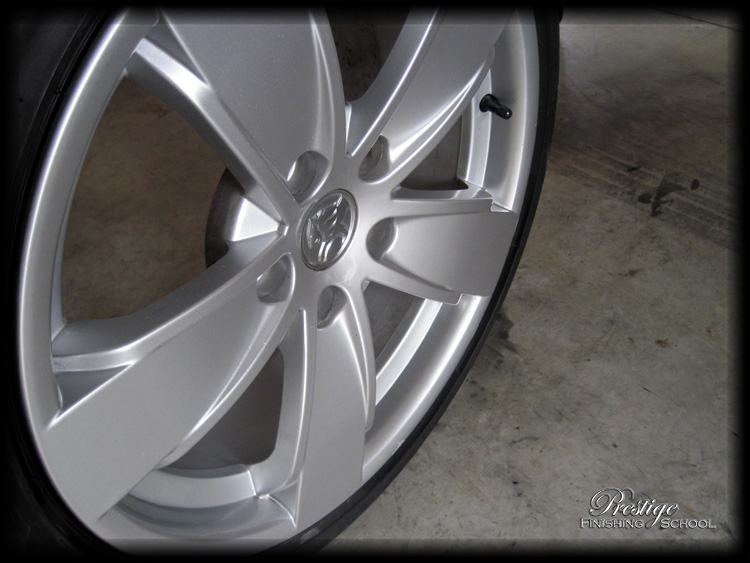
The wheels themselves were looking decidedly "brake dust brown" instead of the bright silver that they ought to.
A thorough cleaning would be required before we even start to look at the condition of the paint!
Remedial Tutelage:
Before approaching the vehicle’s painted panels, it’s important to attend to some prerequisite tasks. Generally, we tackle particularly dirty areas, such as the vehicle’s engine bay, wheels, arches and sills/shuts ahead of a traditional 'wash' process to ensure that the vehicle is cleaned in the safest possible manner. This also ensures that we don’t end up rinsing dirt onto areas that have already been cleaned.
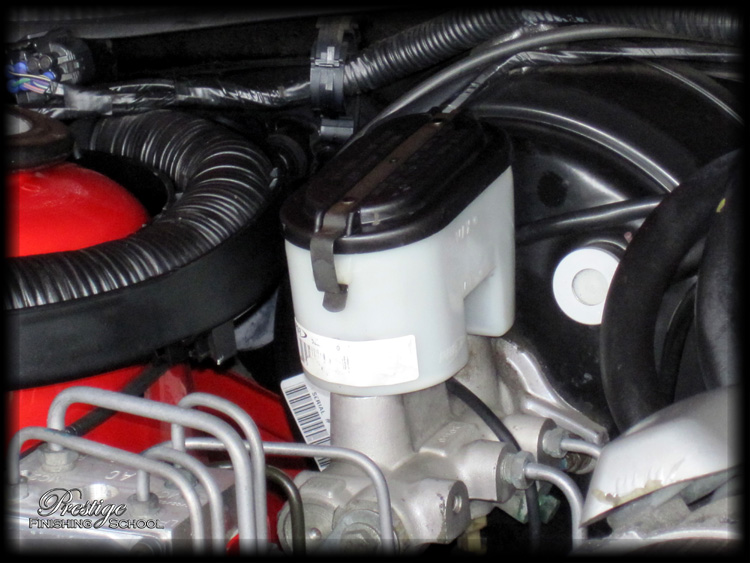
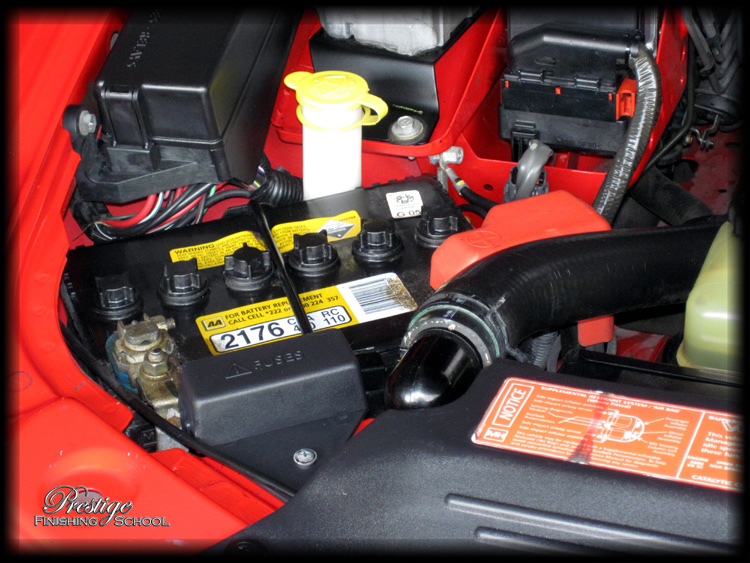
Engine Bay
We commence with the Engine Bay. Plenty of grime and dust present, as well as some nasty staining/fading of the plastics.
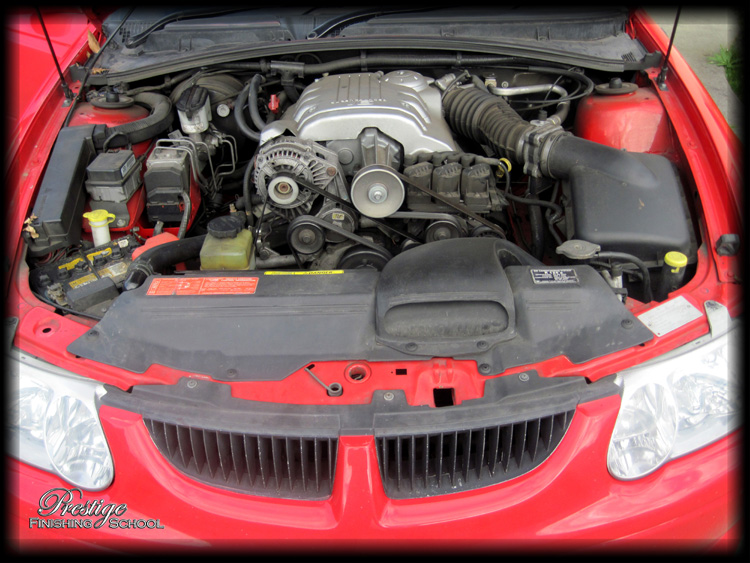
Getting up close gives an indication of the general state of things…
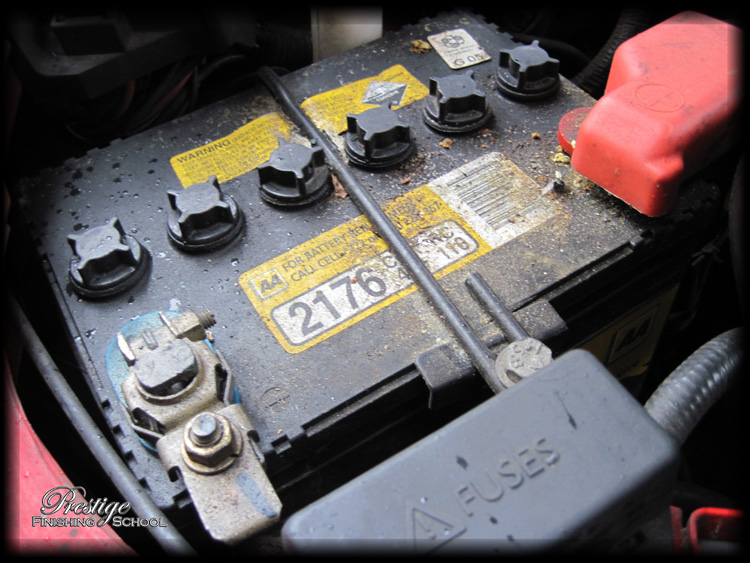
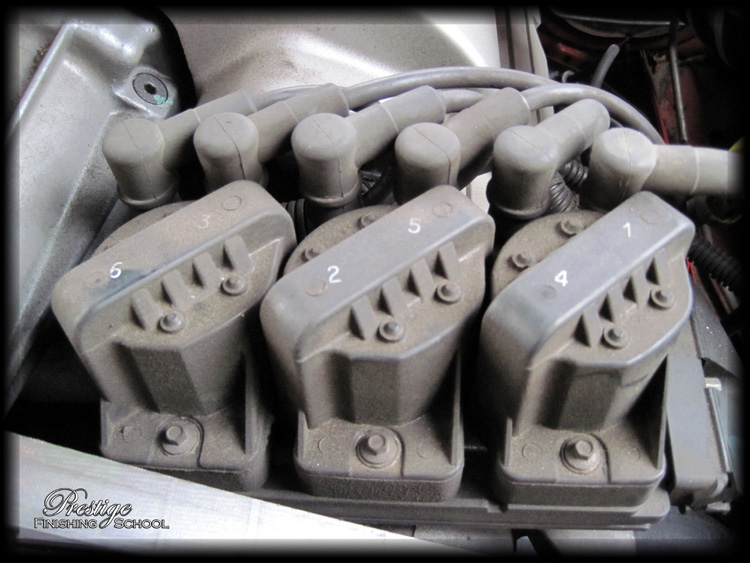
The entire compartment was given a liberal spraying with Meguiars Super DeGreaser (diluted at 4:1 this time for a little extra bite) and agitated with a detailing brush. This was then rinsed off at low pressure, leaving the following results:
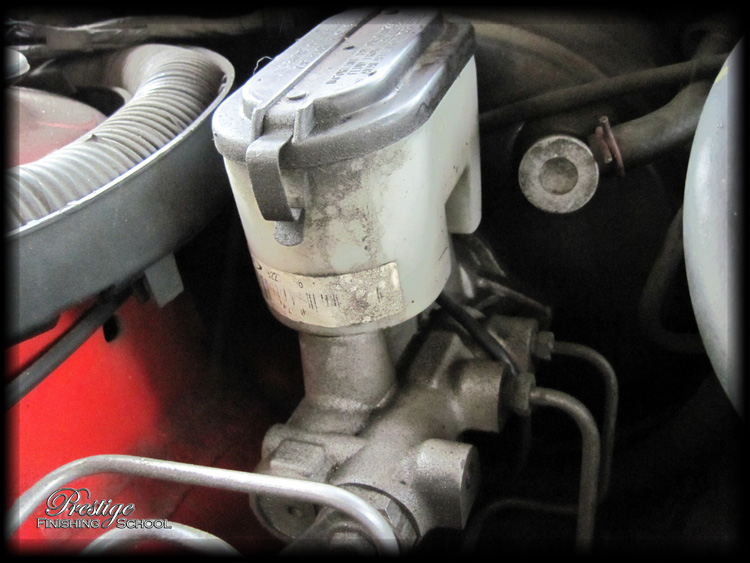
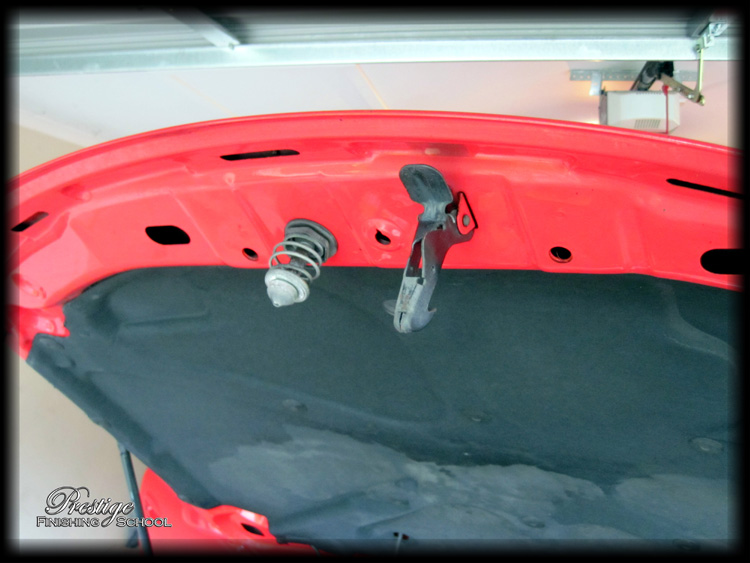
The underside of the bonnet is an often neglected area…
…which can really have an impact on the overall presentation of a car!
303 Aerospace Protectant was applied via a microfiber work cloth to the plastics. We find that this leaves a fantastic, matte, factory finish rather than the sticky/shiny results of other brands. In addition, it provides a significant amount of UV protection to minimize fading.

To finish up, the painted surfaces in the engine bay were sealed with a protective coat of Meguiars NXT 2.0 Tech Wax.
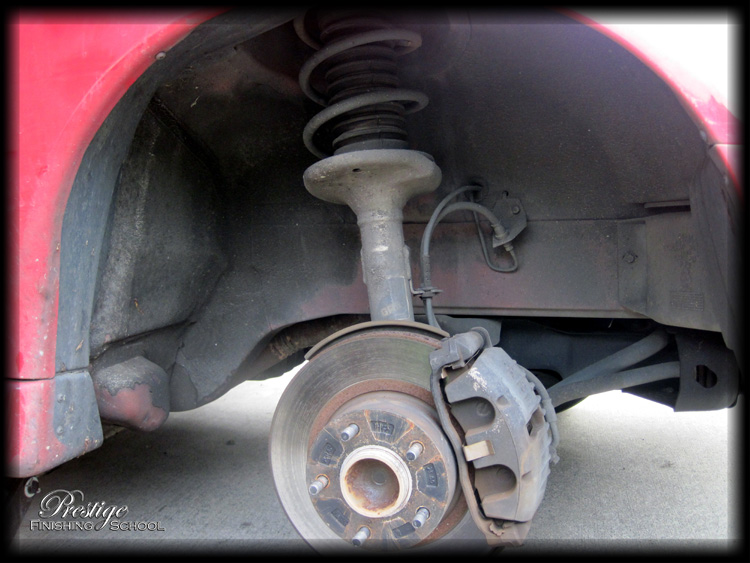
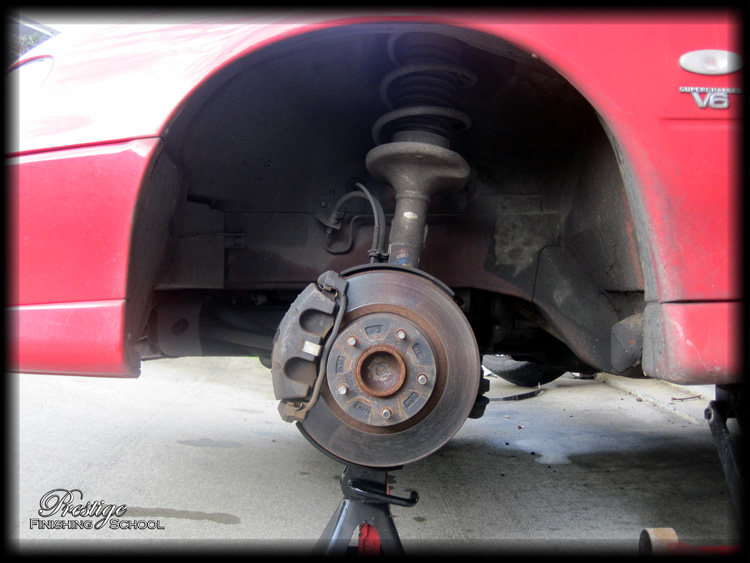
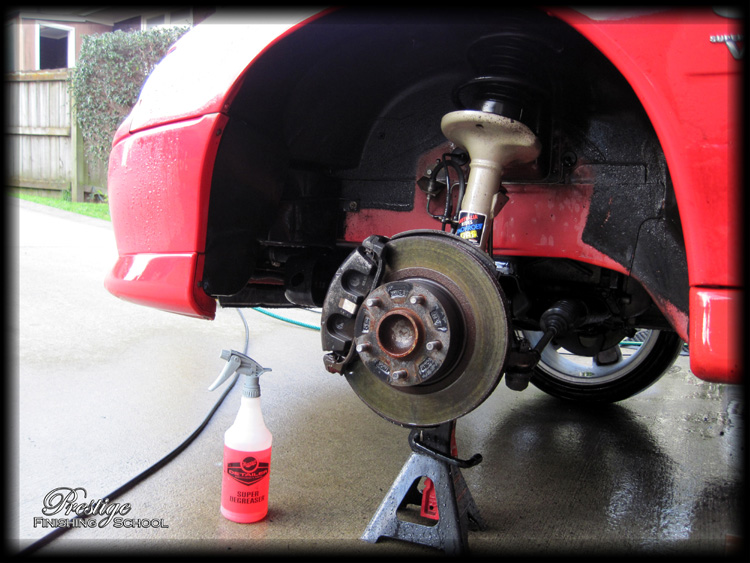
Wheels & Arches
The wheels were then attended to, one at a time. Firstly, with the wheel off, we have the opportunity to thoroughly clean one of the dirtiest areas of any motorcar.
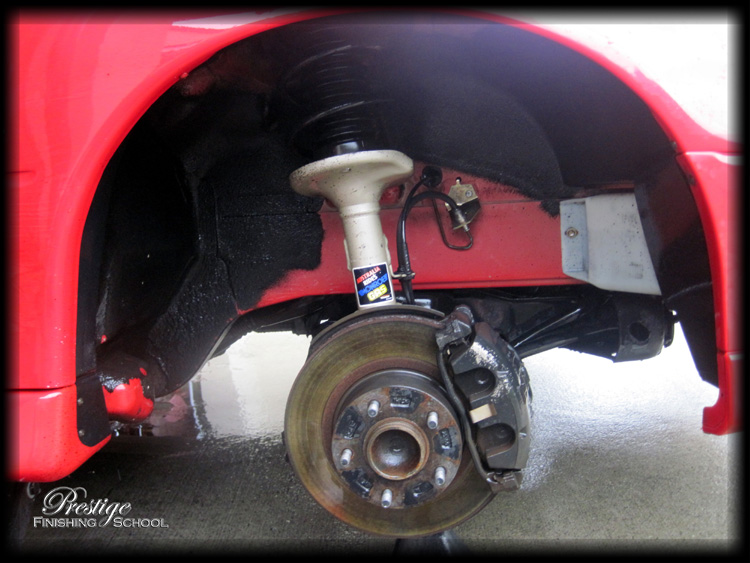
Although an underseal has been applied to the bulk of the wheel arches, a small plastic liner is still fitted – this is dressed with Meguiars All Season Dressing, leaving a very smart finish.
The wheels themselves were cleaned with various brushes, and a weak solution of Meguiars Wheel Brightener.
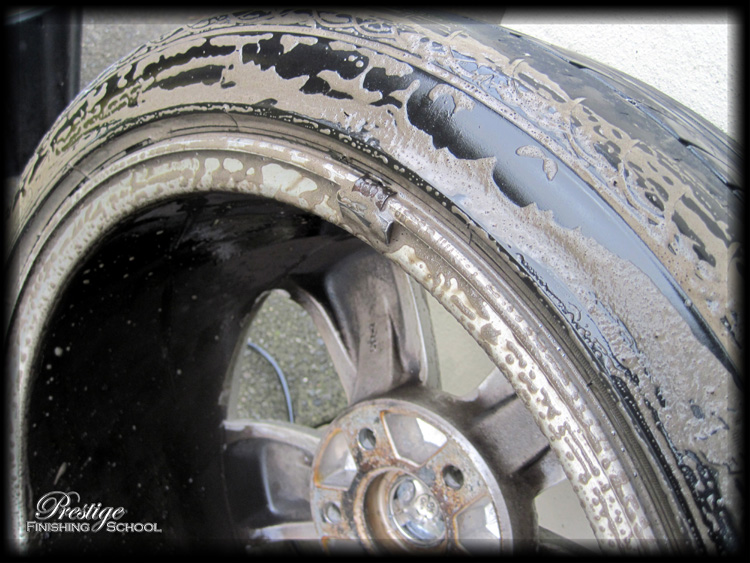
We also scrubbed the tyre walls with "Meguiars Super Degreaser". Cleaning the tyres is not a common practice, however this picture gives a good illustration of why "tyre black" products can turn brown very quickly if applied to a dirty rubber surface…
Once clean, the wheels look to be a completely different colour!
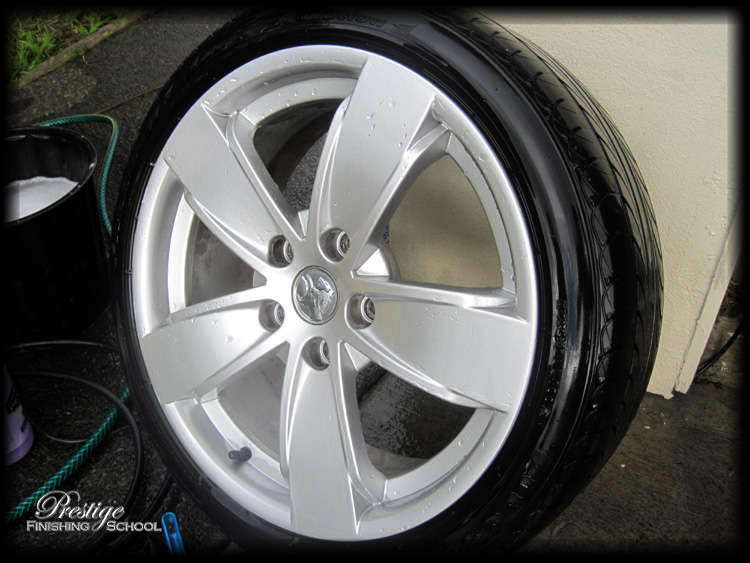
They were then treated to an application of Poorboy’s Wheel Sealant to protect the rim and make future cleaning much easier.
Repeat three more times…
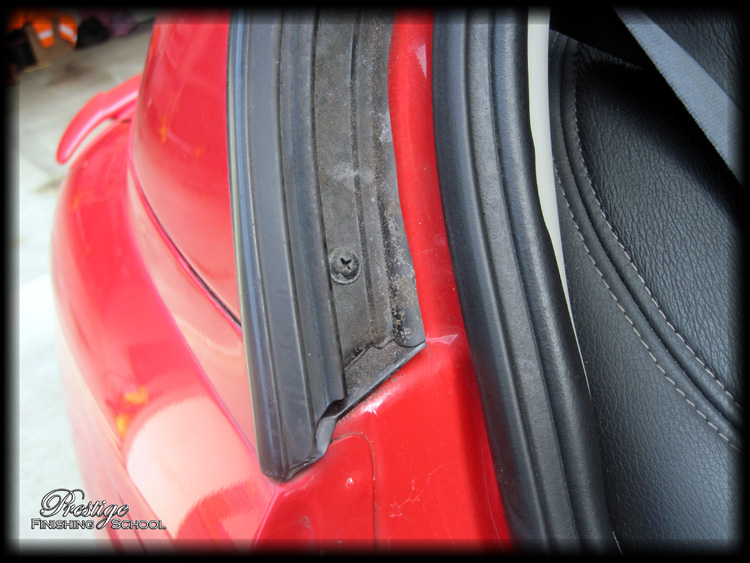
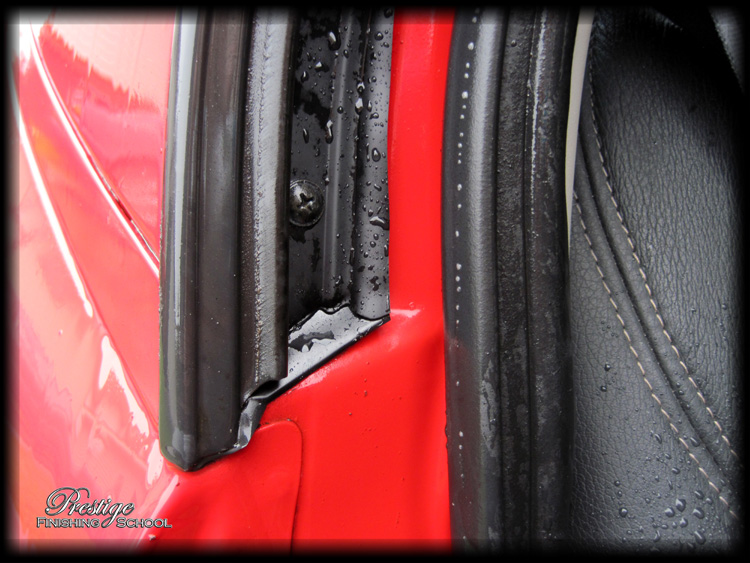
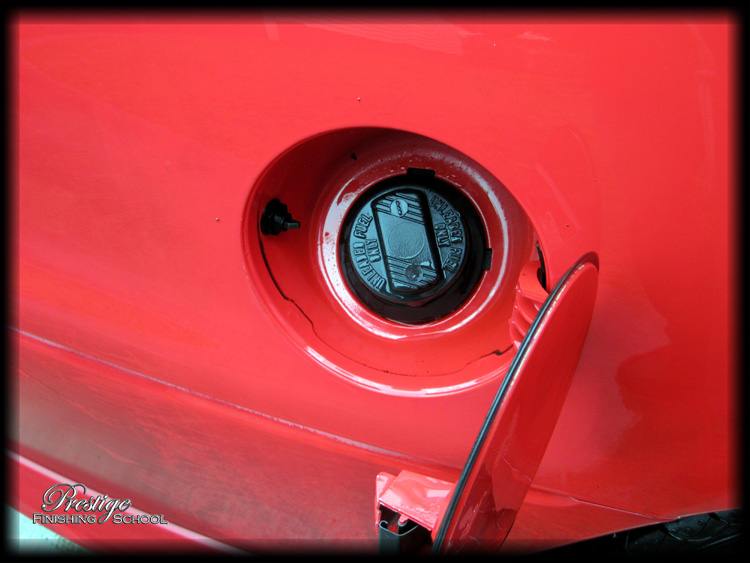
Shuts, Sills & Jambs
As previously mentioned, this vehicle had spent a long amount of time parked under overhanging foliage. Plenty of dirt had been deposited on the car, and worked its way into various crevices where "regular" washing won’t remove it. Door jambs…
Petrol filler cap…

Drain sills in the boot…
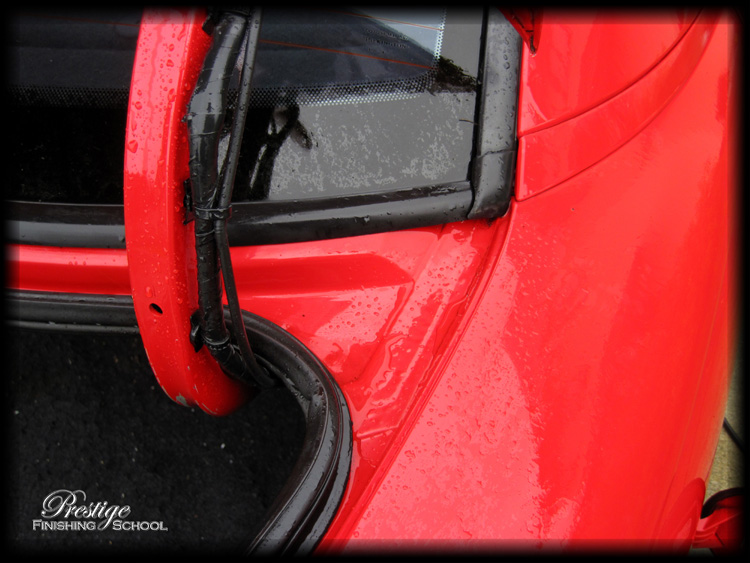
…and the door panels exposed to the wheel arches.
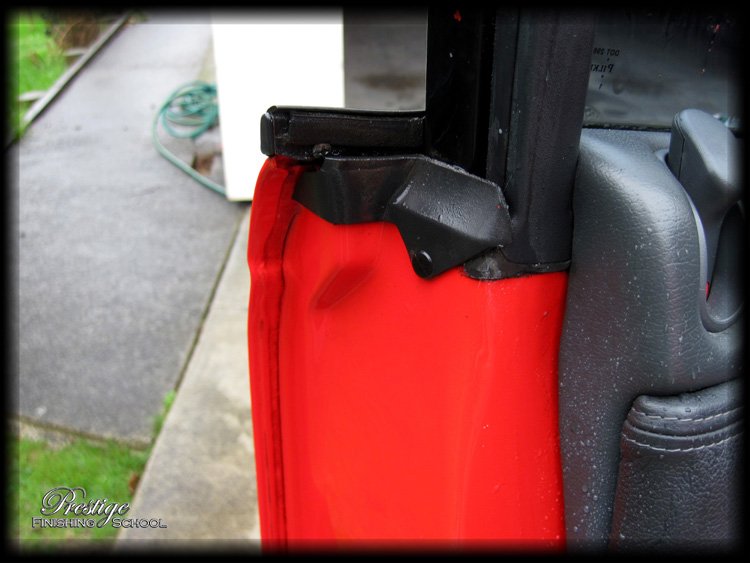
In each case, Meguiars All Purpose Cleaner (4:1) and a detailing brush was employed.
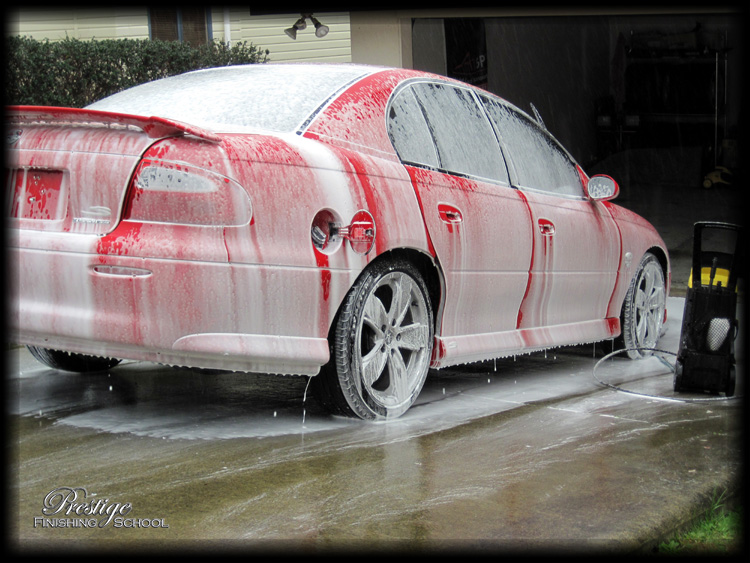
Foam Bath
Prior to any polishing, or paint correction of any kind, it is imperative that the paint surface is impeccably clean. To achieve this in the most 'gentle' way possible, the vehicle is first covered in a thick blanket of foam. This is achieved with "Meguiar’s Hyperwash", applied to the vehicle via an "Autobrite UK Foam Lance".
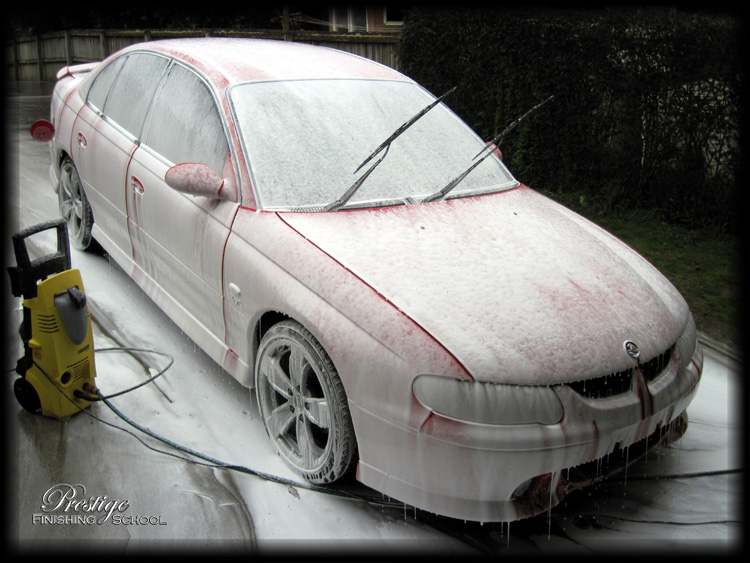
And left to dwell for 5 minutes before being rinsed off.
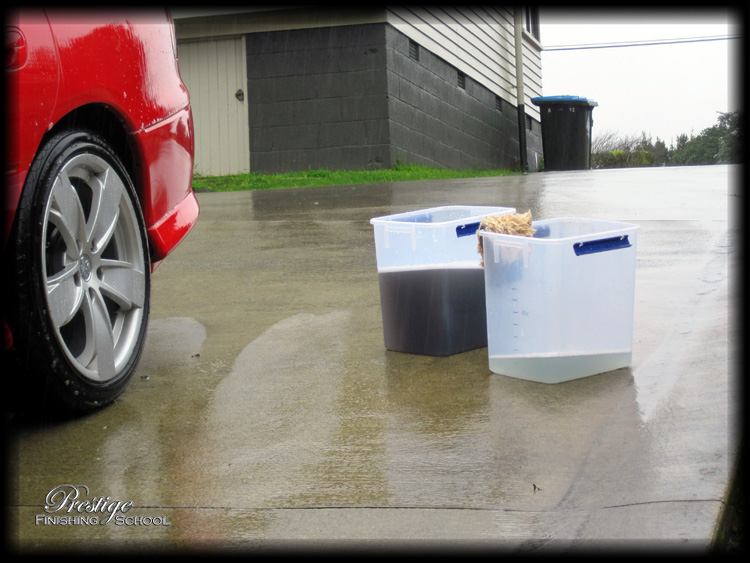
Hand Wash
With as much dirt as possible removed from the vehicle without direct contact, it was time to complete the wash process with a hand wash via a Lambswool Mitt and Meguiars Shampoo Plus.
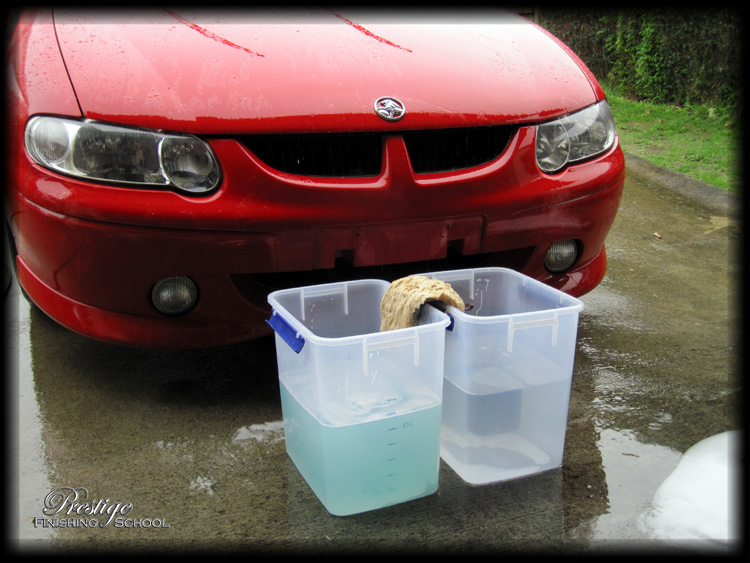
A lambswool (or microfibre) mitt should always be used for 'contact' washing of a vehicle's painted surfaces. Particles of grit and dirt on the paint are the primary cause of swirls on modern vehicles with 'clear coat' paint. Regular sponges cause the grit to be trapped against the surface of the paint and dragged across it. (Even worse still are the brushes at self-service or automatic carwashes.) The plush mitt however will draw the dirt away from the paint surface, deep into the fibers of the wool, thus preventing it from inflicting further damage.
Also notice the separate buckets for 'wash' and 'rinse' action. This is the safest and most effective way to clean a vehicle's paint. The Mitt is soaked in the 60° C Shampoo Plus solution which has a "Low-Suds / High-Lubricity" formula and then worked over the vehicle. After each panel, the Mitt is cleaned off in the 'rinse' bucket, dislodging any dirt picked up off the car, before being re-soaked in the shampoo.
This was the amount of dirt in the rinse bucket after just half of the vehicle! Definitely time to empty it and get a fresh supply…
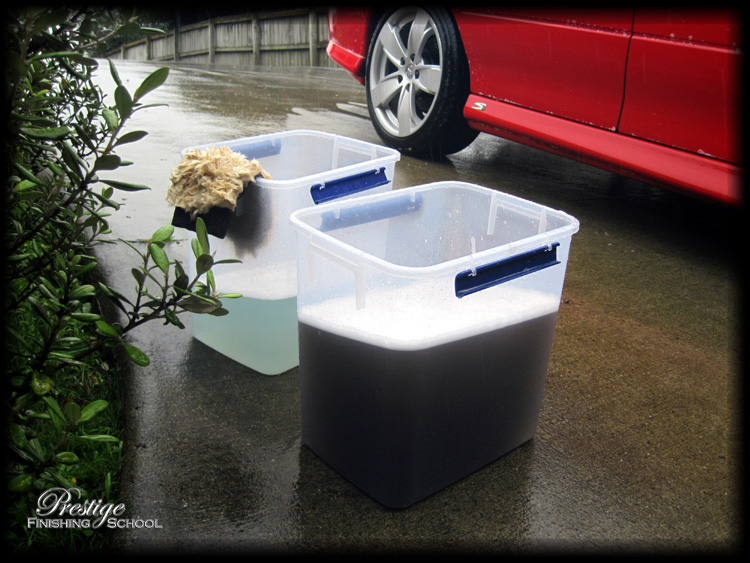
…which looked just as bad after completing the wash!
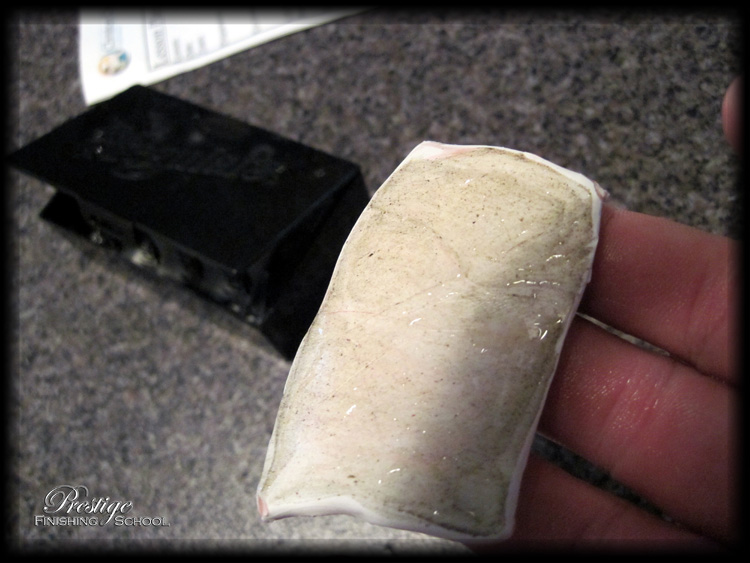
Clay Treatment
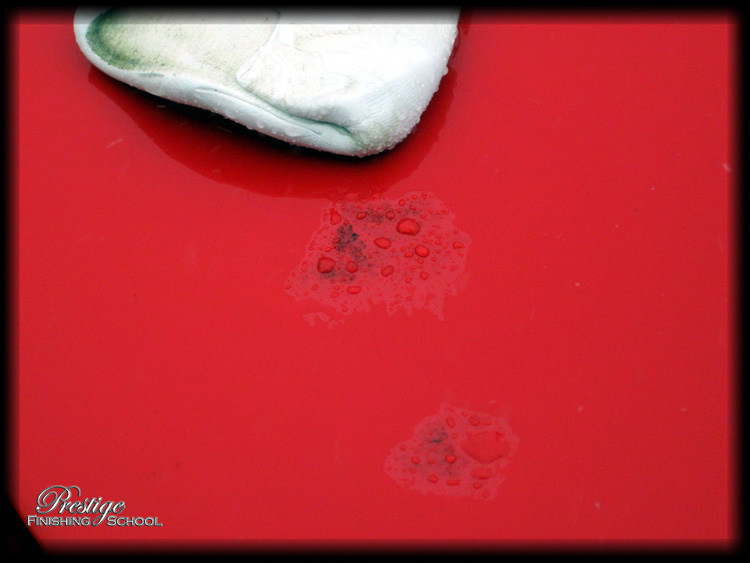
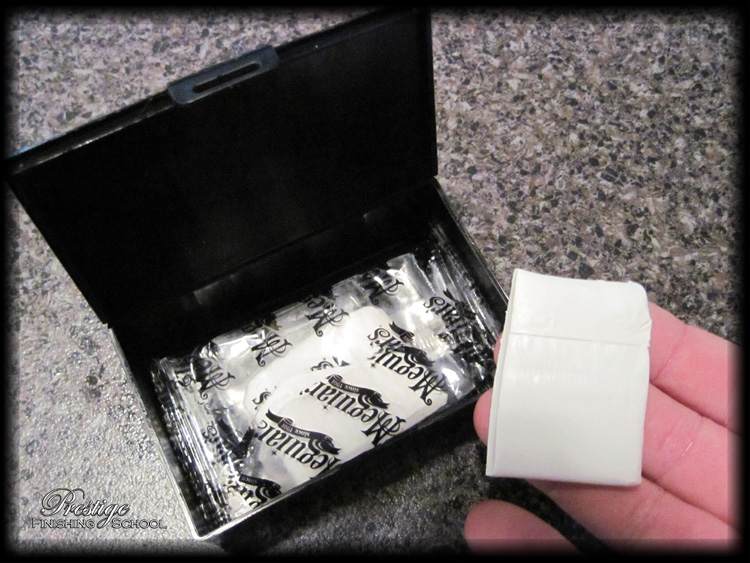
The final step in ensuring a perfectly clean paint surface is the removal of bonded contaminants with a detailing clay bar. This can include tar spots, tree sap or industrial fallout, all of which contribute to making the paint surface rough to the touch and dull to look at. In this instance, a Meguiars 'Mild Professional Detailing Clay' bar was used with Meguiars Last Touch (diluted 1:1) as lubrication.
Even small amounts of contamination can dramatically reduce the effectiveness of any subsequent polishing. If not removed, the material will be drawn into the polishing pad, and potentially instill scratches to the paint surface throughout the machining process - so it is well worth taking the time to ensure that the paint is perfectly clean and smooth prior to any form of correction.
This picture shows the amount of contamination removed from one half of the bonnet only…
And the next image is representative of the amount of bonded and etched material removed from each panel.
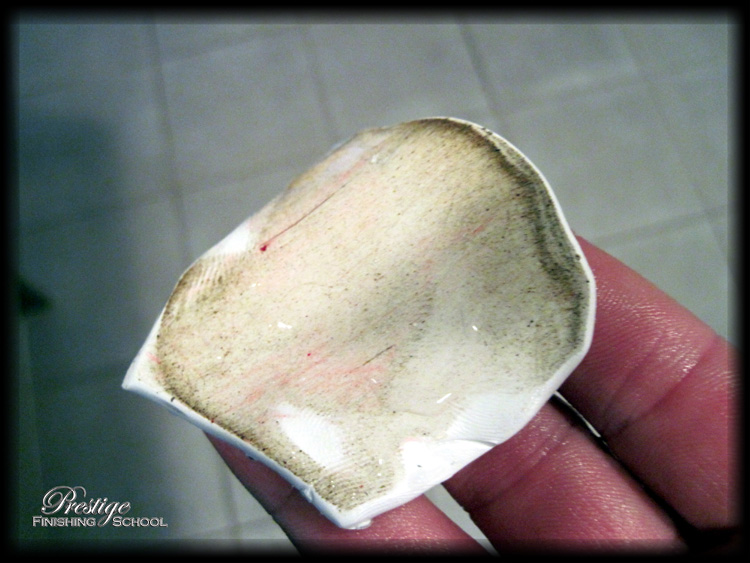
The boot lid was suffering the effects of bird droppings. These marks illustrate just how damaging it can be to leave these deposits unattended to.