BMW 730i (Part 2)
Initial Assessment
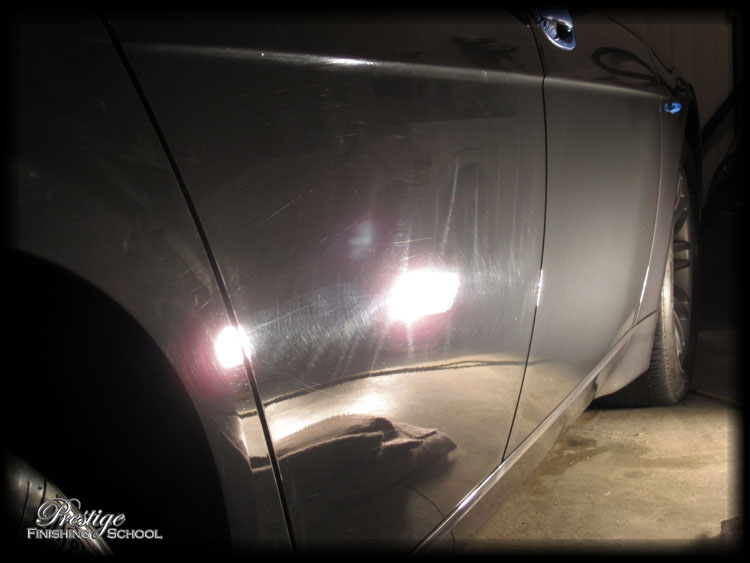
Initially, it was thought that only minor work would be required to "perfect" the paint on this vehicle. Silver coloured vehicles, however, do tend to mask defects especially well and as you will see in the upcoming sections; Major Paint Correction would be required to achieve the desired finish.
As the correction process essentially involves 'removing' a microscopic layer of the top coat of the paint, a thorough examination of each panel is necessary, paying particular attention to the thickness of the paint present.
The "PosiTest DFT Combo" gauge from DeFelsko is an invaluable tool for this purpose. It will quickly and accurately (to the nearest micron (µm) which is 1/1000th of a millimeter) measure the thickness of a coating on any ferrous (eg. steel) or non-ferrous (eg. aluminium) surface.
Having knowledge of the relative thickness of the paint is a fundamentally important factor when undertaking any form of paint correction. Both in terms of understanding the amount of ‘working material’ that you have to begin with, and throughout the correction process to gauge the effect that different polishes have on the vehicle’s paint and ensure that only 'safe' amounts of the top layer of clear coat are removed.
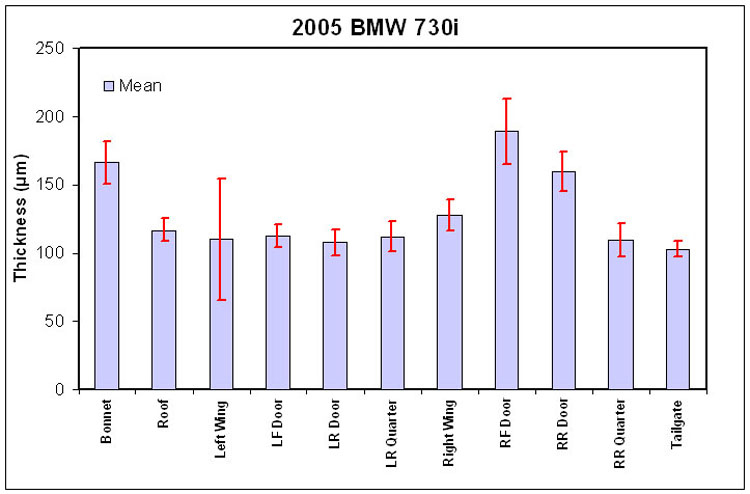
Each panel was carefully assessed to highlight any localised 'thick' or 'thin' areas that might represent previous touch-up work, or aggressive cutting in a localised area.
In total, nearly a thousand individual readings were taken, and all panels showed healthy readings.
Course of Correction
This section details the paint correction process for each panel.
Bonnet
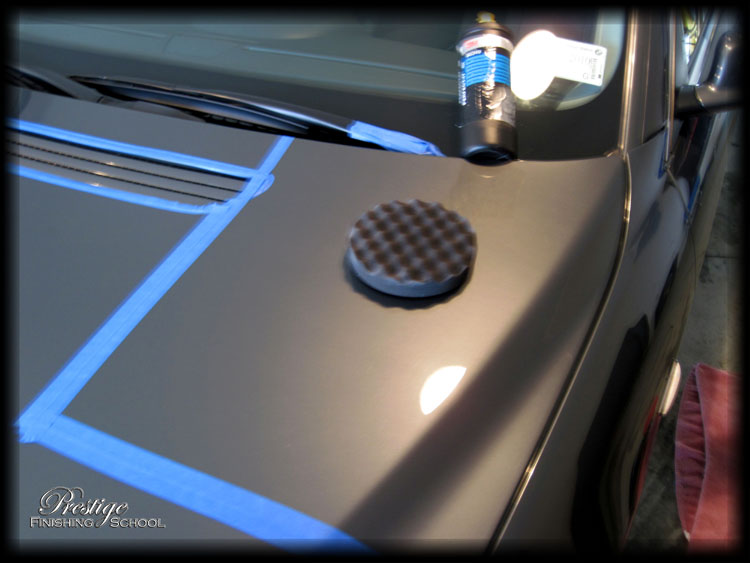
To begin, we need to establish the correct polishing compound, pad and technique combination required to achieve the desired level of correction for this vehicle’s paint. It is important in all cases to approach this exercise from the 'least aggressive' option, and step up the cutting level, machine speed, and pad type as required. This ensures that the paint defects are corrected with the smallest possible amount of paint being removed from the vehicle.
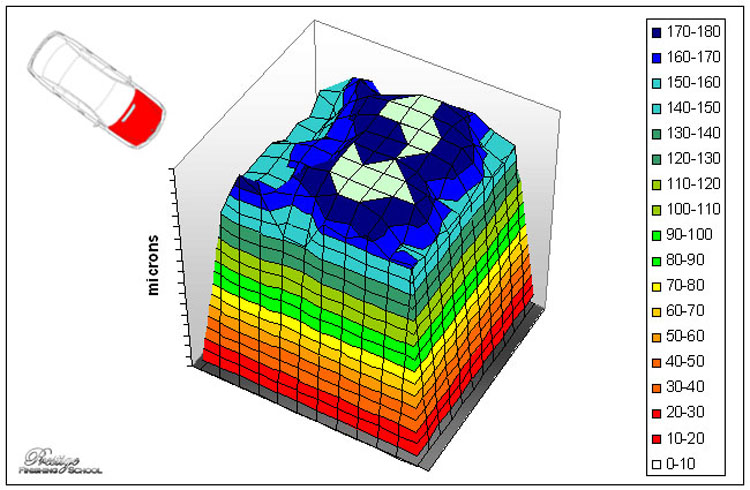
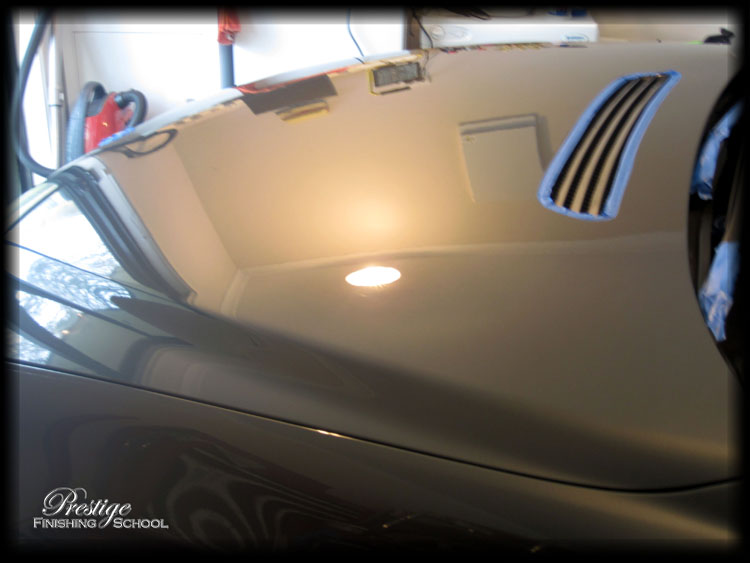
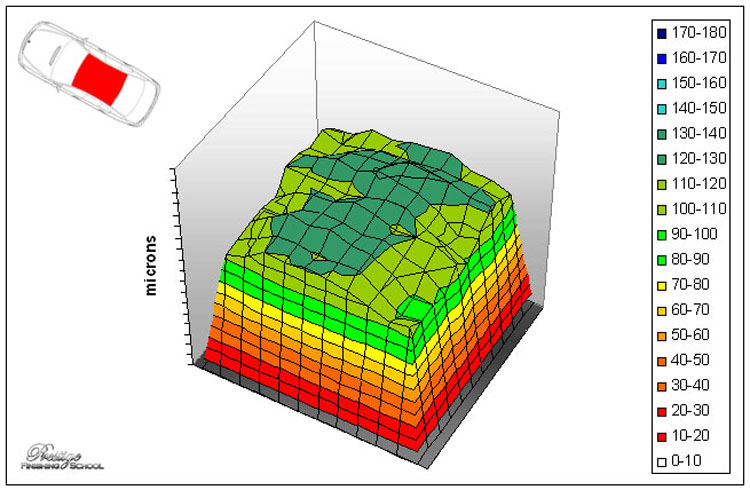
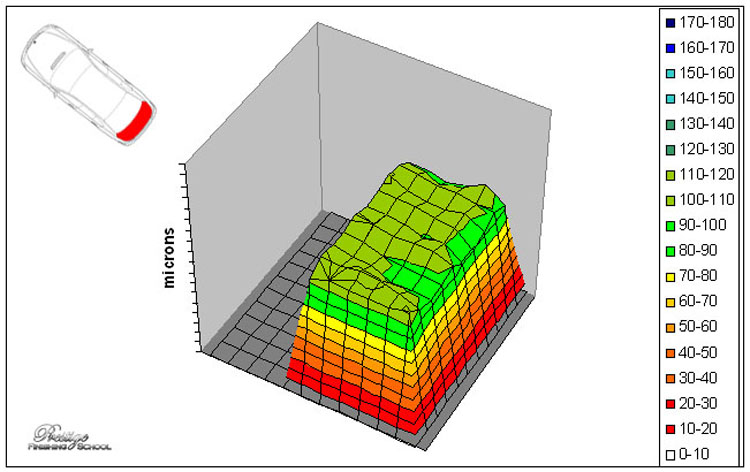
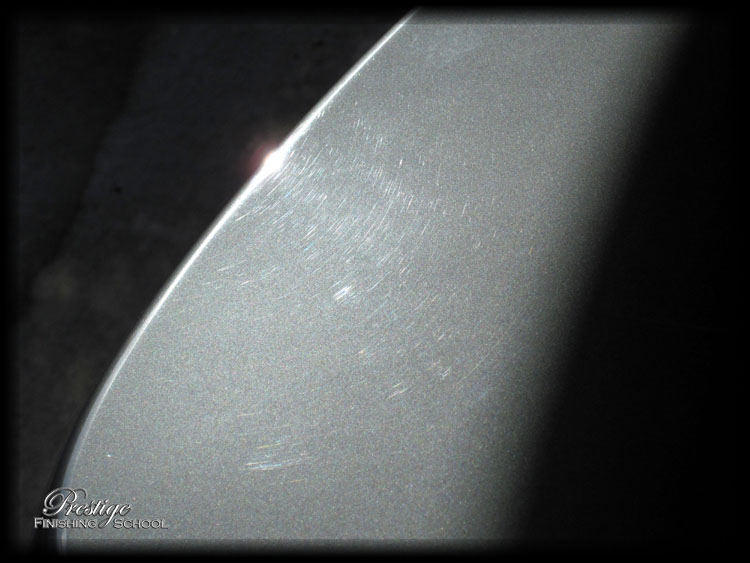
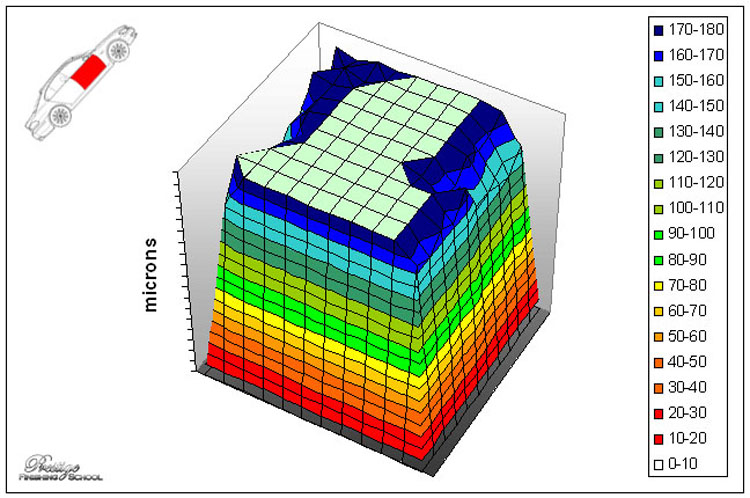
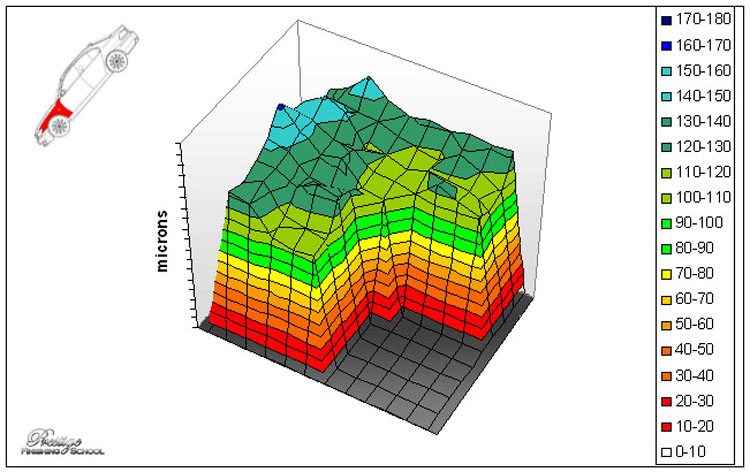
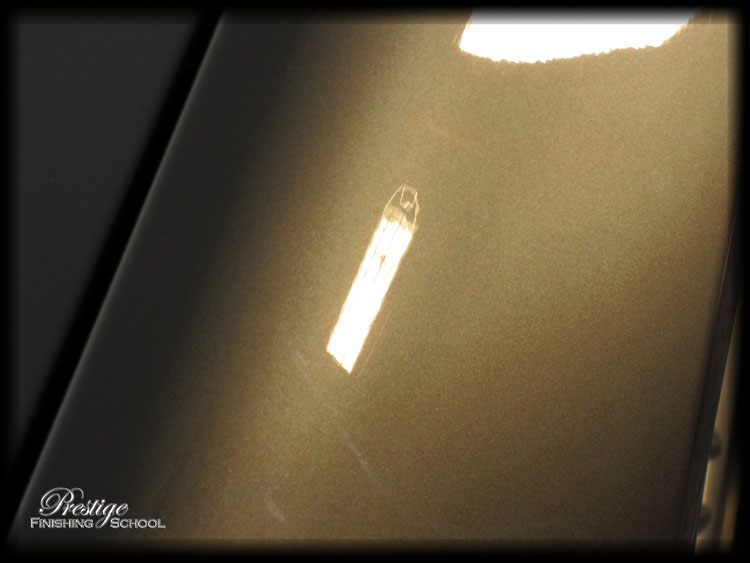
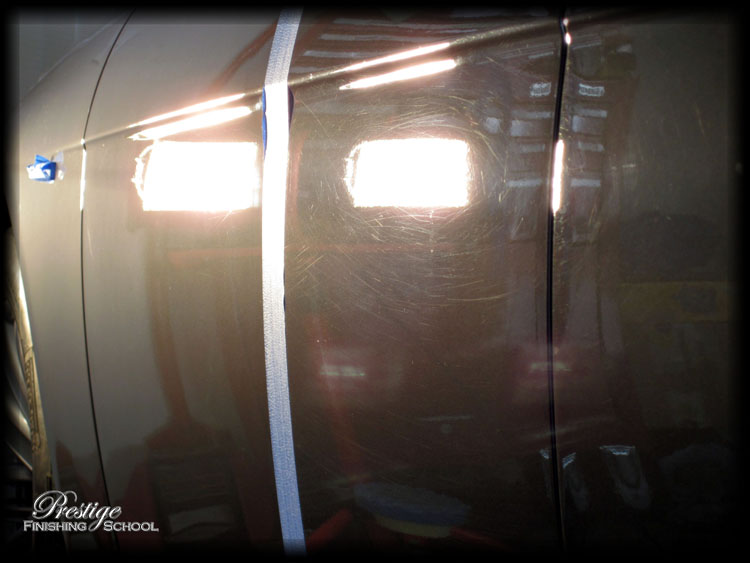
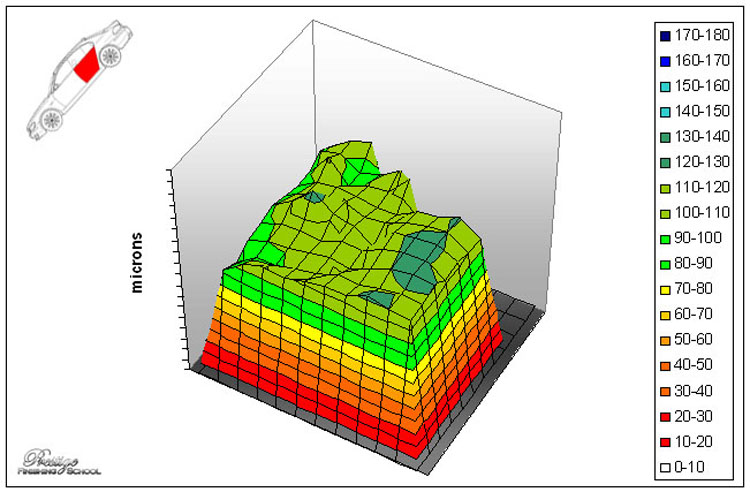
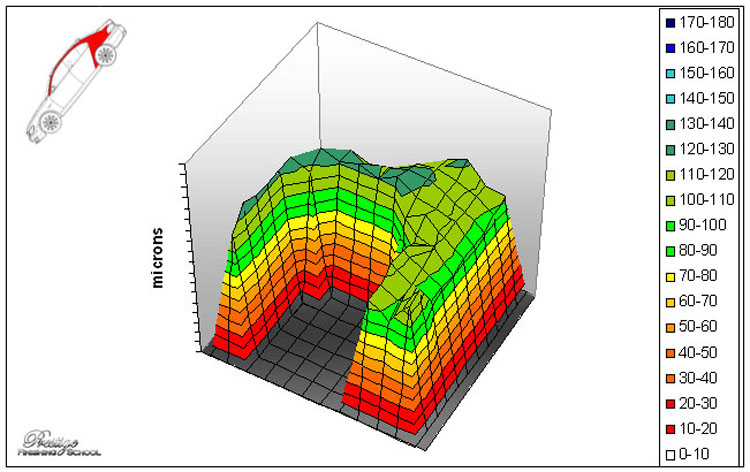
This was the condition of our 'test' area prior to starting. Paint thickness (as illustrated in the diagram below) was consistent across the panel, and averaged a generous 165 µm in total thickness.
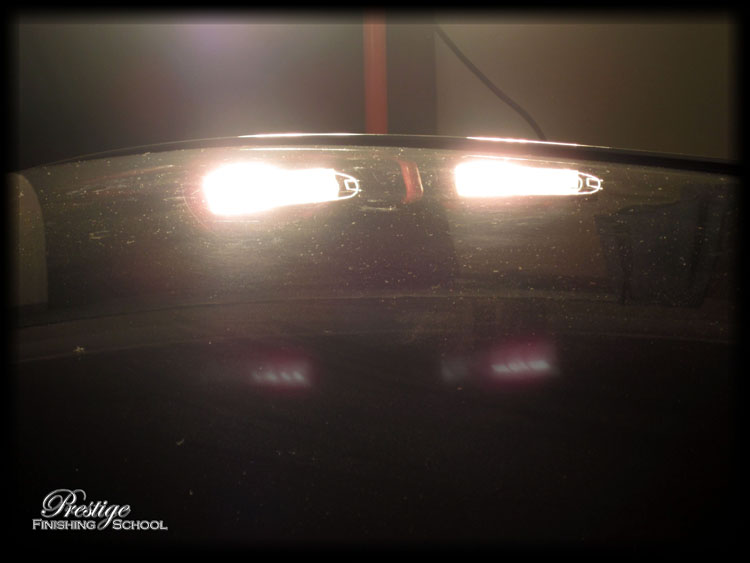
BMW paint has a reputation for being "rock hard" and this specimen turned out to be no exception! We quickly graduated from finishing polishes to 3M Extra Fine Polish on a 3M polishing pad which has a bit more 'cut'.
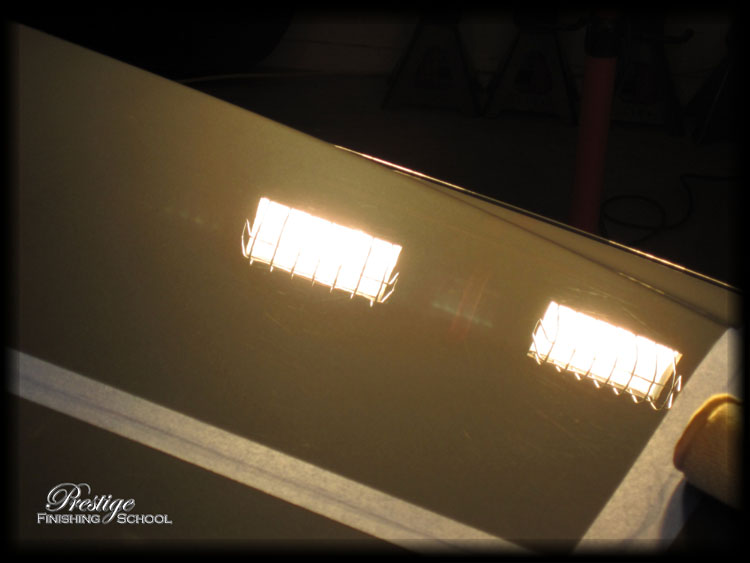
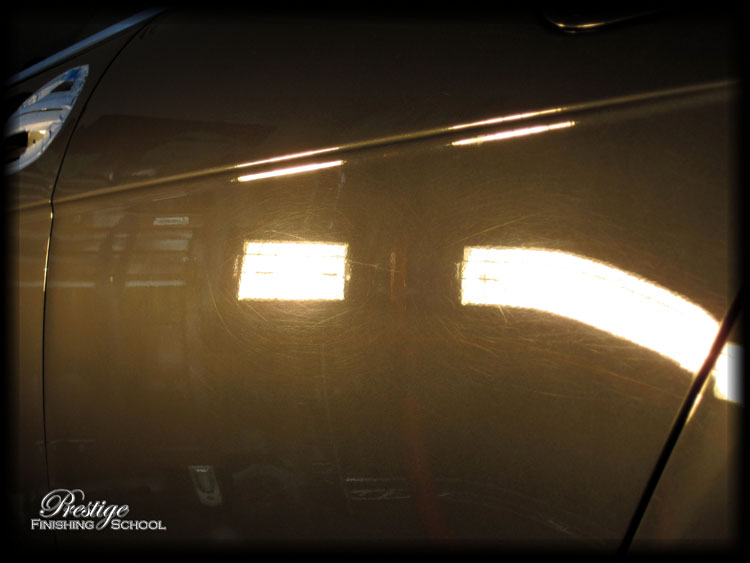
This is the level of correction after a single pass of the Extra Fine Compound. Much improved, but some defects are still evident in the paint.
Once again, we reached for Menzerna "Power Finish" PO85 RD 3.02 on a 3M compounding pad.
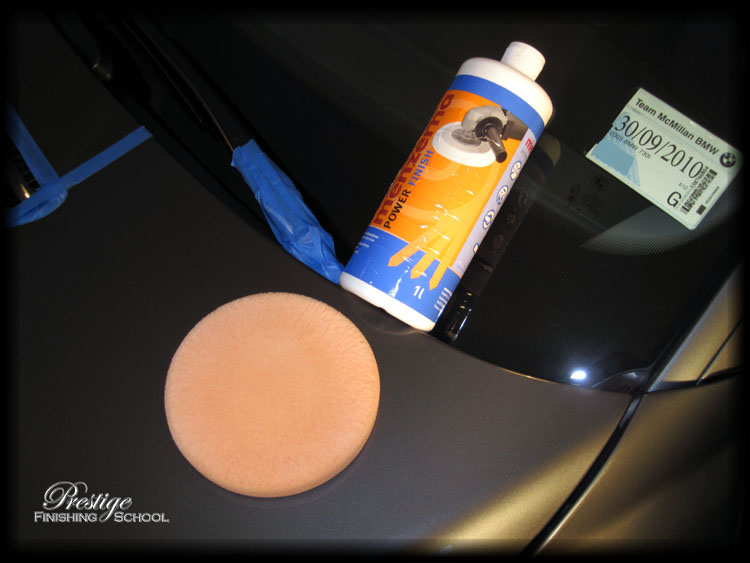
PO 85 RD 3.02 was initially developed for removing more severe paint defects and 2000 grit sanding marks from the cerami-coat finish of modern Mercedes paints. It is now being widely used on regular clearcoat finishes and is particularly effective on the harder clear coat finishes found on VAG and BMW paints.
The RD3.02, combined with appropriate rotary polishing technique gave the following level of correction:
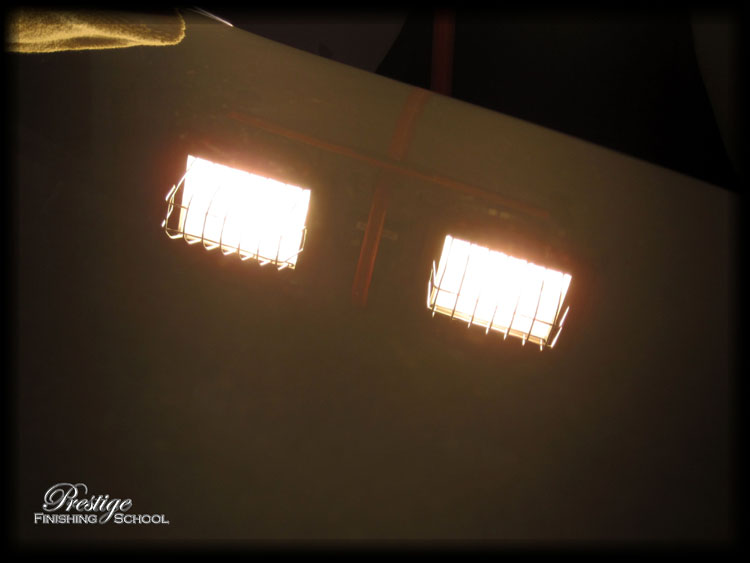
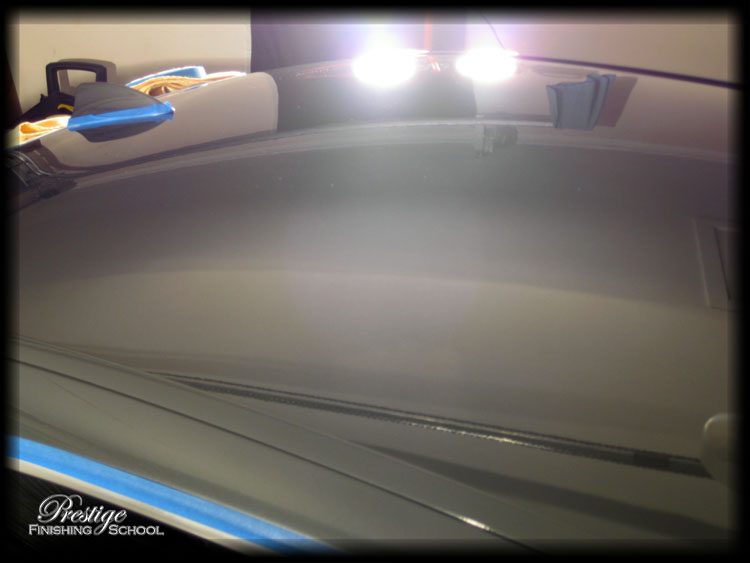
Only a very slight hazing remained in the finish, …which was subsequently refined with Menzerna RD85 on a 3M finishing pad.
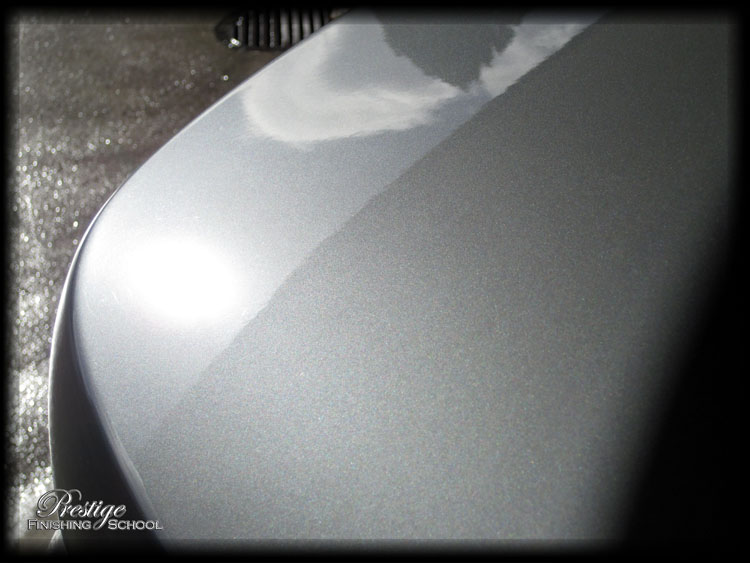
…leaving a crisp, glossy, deeply reflective surface.
Roof
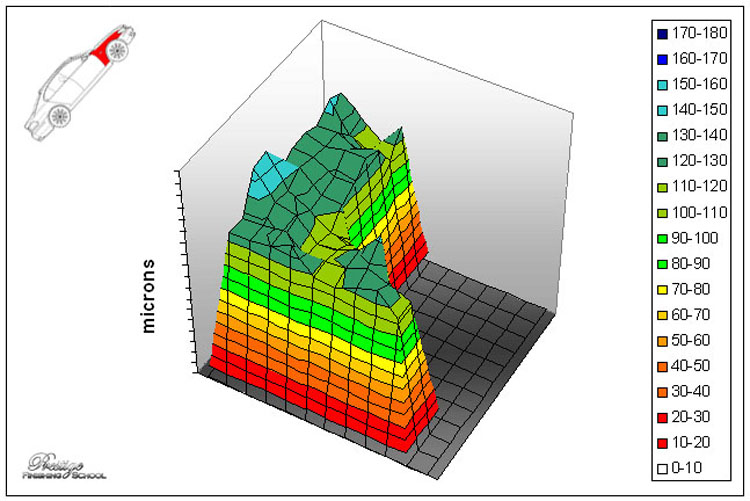
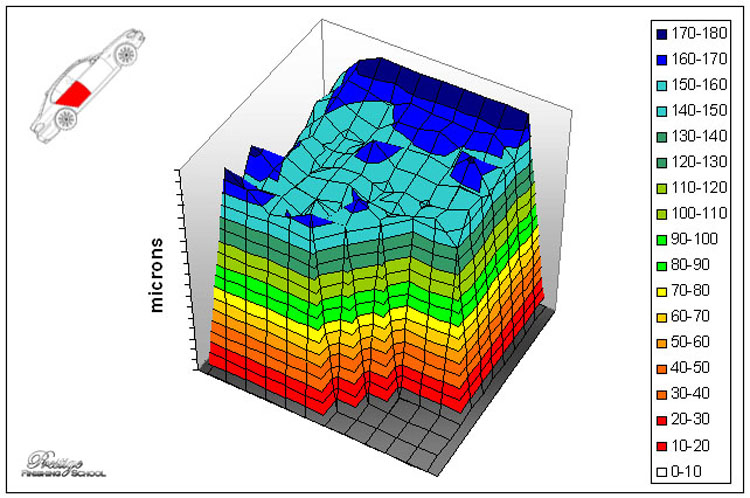
The roof was also showing healthy paint levels…
…with slight marring on the surface of the panel.
The finished panel:
Boot
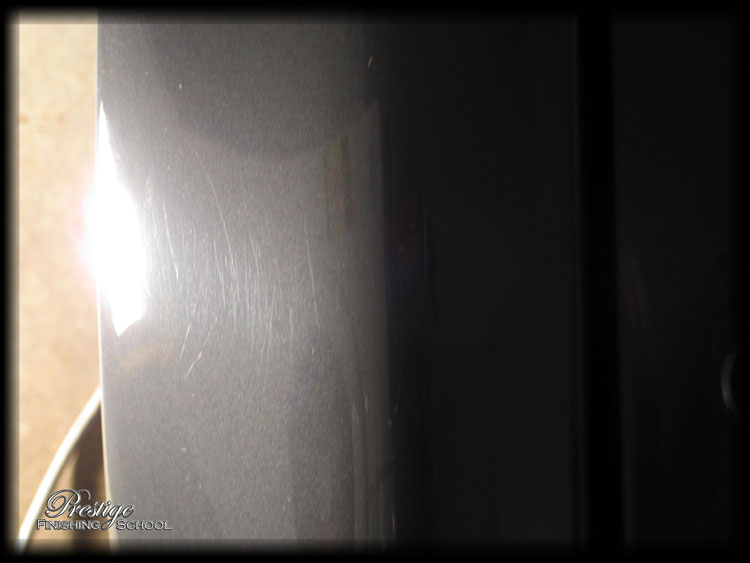
The bootlid was a location that was showing signs of swirl marks under sunlight. The paint thickness on this panel was the lowest on the vehicle, but still well within 'safe' working range.
The same corrective process was followed, resulting in a flawless finish
(NB. This is not a "half-and-half" photo – the sky is reflected on the left, and the underside of the eaves on our roof on the right)
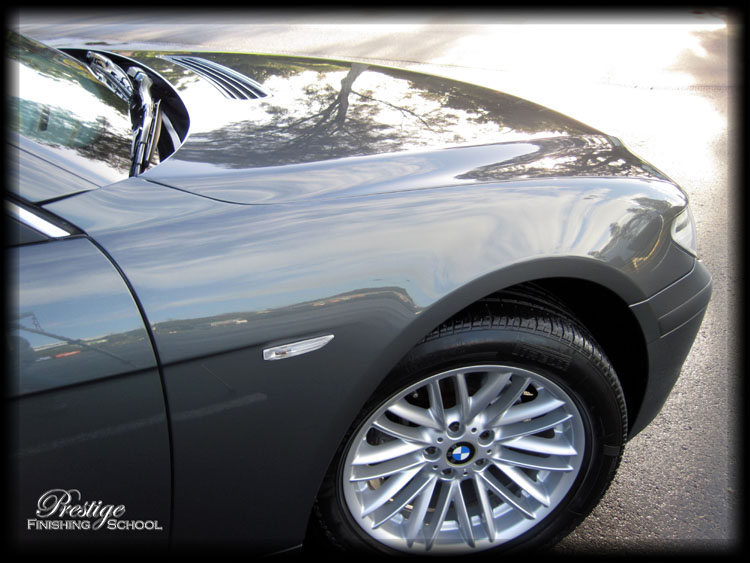
Right Front Wing
Right Front Door
Right Rear Door
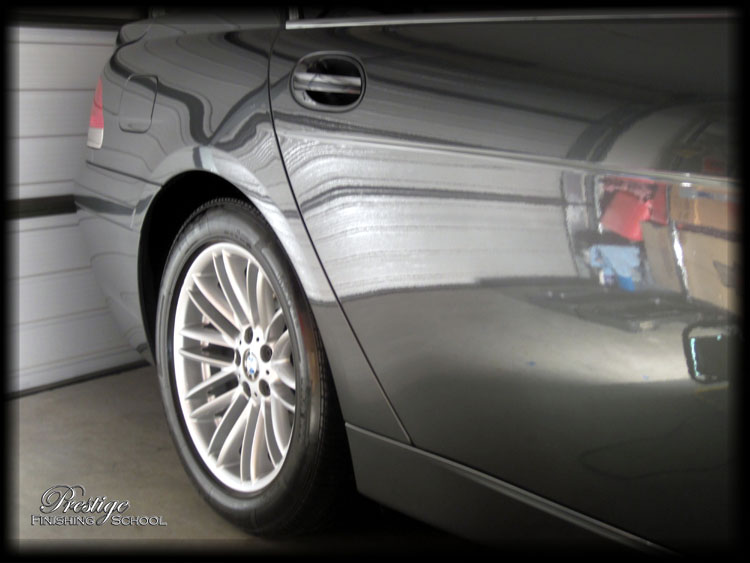
This shot shows the difference between the two right hand doors. The front has been corrected, with the rear showing holograms & buffer trails (likely from previous attempts at machine polishing with poor technique) …as well as the expected swirls & scratches.
Now with both panels fully corrected:

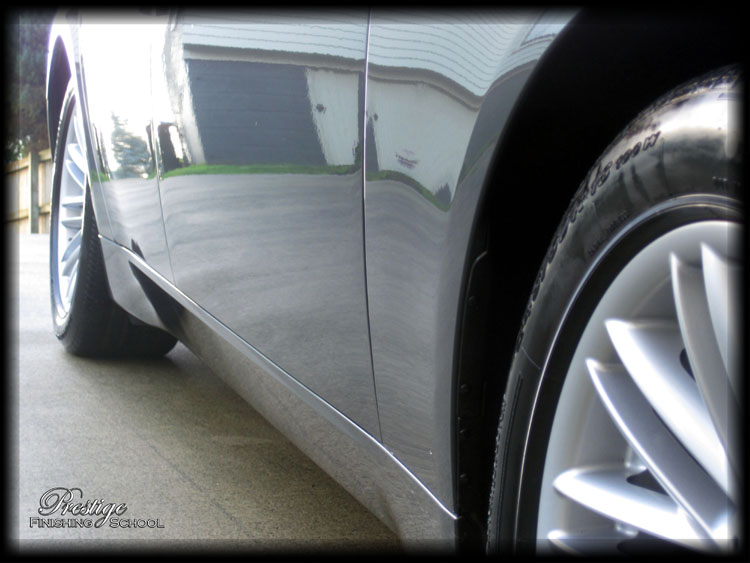
Right Rear Quarter

The right hand side of the vehicle now completed.
Left Front Wing
The passenger’s side of the vehicle was consistent, hard, uniform factory paint, with varying amounts of surface defects.
Left Front Door

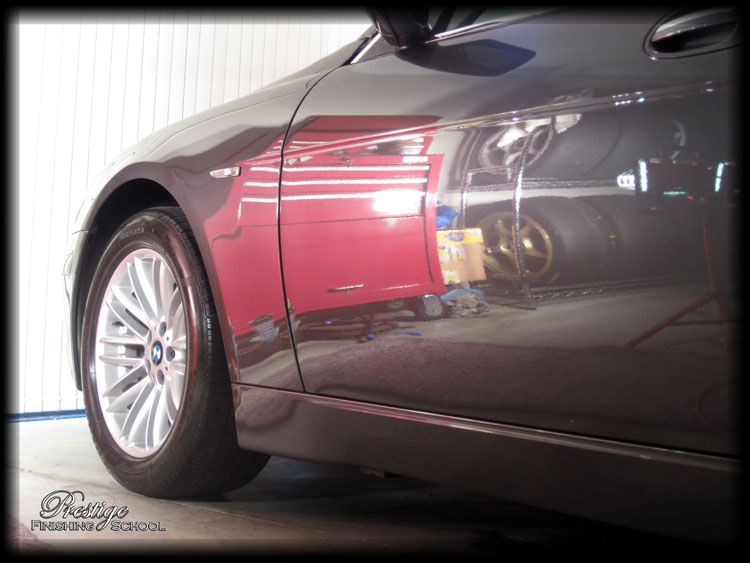
This is a 50:50 shot of the left front door, clearly showing the before and after state of the paint finish on the panel.
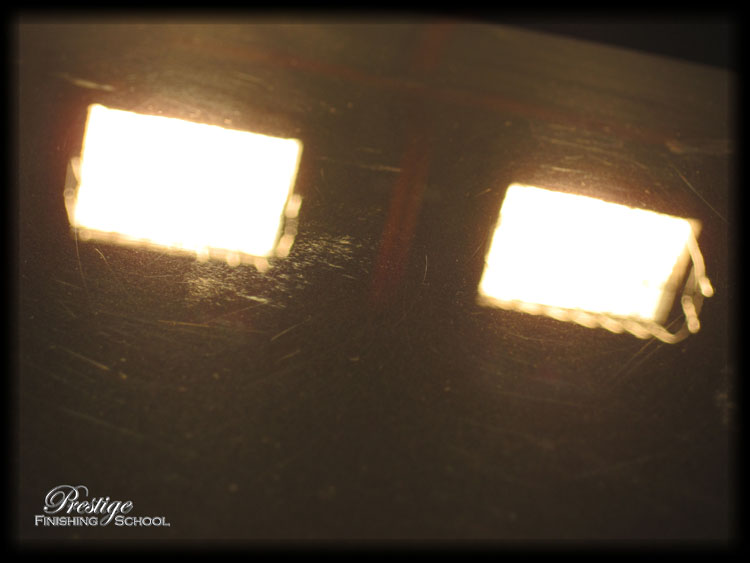
Left Rear Door
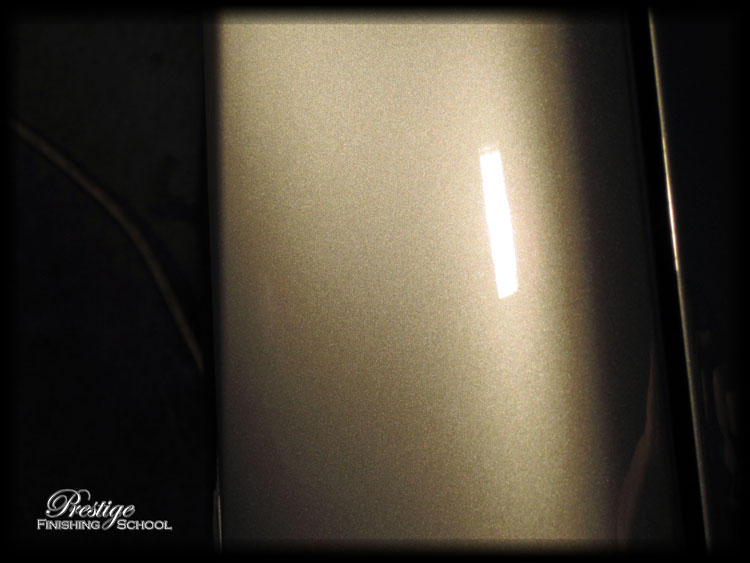
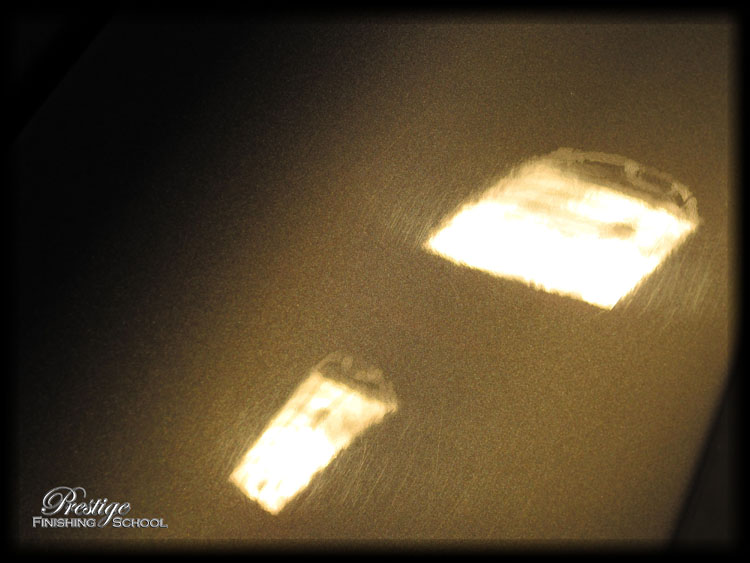
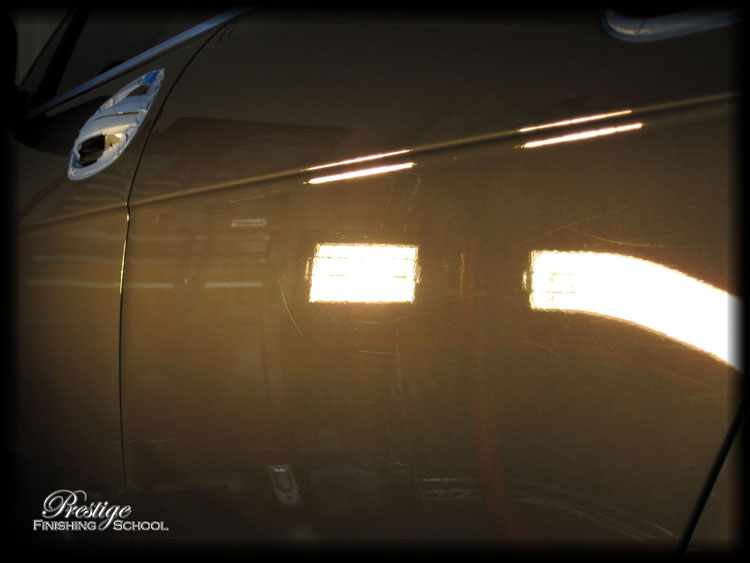
Minor swirl marks clustered around the twin light sources…
Gone!
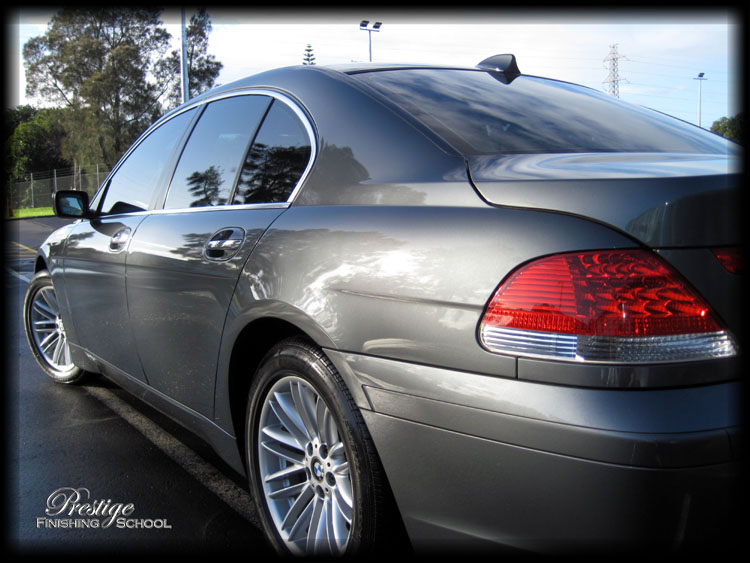
Left Rear Quarter
Finishing
Again, owing to time pressures, we were unable to make time to capture any photos of the finishing process. The final steps in preparation of this vehicle were as follows:
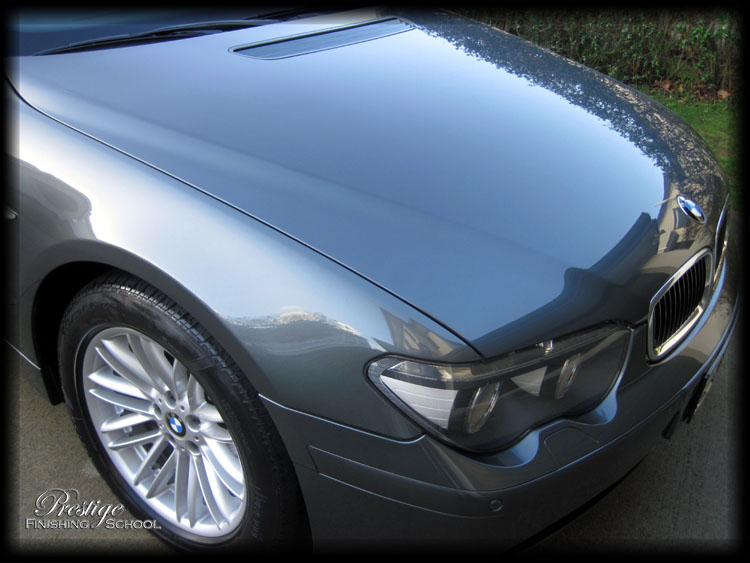
Final Showing
With all the hard work complete, it’s time to show off…
…we moved the vehicle outside and held our breath for some sun to appear.
The "Wet Ice over Fire" finish gives an almost "liquid" look to the paint.
This was an absolute giant of a vehicle (over 5 meters long, and nearly 2 meters wide) and with every single panel requiring multi-stage machine polishing, this detail quickly ran into the 20hr+ duration. The vehicle’s metallic silver colour (and fresh coat of wax on first inspection) did a wonderful job of masking the imperfections, and initially, we underestimated the magnitude of corrective work required.
Nevertheless, by the end of day 3 of this detail, we were completely satisfied with the outcome and we are proud to present another exceptional graduate from Prestige Finishing School!